
Creating a Full-Color Can You Find?® Seahorse
When creating a Can You Find? hidden object picture in full color, hiding objects is similar to hiding them in a black-and-white drawing.
When creating a Can You Find? hidden object picture in full color, hiding objects is similar to hiding them in a black-and-white drawing. What shape is the object and where can I hide an object that has a similar shape? What type of texture can I add to the image to help hide a hidden object so that it all makes sense to the entire image?
Sometimes with a full-color hidden object picture, you have to keep in mind the colors of the objects will give away a clue to the viewer as to where to look for the hidden objects. The seahorse illustration is a good example of this. Looking for the color of the object — like the pink in the horseshoe or purple carrot top — can be a helpful hint in finding the hidden objects.

The hidden cat shape in the seahorse illustration often has people searching for quite some time before they are able to find it. I think the reason this object is more difficult to find is because it is hidden in negative space in the illustration. The space between the coral not on the coral itself which is why that blue space is called the negative space — the shape created from the lines of the coral.
Creating Can You Find? illustrations is always one of my favorite types of projects to do — they don’t get old even after decades of creating new puzzles in black-and-white and color. Plus it’s always a fun challenge to see what new objects I can hide next.

Hiding Objects in a Can You Find? Hidden Objects Illustration
Ever wonder how artists hide secret objects in their illustration work?
Ever wonder how artists hide secret objects in their illustration work? I’ve been illustrating hidden object puzzles for decades, first for Nature Friend Magazine and then with my own line of Can You Find? illustrations, which won several awards. Take a closer look at how six objects came to be hiding among this squirrel.

The first thing I do is sketch up a bunch of thumbnail sketches with my ideas so I can get the design and composition of the illustration figured out first. Sometimes as I am drawing up the illustration, I will decide that I want to hide an object in a certain area because, as in this case, I like the texture of the object and I think it will be an interesting place to hide something. I knew the acorns could make a good spot for a hidden object.
After thinking about the texture of the cap of the acorn, a turtle shell came to mind because of the texture of his shell. With the shape of the turtle shell and the acorn cap, I could draw that into a camouflaged turtle. Before I even consider doing the final art, whether it is a black-and-white line illustration or a full-color illustration, I must know exactly where the hidden objects are going to be drawn.
If I used wavy lines to indicate bark on a tree branch, I was able to use that texture on the tree branches to my advantage to easily hide a banana and a bird. The delicate, lighter-colored veins on the oak leaves became another area I wanted to hide some objects. I chose a small mitten in the lower oak leaf at the bottom of the page. I also hid a green pear on the right side of the page.

Behind-the-Scenes of Creating a Hidden Objects Illustration
I have hidden literally thousands of tiny objects in my illustrations.
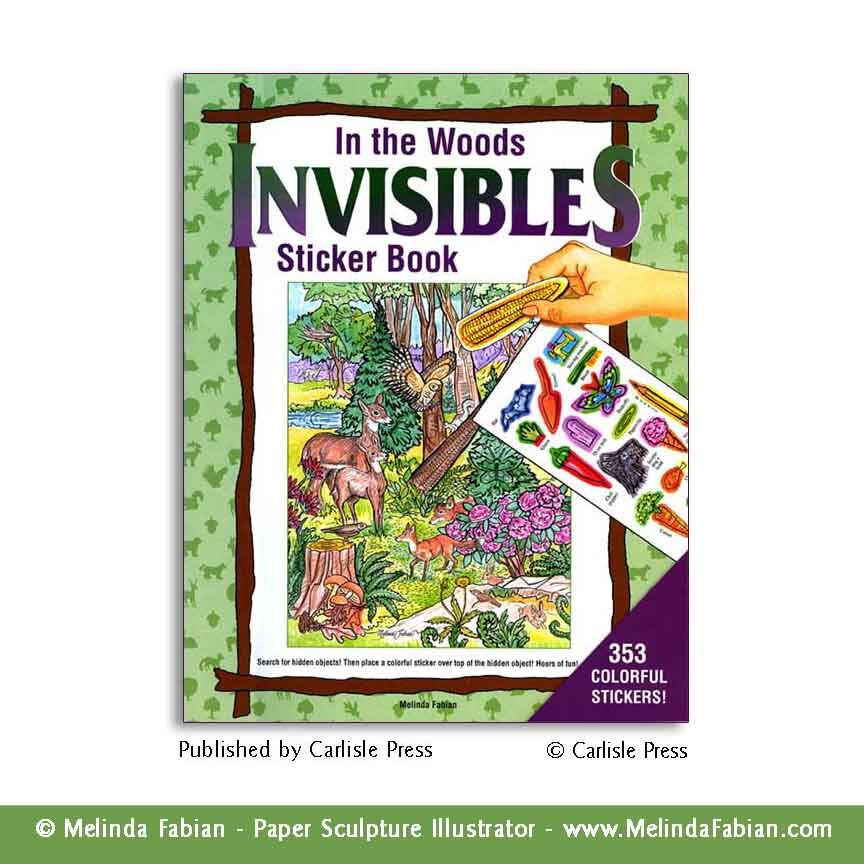
I have created hundreds of hidden object pictures over the years. I used to draw a monthly hidden object illustration for Nature Friend Magazine. I also produced puzzle pages for Pockets magazine, greeting cards, jigsaw puzzles, and other children’s publications. I illustrated a line of “Invisibles Sticker Books,” which include my signature hidden object puzzles. I’ve hidden literally thousands of tiny objects in my illustrations.

But, everyone in my family has also assisted me many times with these hidden object illustrations. My husband is an expert at hidden object puzzles. He once had to find over 350 objects in my illustrations — twice — all in the same night! Yep, you read that correctly. I blame deadlines.
What happened was I was working on deadline and in order to double-check the final art, I needed to have someone look over the work with fresh eyes. After working on the illustrations for long periods of time, drawing all those lines and hiding all those objects, your eyes get a little tired. I need an assistant to help me double-check my work and make sure all the objects are hidden where they should be.
The good news is, my husband has so much Can You Find? practice, he is also now an expert at finding all the things I lose around the house. As he likes to remind me, “Living with you is like living in a giant Can You Find?” He is great at finding my phone and keys, which is perfect, because I am good at misplacing them.

When my children were young, they got in on the action too. When I was drawing monthly hidden object puzzles for Nature Friend Magazine, I would often ask them what I should draw next. Then inevitably, I would ask them what I could hide in the final illustration. After all, I couldn’t hide a banana or screwdriver in every piece. It was always refreshing to see my work through a child’s eyes. But, as it happens when kids get older, it was harder to rope them into my studio.
My Can You Find? line of illustrations were published on greeting cards, puzzles and games and won several awards. My “Invisibles” hidden object books, come in a variety of themes. Some even have stickers. They’re available for purchase through Milestone Books.

How It's Made: Can You Find?® In Black and White
Hopefully this will give you a small insight as to how I go about drawing up one of my Can You Find? illustrations.
Over the years, one of my signature projects have been hidden object games. I first did these monthly for Nature Friend Magazine as a freelance illustrator and my own full-color line of Can You Find? illustrations won several awards. But what goes in to creating a good hidden object puzzle? Here’s a little insight into the black-and-white version.
When I am illustrating a hidden object page, I am always thinking and planning out my strategy for my line work ahead of time before I even begin the final drawing. Should I use a stipple technique (tiny dots), vertical or horizontal line work, swirls shapes, thin or thick line weight? What will surround the object and how can I make the hidden object blend in with its surroundings?

There are certain areas in each illustration that are easy to see a place where an object can be hidden. The trunk of a tree and line work — all that texture — make great places to hide a paper clip, pencil, banana or, in this illustration, a clam shell.
In the mountains in the background of a landscape, depending on the object I want to hide, I will draw my line work in a specific direction to accommodate hidden objects. For instance, in the black-and-white illustration of the fox and the bunny rabbit, vertical lines were used to suggest rocks and mountains in the background. Using that line work to my advantage, I was able to hide a canoe and pliers.
The rocks in the foreground were an easy place to draw a hidden turtle. I changed the shape of the rock and added some texture to create a turtle-like shape. Or, I could have added some marks to the rock and, hidden among the dotted lines of grasses and the dirt in the ground, it can easily be turned into a slice of watermelon.
I think the more difficult place to hide an object is in the negative space of a drawing. An example of that in this illustration is the duck — hidden above the fox’s head — between his ears and among the tree branches.
I also think about the shape of an object and what shape may be similar to it when hiding an object. For instance, a daisy flower petal is long and slender, similar to a pencil, paper clip, banana or a spoon. Flower centers can become a strawberry or a blueberry.
Hopefully this will give you a small insight as to how I go about drawing up one of my Can You Find? illustrations.