Paper Sculpture Inspired by a Blank Canvas and It's Endless Possibilities
The inspiration behind “Let the Fun Begin” came from reflecting on that unique moment when an artist stands before a blank, white canvas—a clean slate full of potential. It is a space of endless choices and creative freedom, where nothing has been decided and everything is possible.
“Let the Fun Begin” delves into the quiet anticipation and limitless possibility an artist feels when faced with a fresh canvas. This compact work measures just 4.5" by 3.5" framed, yet it carries an expansive narrative, rendered entirely through the delicate interplay of white paper sculpted onto a vivid watercolor background.
The artwork is a three-dimensional paper sculpture that meticulously depicts a painter’s workspace. You’ll find a carefully arranged palette with circular wells, paint tubes scattered in casual disarray, and a brush—and a pencil—all crafted with precision from acid-free white paper and adhered onto a textured surface. The monochromatic white palette emphasizes form and shadow, turning the familiar tools of the artist into an abstract study of shape and volume. This white relief is set against a bright and dynamic backdrop of blues and teals, creating a sharp contrast that heightens the sense of depth and dimension.
The inspiration behind “Let the Fun Begin” came from reflecting on that unique moment when an artist stands before a blank, white canvas—a clean slate full of potential. It is a space of endless choices and creative freedom, where nothing has been decided and everything is possible. I wanted to express that quiet suspense and the exhilaration of beginning something entirely new. The title itself hints at this transition: the “white play” represents the pristine canvas, and the “begin” points to the spark of action, the moment when ideas spring to life.
What distinguishes this piece is its incorporation of sculptural elements purely through paper and paint, blending two-dimensional and three-dimensional art forms. The tactile nature of the paper gives the tools and palette a physical presence, inviting the viewer to consider the act of creation from a fresh perspective—not just as a visual image but as an object to be explored in light and shadow.
Through “Let the Fun Begin”, I invite viewers to pause and consider the magic of beginnings—the blank pages, fresh canvases, and untouched surfaces we all encounter at the start of creative ventures. This work honors that initial quiet moment, where potential hangs in the air, waiting to be transformed into something beautiful. It’s a celebration of the threshold before creation, when the real adventure starts.
This paper sculpture is at Seaside Art Gallery and is available for purchase online or in person at the gallery in Nags Head, NC.
"Please Don't Bug Me!" - a 3D Paper Sculpture
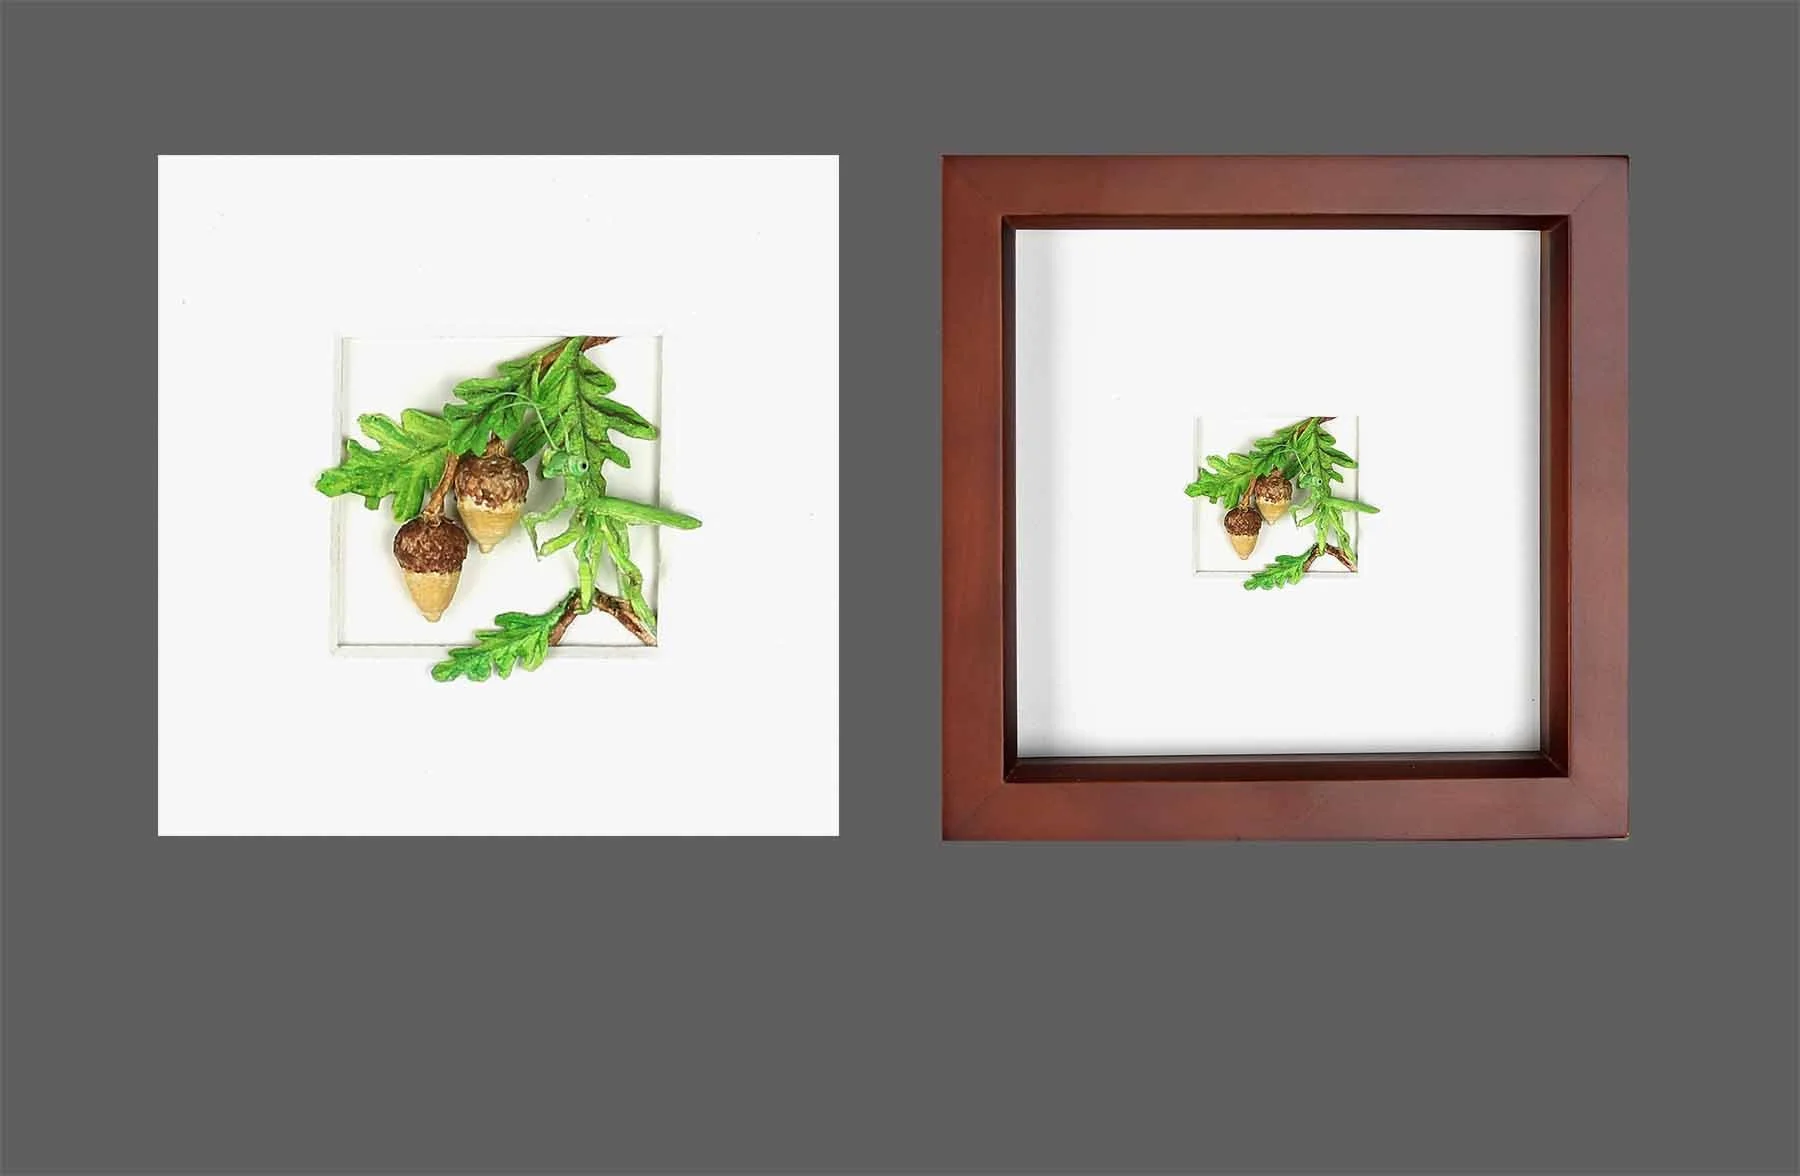
“Please Don’t Bug Me” is in the MASF 2025 International Miniature Art Exhibition. I am thrilled and honored to announce that my paper sculpture titled, "Please Don't Bug Me!" won the first place award in Sculpture and Scrimshaw! This 3D paper sculpture features a miniature praying mantis sitting on an oak branch amongst two acorns and leaves - all made from hand-cut paper and paint.
I'm thrilled to share my miniature paper sculpture titled "Please Don't Bug Me!" This piece is a delightful dip into the whimsical and lively world of nature, all brought to life through the meticulous medium of hand-cut paper, watercolor, and gouache.
Imagine leaning in to inspect a small 1.5" x 1.5" creation, set within a minimalist dark brown frame measuring 6" x 6". The artwork features two realistic, three-dimensional acorns with textured brown caps, nestled against an oak branch with vividly detailed green leaves. These elements are so lifelike, you can almost feel the texture of the acorns and the veins on the leaves. But wait, there’s a delightful twist—peer a little closer, and you might spot a curious praying mantis engaging in a playful stare-off with you!
When crafting "Please Don't Bug Me!", I embraced the joy of bringing together realism and whimsy. The title plays on this charming duality—the praying mantis and the viewer both staring at one another! Having a praying mantis amidst the serene acorn-and-oak composition cheekily demands a smile from the viewer.
The intricate process of creating this miniature sculpture was indeed a labor of love. Every detail, from the acorns' caps to the tender veins of the leaves, was carefully crafted to ensure an authentically natural feel. The small size posed its own challenges, requiring precision and patience, but it also granted the freedom to pour my heart into each delicate component.
This piece, (and five other paper sculptures), was entered into the Miniature Art Society of Florida’s 2025 International Miniature Art Exhibition. The journey with “Please Don’t Bug Me” has been incredibly rewarding, especially as it has brought me the honor of receiving the Sculpture and Scrimshaw Award. With "Please Don't Bug Me!" selling right on the first day of the show, it just adds to my excitement and nurtures my passion for paper sculptures that enchant and amuse.
For those who'd like to experience this creation in person, it is available as part of an exhibition at the Gallery at Creative Pinellas in Largo, Florida. The show will be open from January 19 through February 9, 2025. I'm displaying a total of six pieces, each ready to spark wonder and joy. Whether you visit online or in person, there's always something special to discover in the colorful realm of my artwork.
Fun Leaf Collecting Activity for Kids — Great Reference for Artists
Looking for a fun activity that you can do with your children or grandchildren? You can enjoy an afternoon discovering nature and help them with their writing and researching skills!
Looking for a fun activity that you can do with your children or grandchildren? You can enjoy an afternoon discovering nature and help them with their writing and researching skills! Of course, there will have to be some art involved too.
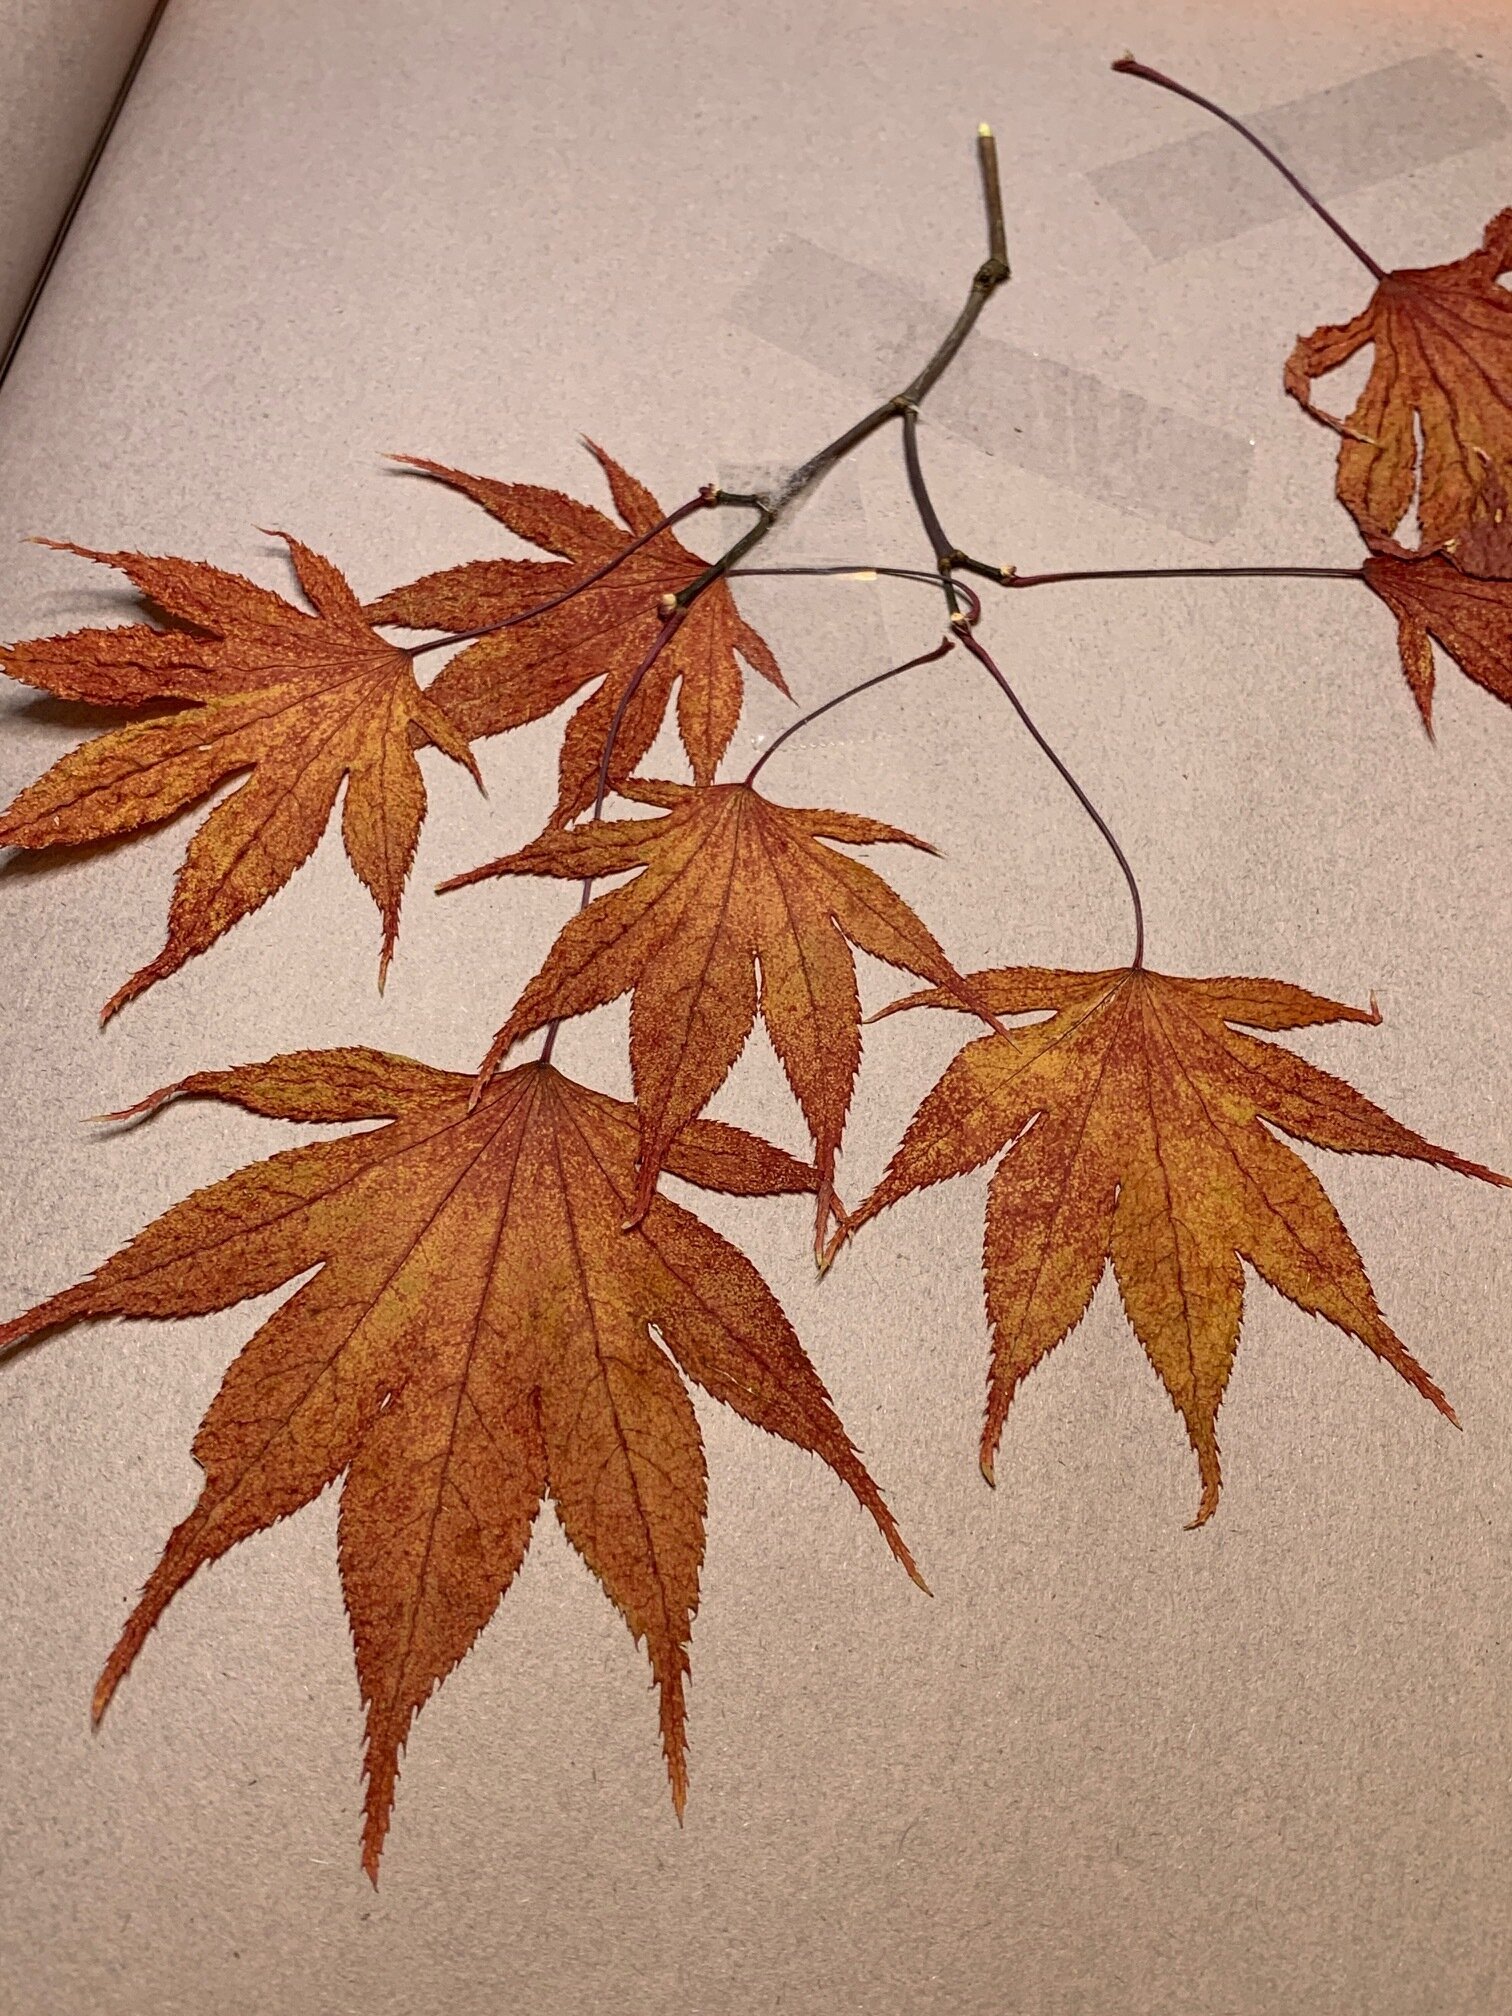
When I was researching and planning out my next 3D paper sculpture, I started to gather up my reference materials. As soon as I pulled out my old scrapbook, it brought back a lot of fun memories.
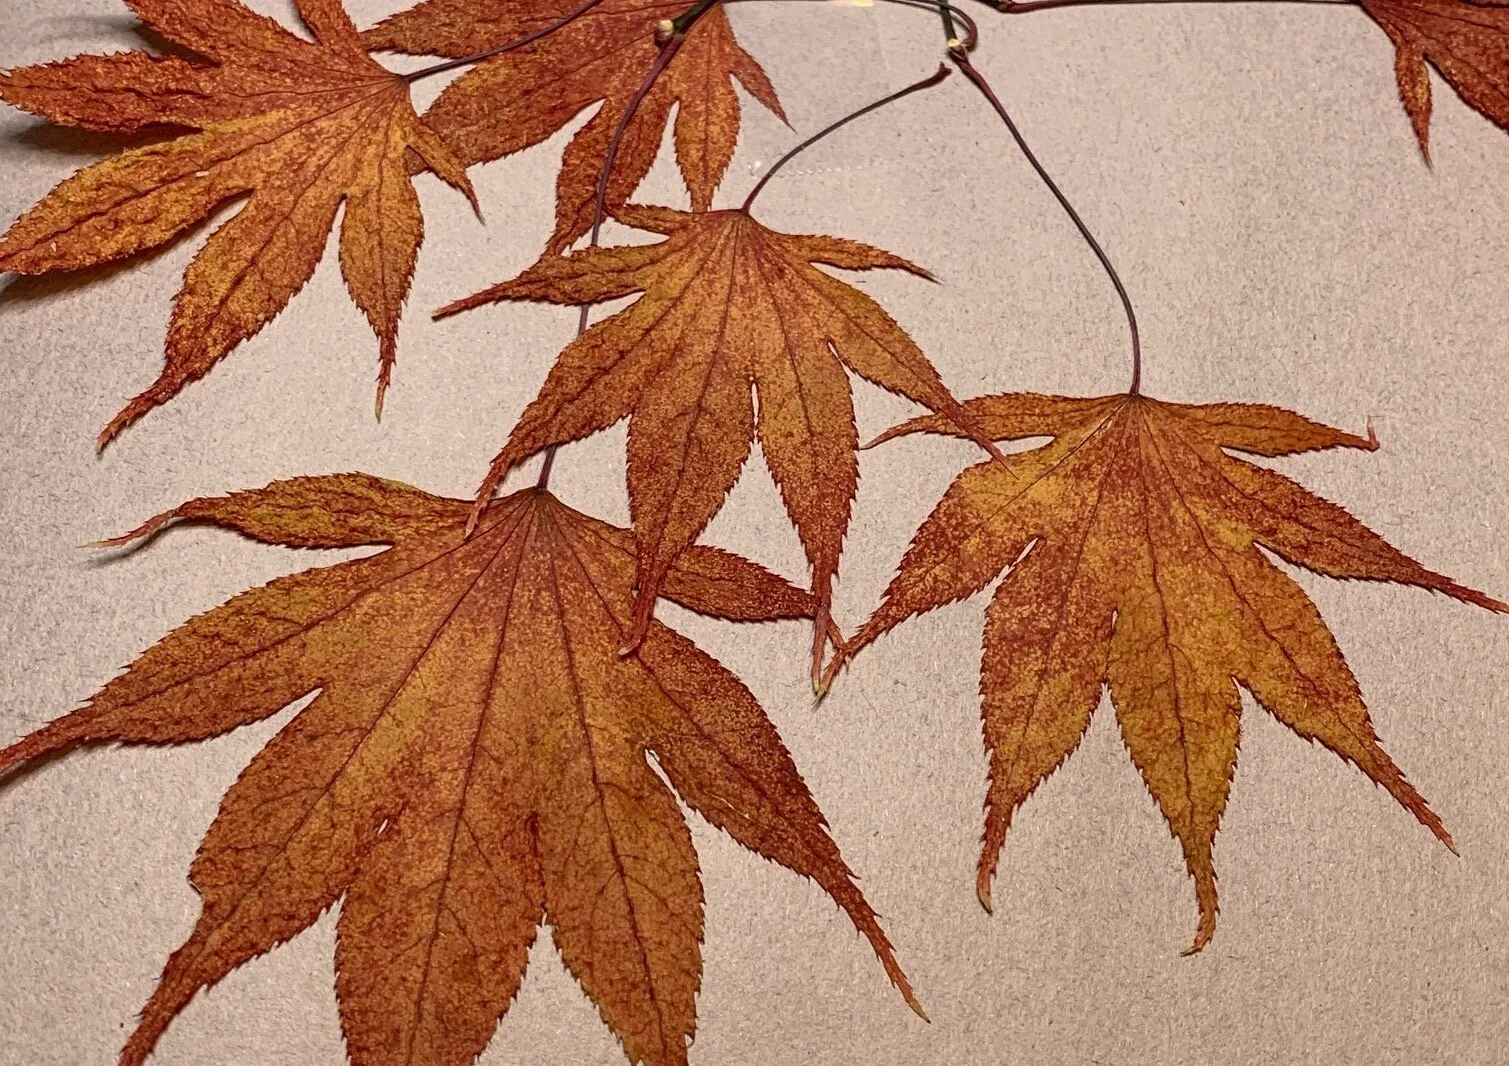
When my children were young, we enjoyed collecting leaves and acorns that were plentiful in our backyard. We would comment about the shape and the colors of the leaves. We especially enjoyed looking for leaves in the fall season — trying to find the best leaf possible. Sometimes the kids would hunt for the most colorful red, yellow or orange leaf, and another time they would hunt for who could find the largest or the smallest leaf.
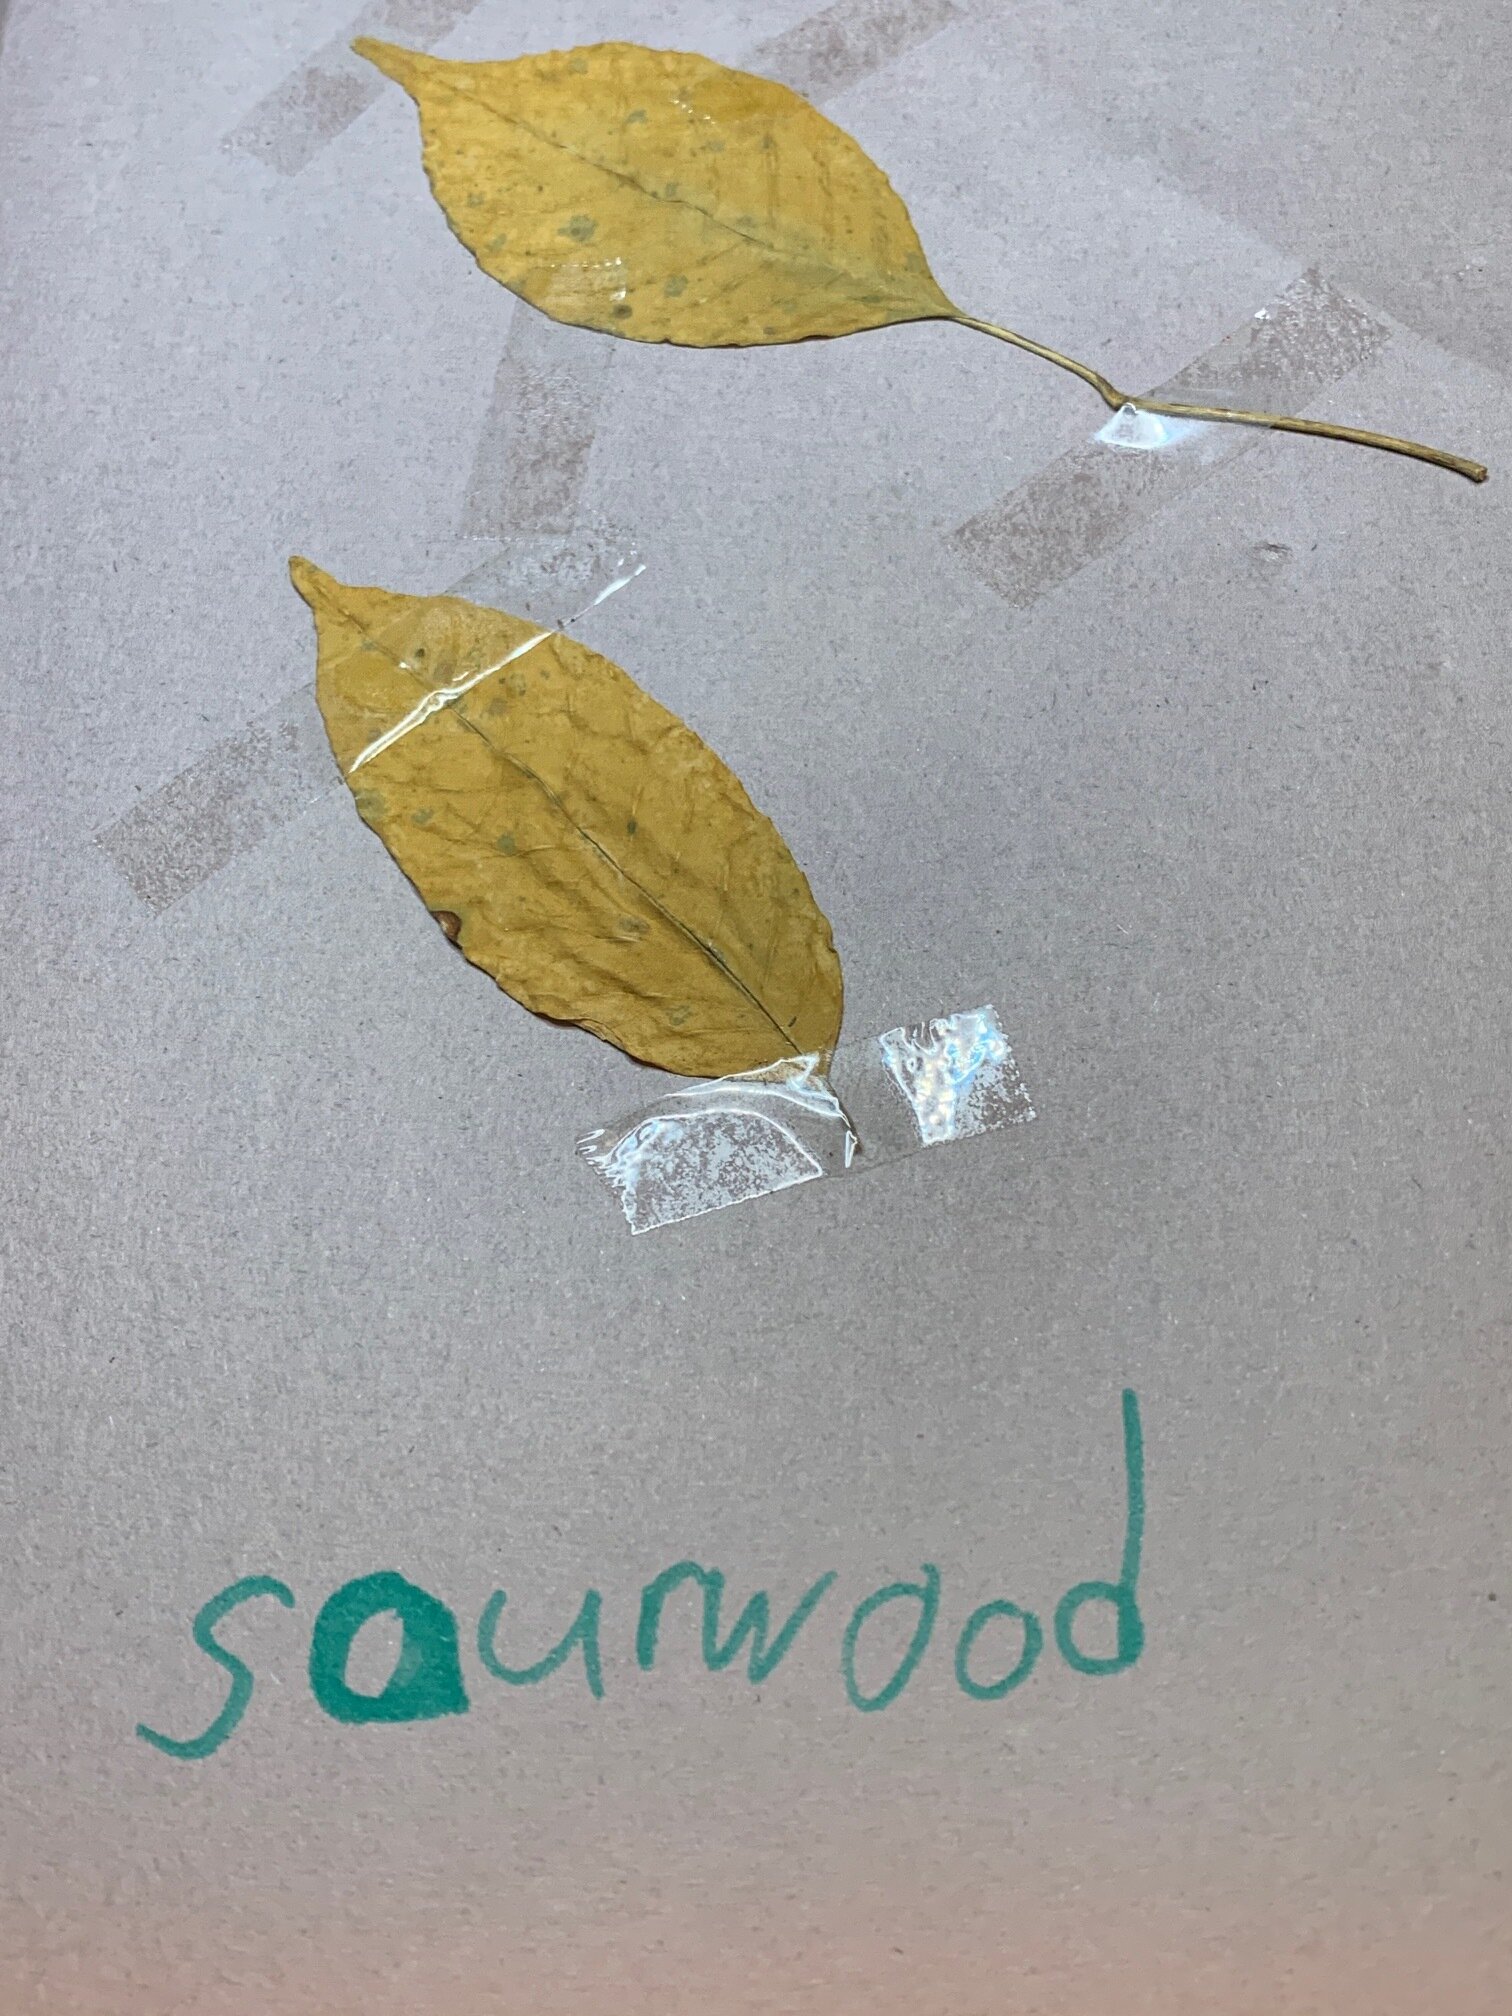
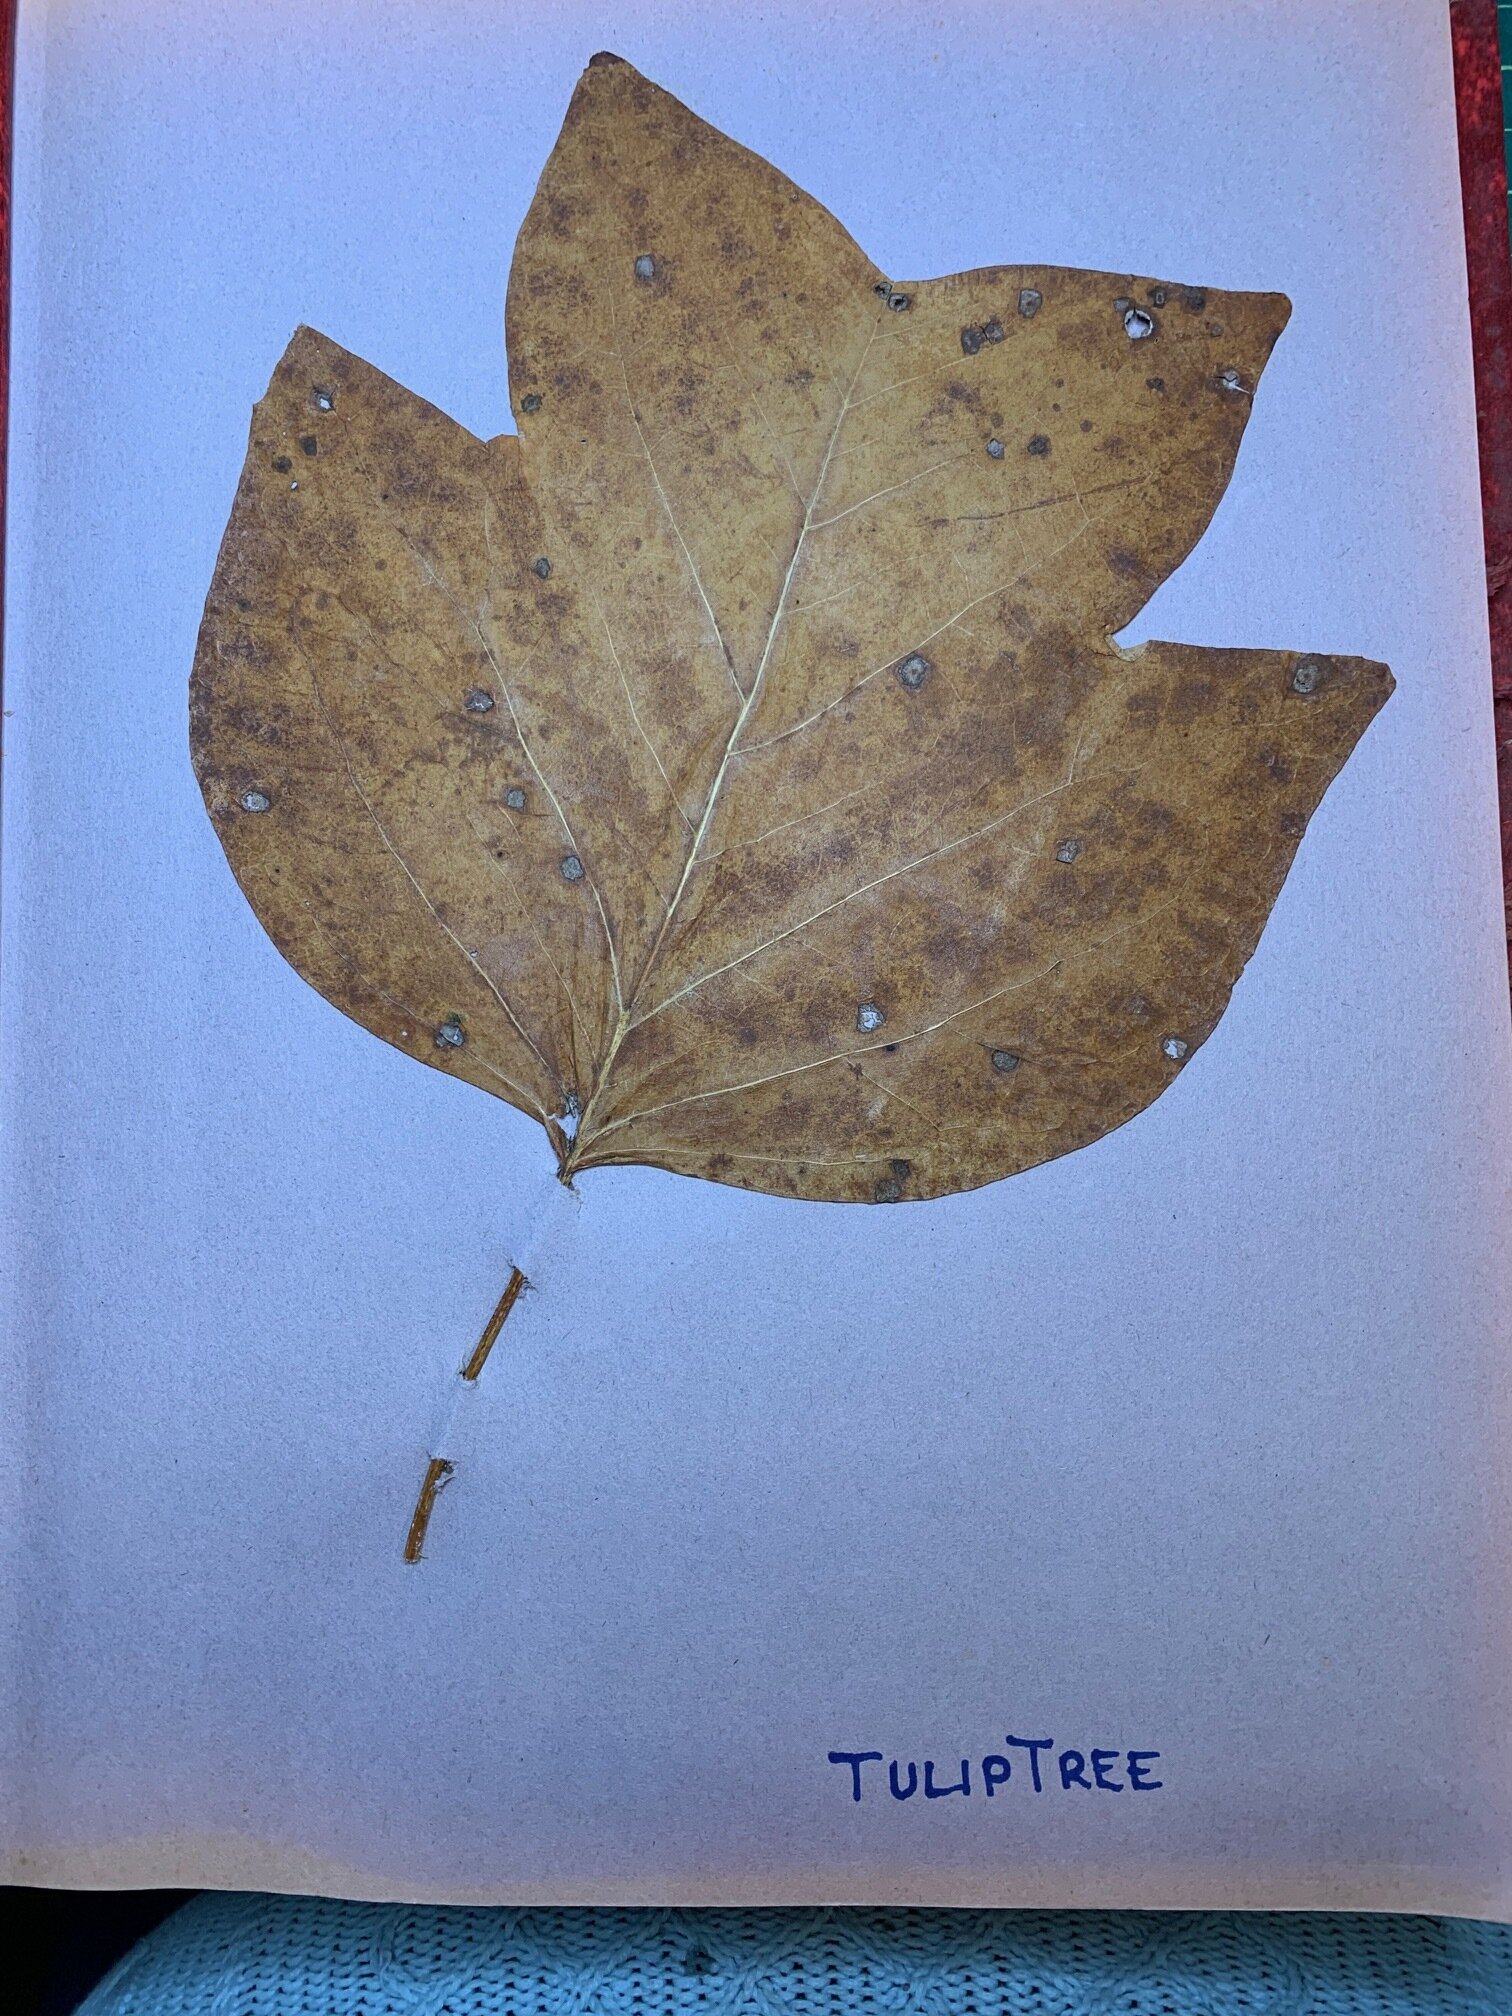
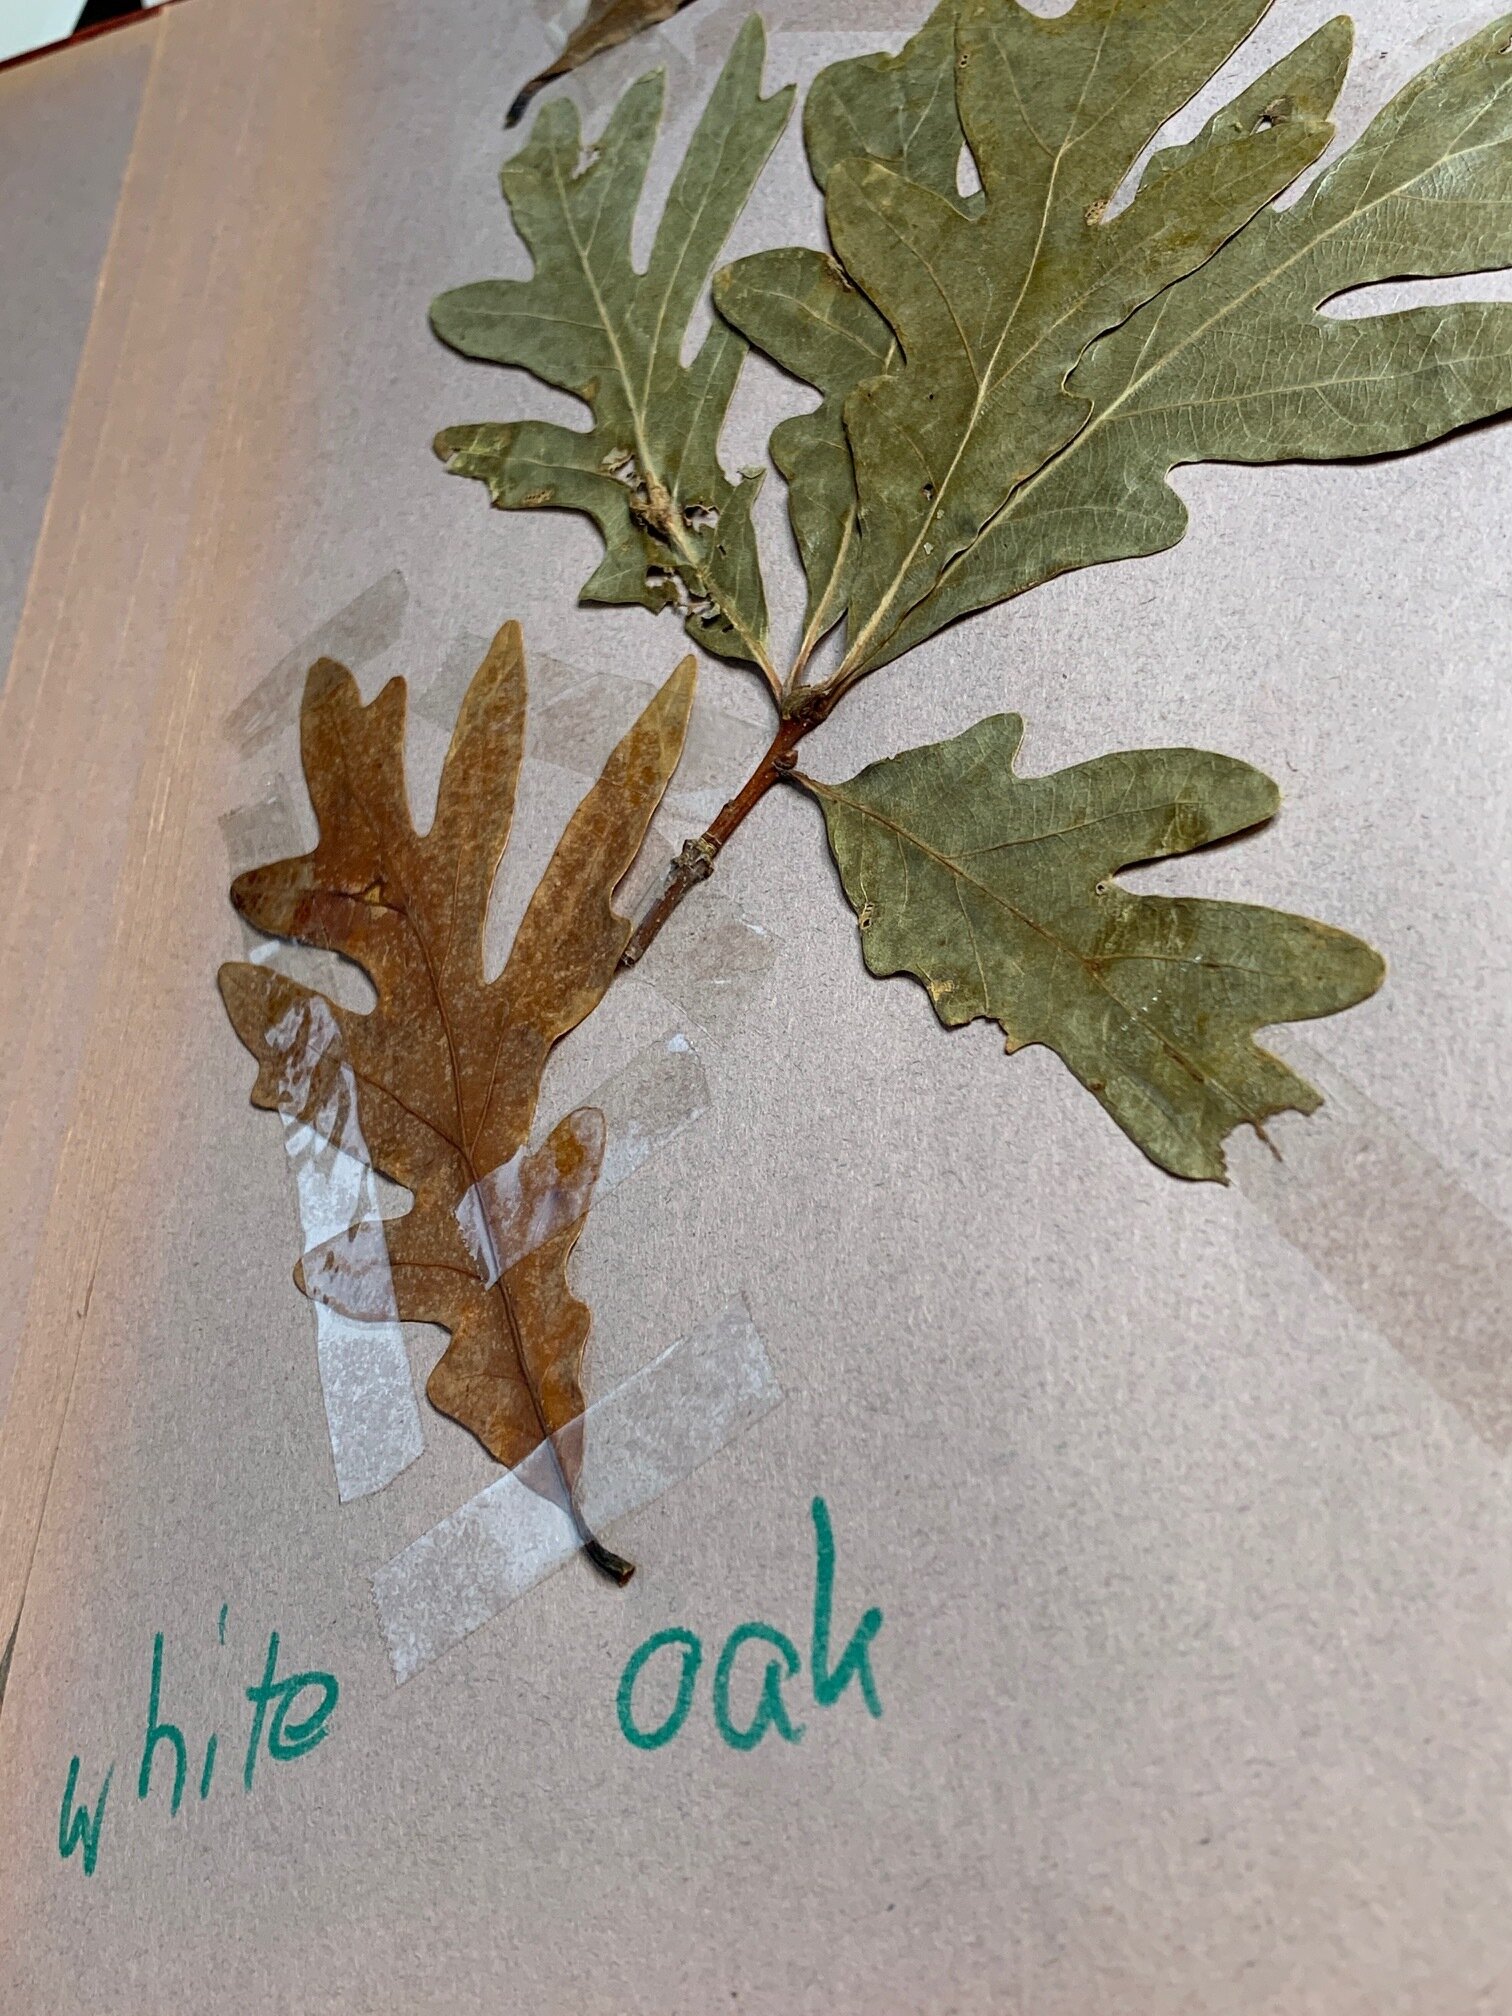
When we would go back in the house, I would get out the scrapbook and my many tree and leaf reference books. My children would flip through the pages of the books to identify which leaf they found. We had quite a few different types of oak trees and maple trees to identify. Along with sassafras, sourwood and even a big tulip leaf. I can’t believe how big those leaves grow – it takes up almost the entire page in the scrapbook.
After we would all agree we identified the leaf correctly, we would carefully tape the leaf inside the scrapbook, making sure it stayed flat. Then we would take turns writing the name of the leaf on the page so we could remember the name and identify the leaves. Of course, we would also get out our pencils and crayons and trace or draw a few leaves too. After all, my fridge always seemed to need a new piece of art!
It was always such a good activity I enjoyed playing with my children. We got to “play” outside, exploring for a bit, and then go inside, and continue onto another project that all related to the environment and leaf collecting. Little did they know, I kept that scrapbook all these years and the leaves still look good!
I love seeing the pages where my children printed the names of the leaves when they were beginning to learn how to print and write their letters. Of course, those are my favorite pages! The other thing they didn’t know or realize at the time is the leaf collecting project became a wonderful scrapbook filled with reference material in it for me to refer back to time and time again, whenever I need to draw or paint a leaf. I think it is amazing how good all these leaves still look after all these years. And I still refer back to it!
Where did I come up with this idea? My mom of course! We used to flatten flowers or leaves inside a big heavy book, like an old encyclopedia, squishing the plant between two sheets of wax paper. We would check on it a few weeks later after it had time to dry. Every once in a while, you’d forget that you “hid” a flower inside a book, and years later, flipping through a book, a flower or leaf might fall out, which of course would always make us laugh. While we didn’t identify them and create one big scrapbook, my mom’s idea was definitely passed down to me.
Well, I hope this gives you some more ideas of things to do with your children or grandchildren. It is a very fun way to enjoy and learn about nature and our environment, too!
"Baby Sea Turtle Adventures" - Highlighting the Life of Sea Turtles
“Turtle Adventures” is a paper sculpture highlighting the life of sea turtles.
Introducing "Baby Sea Turtle Adventures," an extraordinary paper sculpture that delves into the awe-inspiring journey of sea turtles. At the heart of this captivating artwork is the story of these marvelous creatures and the mysterious first decade of their lives.
As you gaze upon "Baby Sea Turtle Adventures," you'll be immediately drawn to the enchanting sight of a tiny baby turtle hatching out of its shell. Ready to embark on an arduous journey, the baby turtle sets foot on the long, difficult sandy path that lies ahead. These little creatures make their way down the beach, desperately yearning to reach the ocean as quickly as possible.
In this intricately handcrafted sculpture, the baby turtle must find a small opening, its gateway to the breathtakingly beautiful ocean world. The entire scene is situated on a wooden base, meticulously textured to represent the sandy beach.
Every element of "Baby Sea Turtle Adventures" is meticulously made from hand-cut paper, including the minutely detailed grains of sand. Enclosed within the coral reef aquarium, you'll discover a plethora of exquisitely textured coral, starfish, seashells, and fish - all lovingly created using paper and paint. This vibrant and colorful world is the new home for the turtles, a place of safety and wonder once they reach their destination. Take note that one lucky turtle has already found its way to this spectacular undersea haven.
During my research, I stumbled upon a fascinating fact that adds another layer of intrigue to the story of sea turtles. For the first decade of their lives, scientists know very little about their whereabouts. After the tiny turtles make their way to the ocean, their exact location and journey remain a mystery. This period is often referred to as the "lost years." This very notion ignited my imagination and served as my inspiration while creating "Turtle Adventures."
In my vision, the undersea world represented in "Baby Sea Turtle Adventures" is a safe and peaceful sanctuary. It is a hidden realm, imbued with vibrant colors and brimming with life, where the turtles can flourish. This place emphasizes the importance of preserving these mystical undersea worlds for the sake of the newly hatched sea turtles.
I invite you to immerse yourself in the captivating saga of the sea turtles by exploring the intricate details and vibrant colors of "Baby Sea Turtle Adventures." Let the artwork remind you of the delicate balance of our environment and the crucial role we play in ensuring the preservation of these mysterious undersea realms.
“Baby Sea Turtles Adventures” is available for purchase at my SHOP
Thank you for joining me on this artistic voyage, and stay tuned for more stunning creations!
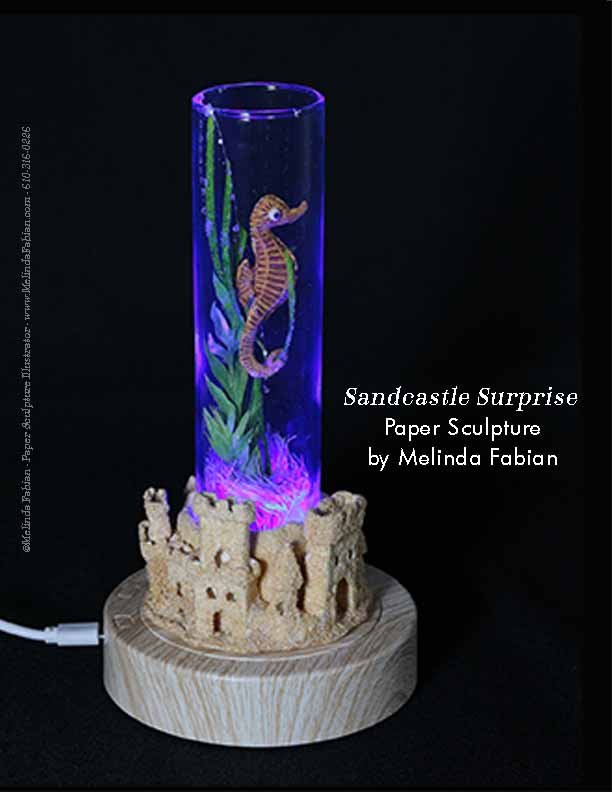
Sandcastle Surprise - Paper Sculpture by Melinda
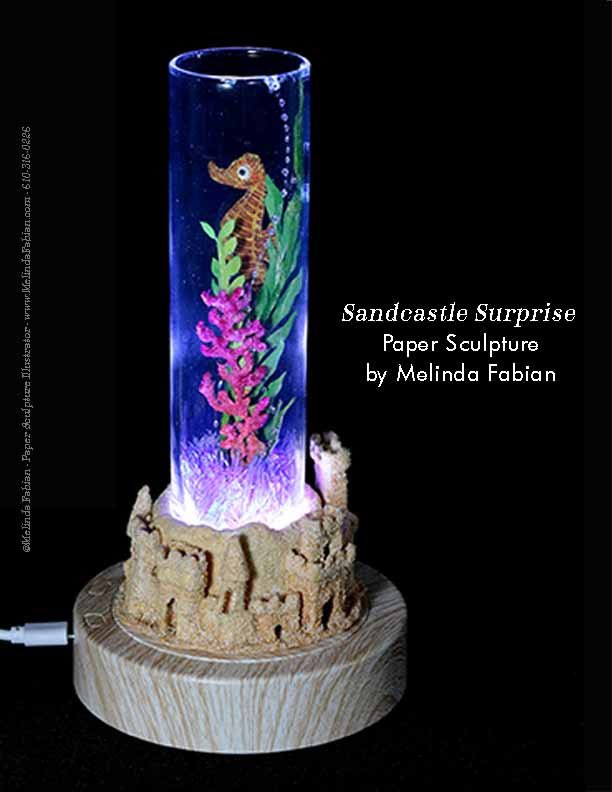
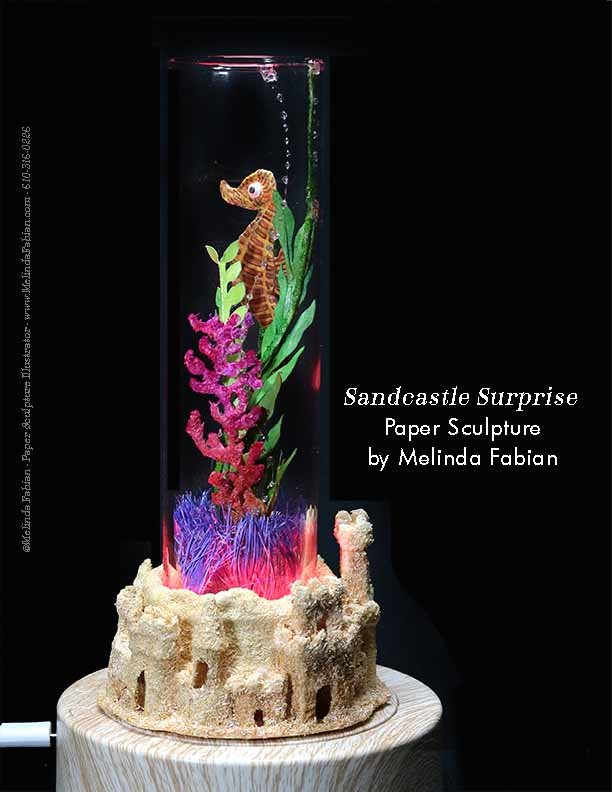
Sandcastle Surprise is reminiscent of building sandcastles at the beach. What does evey sandcastle need? A seahorse of course!
The paper sculpture “Sandcastle Surprise” is a nod to the summer fun at the beach. Because every castle needs a horse, what better creature to highlight inside this under-the-sea aquarium than a seahorse.
I wanted to draw attention to this fish, to show off his unusual shape, prehensile tail and large eyes. I also wanted to showcase this special paper sculpture adding light to emphasize a day at the beach.
Hopefully this paper sculpture will bring you a smile and remind you of the simple pleasures in life, such as building sandcastles at the beach.
“Sandcastle Surprise” is created from acid-free and archival papers and painted in watercolor and gouache. This sculpture can set on a tabletop, or it can be displayed with the rotating, lighted base as shown here. The electric base changes colors or can be set to stay on one solid color such as red, white, or blue.
The paper sculpted base with glass measures 4” in dia. x 7.5“ high.
The rotating base is 4.5” in diameter x 1“ high. $950.00
“Sandcastle Surprise” is available for purchase - Click the Link to my SHOP.
“Sandcastle Surprise”
Capturing a World of Color
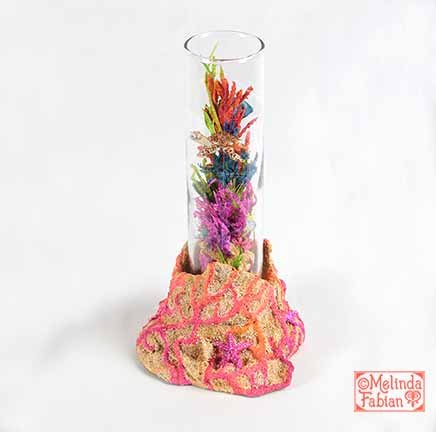
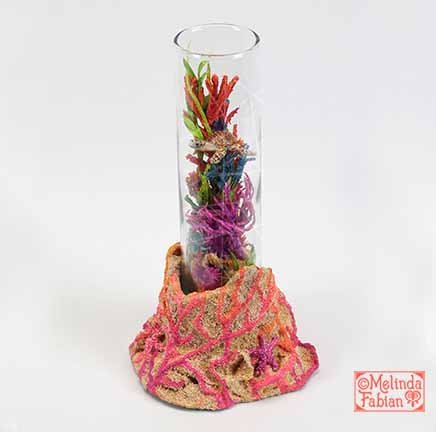
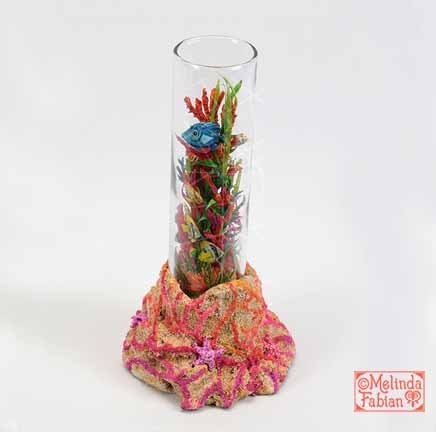
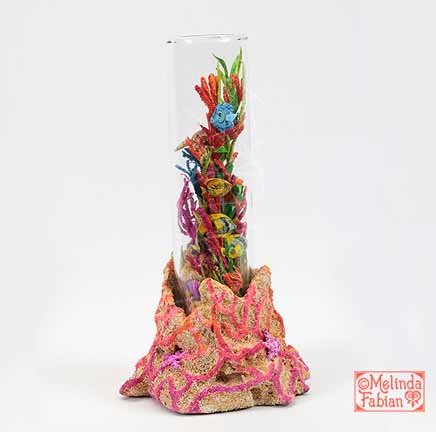
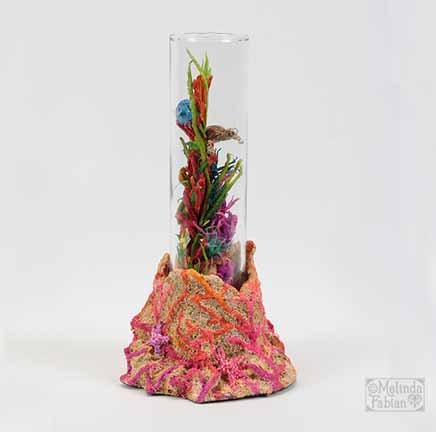
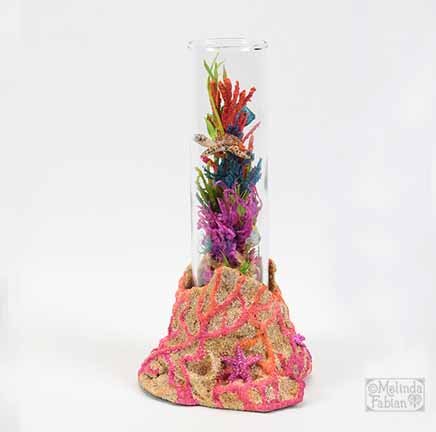
A three-dimensional artwork that seamlessly combines hand-cut paper, watercolor, and gouache to create a visually stunning piece. The artwork features a cylindrical clear glass container resting on a vibrant sculptural base with intricate textures resembling coral and exotic plant life.
I am so excited to share with you my paper sculpture titled, “Capturing a World of Color”. It is also currently a part of the Animals in Art Show 2024 at Seaside Art Gallery in Nags Head, NC. You can view the show online or in person at the gallery. 10% of the proceeds from the art bought at this show, will go to the Coastal Humane Society in the Outer Banks, NC.
This piece is truly a labor of love, and I can't wait for you to see all the intricate details. Let me start by giving you a visual description of the artwork. “Capturing a World of Color” is a three-dimensional piece that features a cylindrical clear glass container as its centerpiece. This aquarium is surrounded by a beautifully textured sculptural base, which has an organic form with stunning pink, orange, and yellow hues. The textures resemble coral or exotic plant life, with starfish adding a touch of life and nature to the piece.
Inside the glass aquarium, you will find a mesmerizing assemblage of colorful elements. These elements mimic aquatic flora and fauna, creating a vibrant underwater landscape. The underwater scene includes a variety of aquatic plants and creatures in different shades of blues, reds, and greens. Notice the sea turtle swimming among the plants. The colors and textures really come alive when the light interacts with them, thanks to the clear glass.
Now, you may be wondering what inspired me to create "Capturing a World of Color." Well, I've always been fascinated by the beauty of underwater ecosystems. I wanted to see if I could recreate that beauty using paper and paint, but with a twist. Instead of creating a traditional aquarium, I wanted to place the fish and coral reef inside a unique glass container, making the paper sculpture appear as though it is an actual underwater scene. The challenge of capturing the essence of an aquarium with unconventional materials was truly inspiring to me.
One of the most unique aspects of creating this artwork was the process itself. The entire piece is made by hand-cutting paper and then meticulously painting it with watercolor and gouache. The level of detail required was both challenging and rewarding. Additionally, the glass aquarium is placed on a sandy beach, which is also made out of finely hand-cut paper resembling sand. The colorful coral reef is not only displayed inside the glass aquarium but also on the sandy beach outside the glass, creating a cohesive and dynamic composition.
"Capturing a World of Color" celebrates the beauty of natural forms, textures, and the vibrancy of aquatic ecosystems. Through this piece, I hope to convey a message about the importance of biodiversity and the wonder of underwater life.
I can't wait for you to experience “Capturing a World of Color" in person at Seaside Art Gallery in Nags Head NC., or online at Seaside Art Gallery
It truly is a unique and captivating artwork. Stay tuned for more updates and be sure to check out my other creations!
8” high x 4” wide…………………..$895.00
Part Seven - Time to Make the Seashells!
In Part Four - I describe making paper seashells, using real seashells as reference material.
Seashells
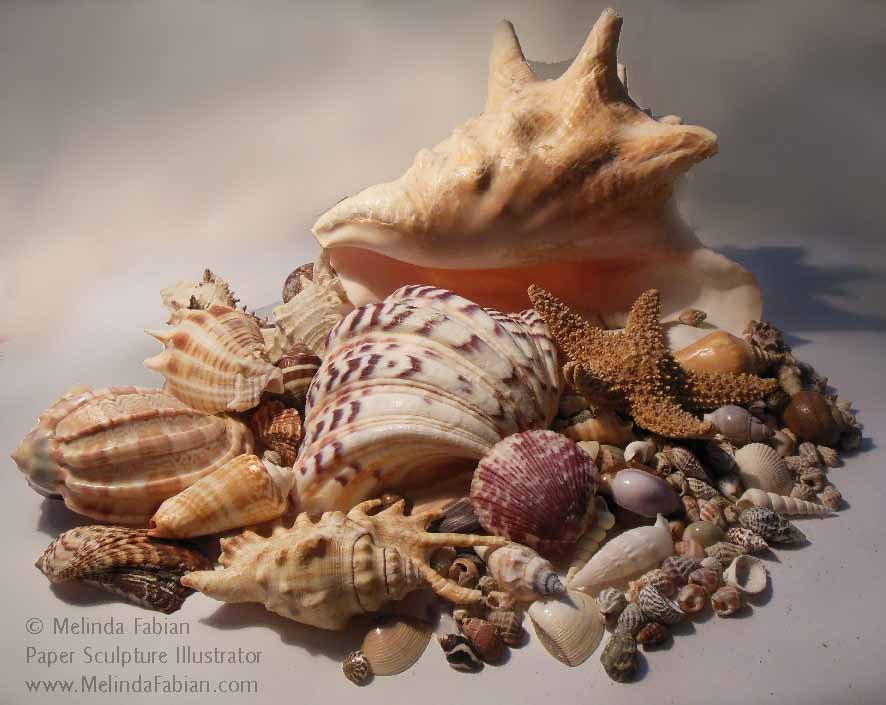
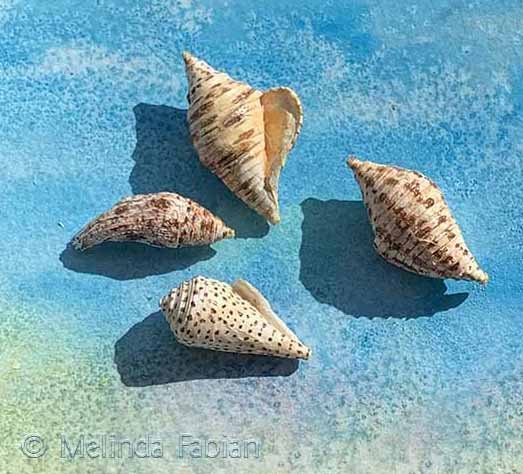
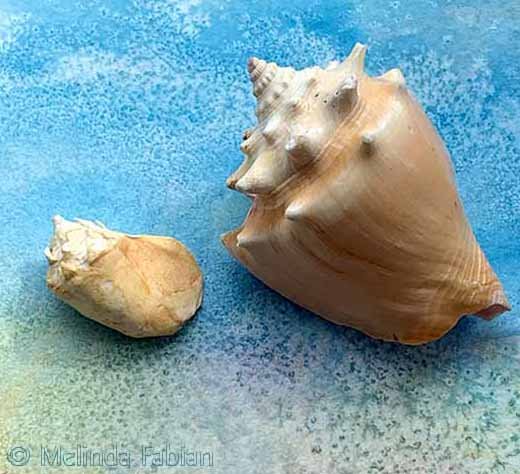
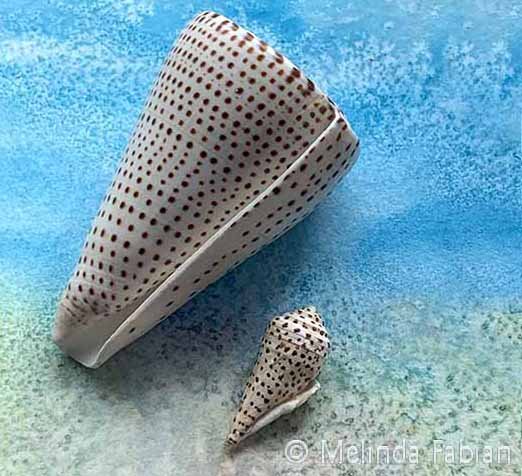
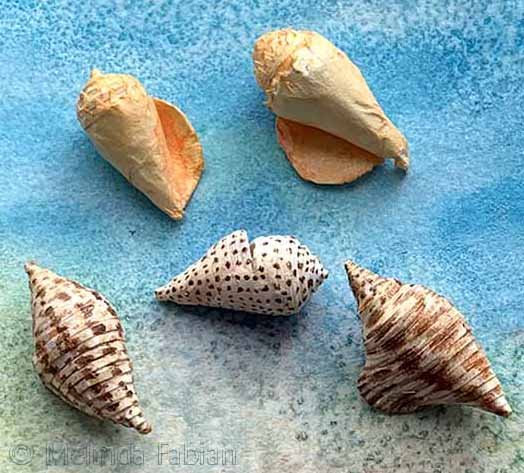
Next, I wanted to make some seashells for my series of Under the Sea themed paper sculptures. I have a lot of seashells that I can use as my reference material in order to make shells out of paper.
After creating lots of sea-grasses, sea plants, and seaweed out of paper, I was ready to start making three-dimensional paper seashells. I’ve made other seashells out of paper in the past and always enjoyed if. Her is one of my photo realistic paper shell pictures.
One of the best things about making paper seashells (besides the fact that I think seashells are so pretty), is that it was very easy to find reference material for this part of the project.
Before diving in to make any shells, first, I had to look through my seashell collection. Well, it isn’t really a collection, I don’t seek out to find seashells to add to the ones I already have, but I must admit, I do have a lot of shells that I’ve somehow accumulated over the years. I am not even certain where they all came from.
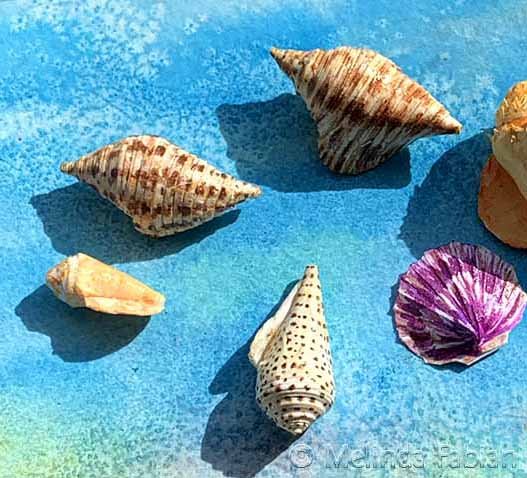
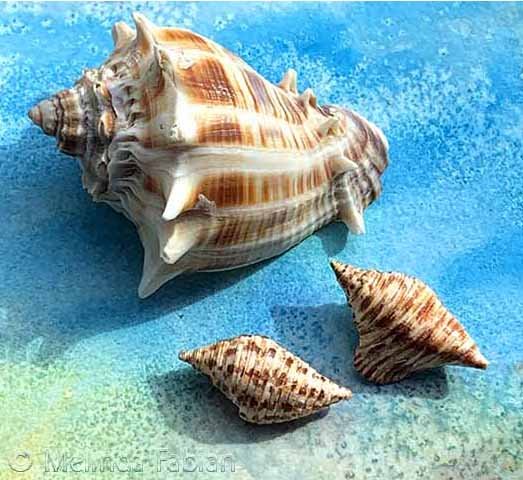
A large variety of seashells that I can use as reference material to make paper shells.
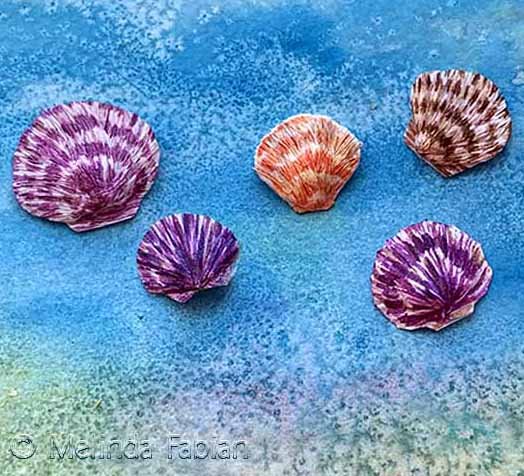
I have some very pretty, dark magenta scallop shells and tan and ivory scallop shells. These are some of my favorite-colored shells and some of my favorite type of seashells to make. Can you spot the real scallop seashell in the photo below? I made a bunch of paper sculpted scallop seashells.The magenta colored scallop shells are my favorites of this variety. What colored scallop shell is your favorite?
One real, deep magenta scallop seashell amongst paper sculpted scallop seashells.
It did take me quite a few tries to figure out how to make the scallop shells. I wasn’t happy with the first couple of scallop shells that I made, but I kept working at it and discovered a way to make them so they looked realistic.
I liked the challenge of trying to make the seashells out of paper and making them look so realistic that you can’t even tell which is the real seashell and which seashells are made out of paper.
Below are photos of my paper sculpted photos. Some of the photos include the real photo alongside of the paper sculpted seashell.
Part Three - Under the Sea Plants
In this blog I briefly explain how I made the sea plants and sea-grasses using only paper and paint.
Sea-grass, Sea plants, Seaweed…
The next items I started to make for my under the sea themed aquariums, were sea plants, sea-grass, and seaweed. Some of the grasses are textured,
Textured sea grass made from hand cut paper and paint.
some are cut out of flat papers, some are cut and then twisted into different fern-like shapes to form the sea plants. Some of the plants are painted in light lime green colors, some are dark greens, some of the grasses are dark greenish blues, and some plants are very colorful and flexible.
I made a variety of plants, many are realistic and others are imaginary. After all, who really knows for sure what types of things are growing in our ocean worlds. (Did you notice the little blue crab crawled into the photo? More about this little critter later on.
Part Two - Under the Sea Paper Sculpture Series
Making three-dimensional paper sculpted coral in a variety of colors will add beautiful colors to my under the sea aquariums.
Bright, Vibrant Colored Coral
In my previous post I mentioned I wanted to start to start paper sculpting a new series with an under-the-sea theme. Over the next several weeks, I will take you through the process I went through to come up with these new sculptures. I’ll show you some of the behind the scenes photos and some of the details of my work.
Colorful Coral
Hand Cut Paper and Paint
Last week, I mentioned I started making the colorful, textured coral out of painted paper. I started making the coral. I wanted it to look textured and colorful. Using finely hand cut pieces of paper, glue and paint, I made many pieces of coral in all different colors. I had to hang the coral up so it could dry. If I would have laid it down flat, it would not have kept the three-dimensional shape that I wanted each coral stalk to have.
I was very pleased with my color choices and the different shapes of the coral. Next, will be step three — onto the next piece — sea grass, sea plants and seaweed.
Starting a New Series
Starting a new under the sea series.
Planning Stage For a New Paper Sculpture Series!
I decided I wanted to work in a new series – with an under the sea theme. I also decided I wanted the completed sculptures to have a different look than my other pieces. Instead of using a shadowbox frame, I wanted to create something new, something other than a framed paper sculpture. I wasn’t quite sure what exactly I was looking for, but felt when I came across it, I would know it and my ideas would begin to come together and make a little more sense. Sometimes this is just part of the process that you have to go through when you are trying to design an entirely new type of sculpture.
I began searching for various shapes of glass containers. As I came across various containers, I also started to sketch out some ideas.
I began to research coral reefs, a variety of fish, sea grasses, seashells, and of course cute baby sea turtles. More sketching took place as I started to formulate my ideas around some new glass containers I came across that I thought I would eventually house the sea creatures and plants.
After carefully planning out the different elements I would want to use in the sea “aquariums” I also started to create the color palette that I wanted to use for my paper sculptures. Beautiful magentas, purples, blues, coral, and greens seemed like a wonderful color combination that I could use to create colorful underwater scenes.
Now it was time to start paper sculpting! This is my favorite part. Stay tuned for part two - sculpting coral.
Giving My Grandfather's Sprinkling Can New Life
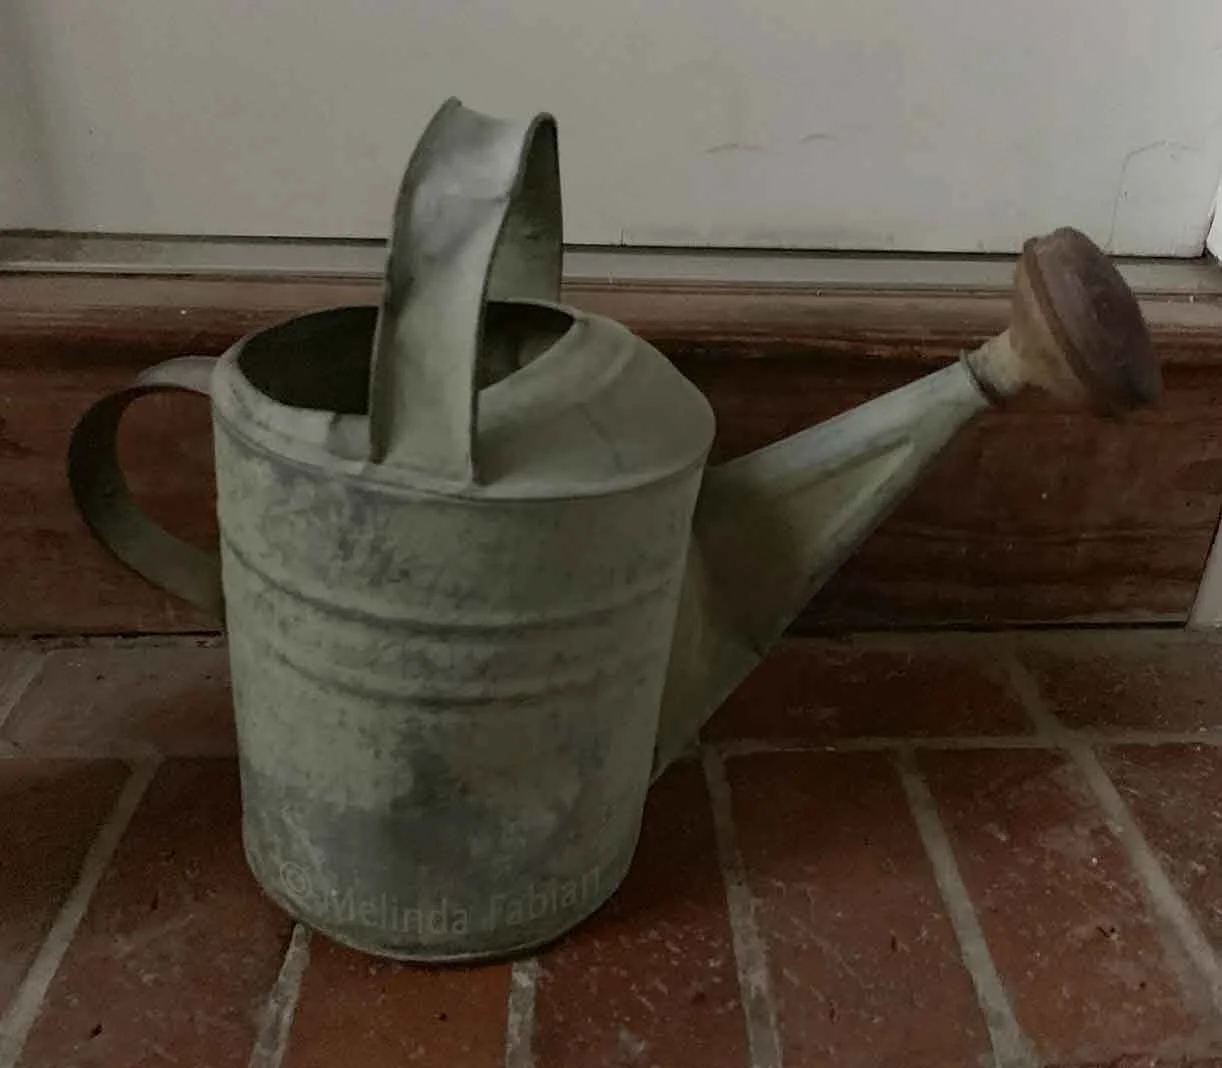
This old sprinkling can has moved with me many times to different locations — to different states and from house to house.
What do you see when you look at this photo? An old, tired rusty sprinkling can that has seen better days? A sprinkling can that should be tossed in the trash? An antique? Character?
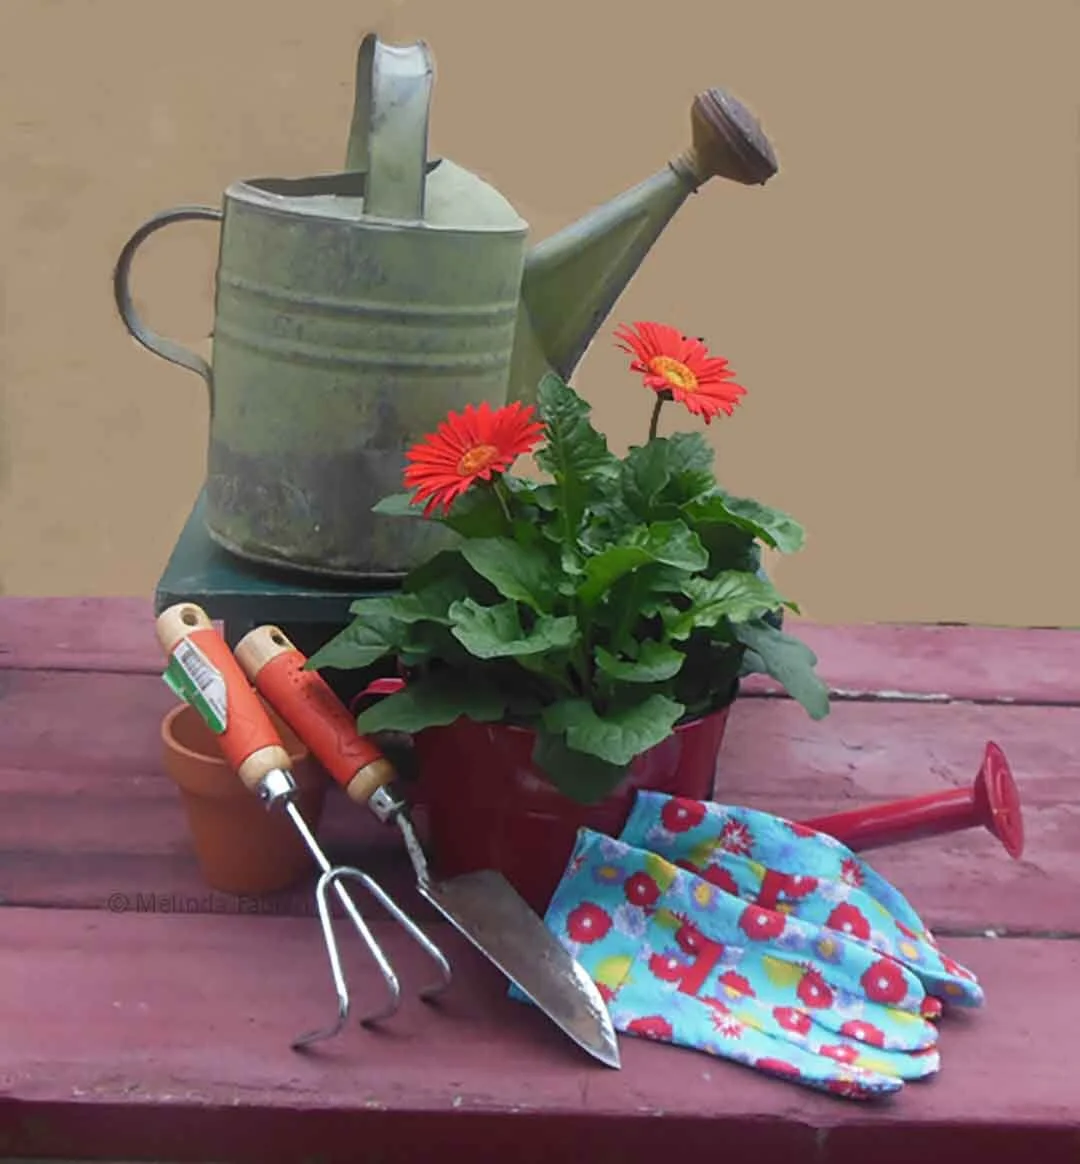
This old sprinkling can has moved with me many times to different locations — to different states and from house to house. I keep thinking that one of these days, I am going to plant some flowers in it and it would make a pretty neat-looking planter inside my house. Or at least that is my excuse for not throwing it out.
The real reason I’ve kept it all these years is that when I look at that sprinkling can, I see a sprinkling can with a story behind it. Let me explain. This isn’t just any old sprinkling can. It was my grandfather’s, so when I look at it, my first thought is of him.
My grandfather was a kind person that I looked up to and looked forward to seeing every day. He took great pride in owning his own home and caring for his home and the people he loved. He was very meticulous about his lawn. The grass was always mowed to a perfect height; the sidewalks were edged -- no grass would dare grow past its boundary lines into the sidewalks and certainly no grass would grow between the sidewalk cracks.
He would fill up this sprinkling can from the outside faucet or sometimes use the garden hose to fill it up with water. He would water the beautiful flowers lining the patio — impatients or geraniums in the planters that set on the cement floor of the large patio and beautiful hanging baskets of impatients or begonia flowers surrounding the patio where we would sit outside during the summer months on the metal swings and listen to my grandparents talk about their day or about their family.
It may sound silly, having that entire story from just one old sprinkling can. But I think we all have memories that can be triggered from just looking at a small item from the past. Maybe it is an old piece of jewelry, your grandmother’s rolling pin or a serving dish that came out every holiday. You aren’t keeping that item because of the physical item. You are most likely keeping it because it reminds you of your loved one and fond memories.
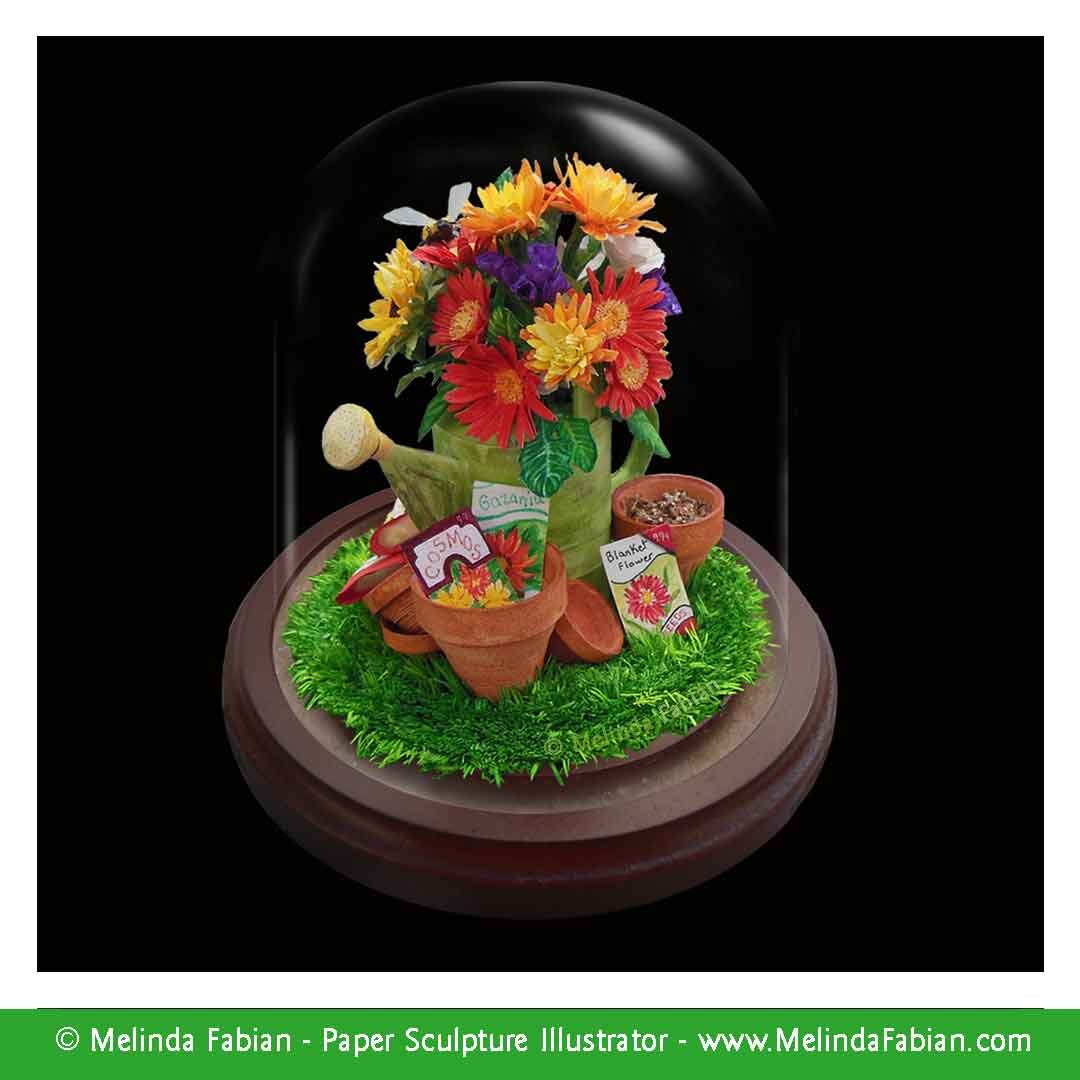
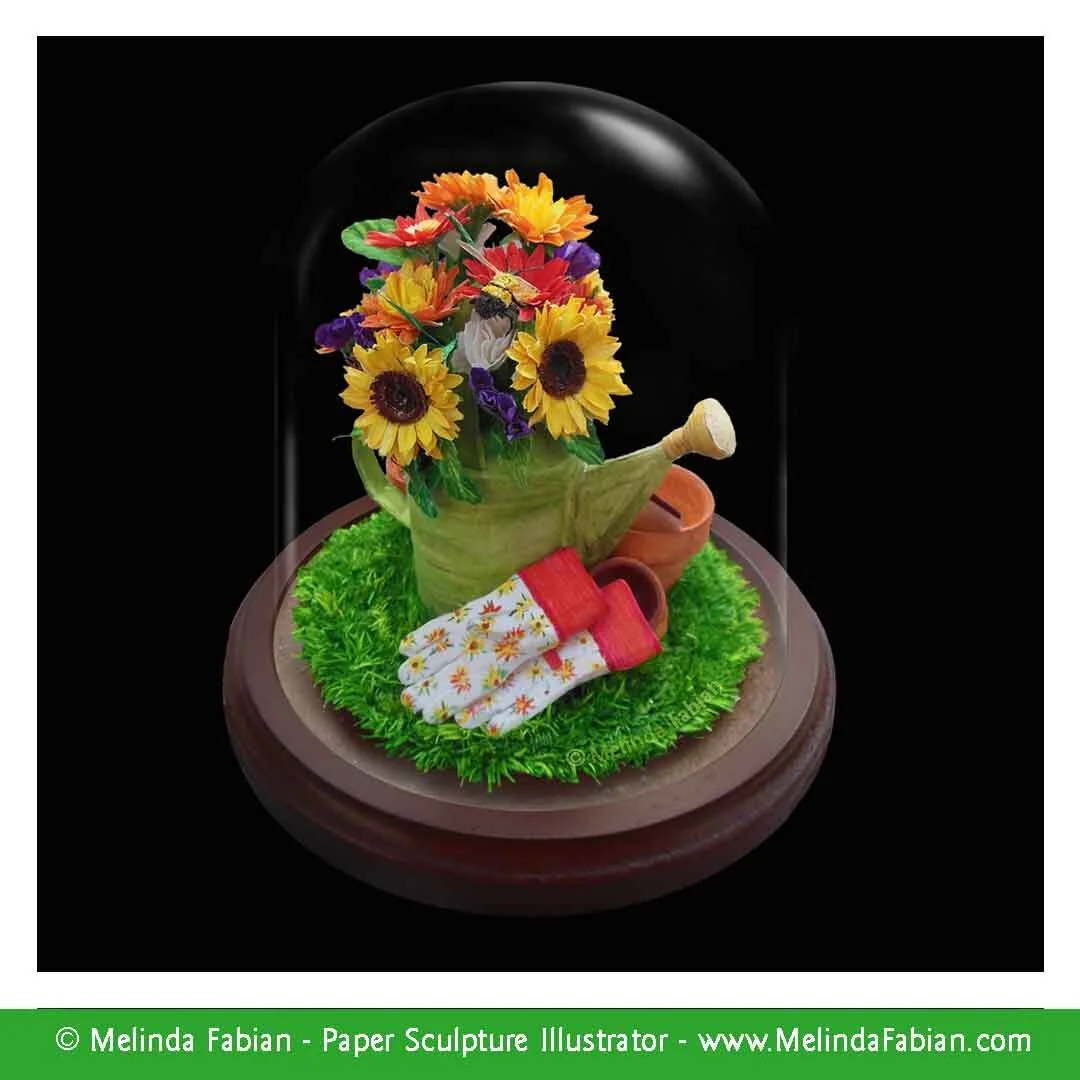
I decided I wanted to make this antique sprinkling can a centerpiece for a paper sculpture, filing it with a bouquet of beautiful flowers, similar to the idea I have in mind for using it as a planter for house plants. Here is a behind-the-scenes look at making a paper sculpture.
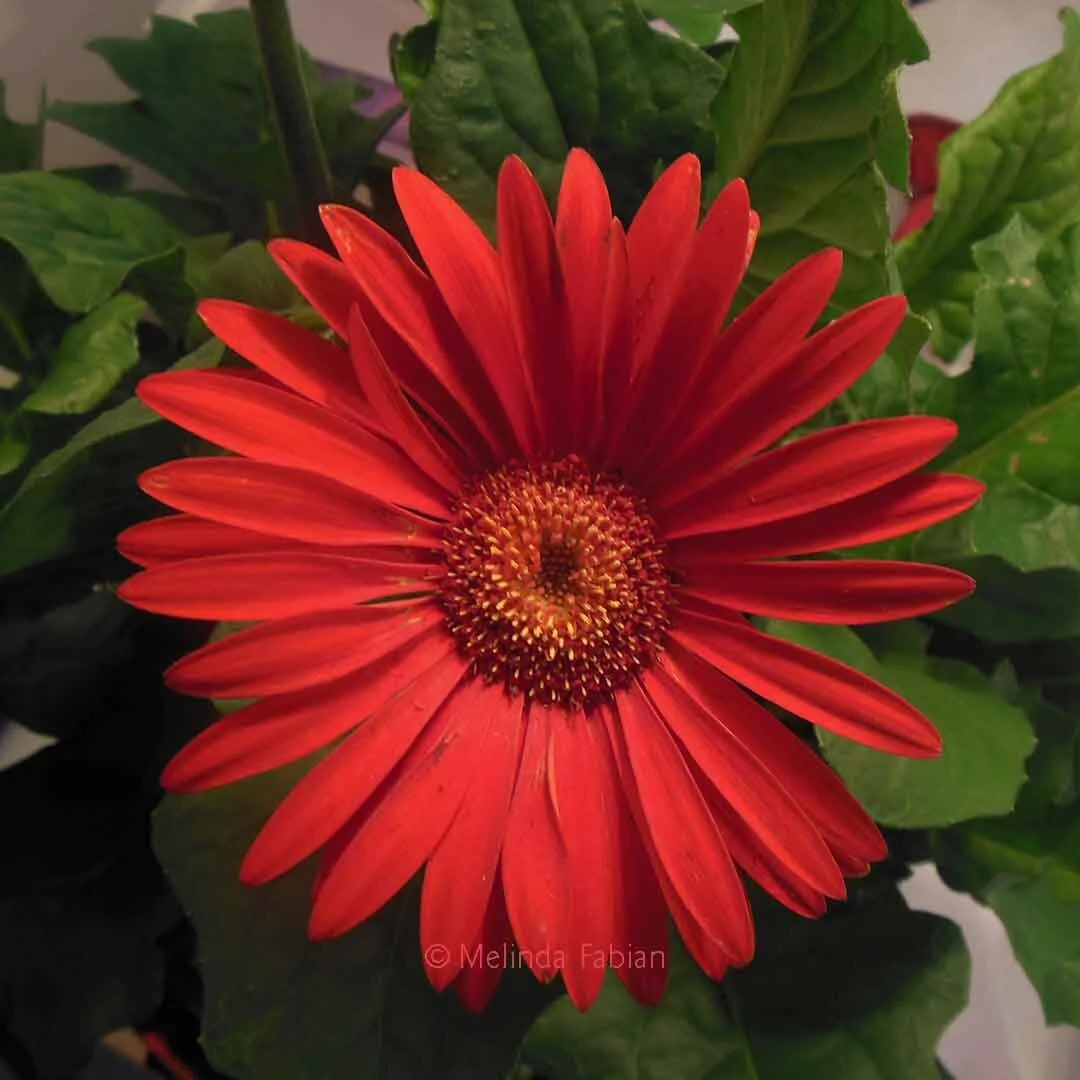
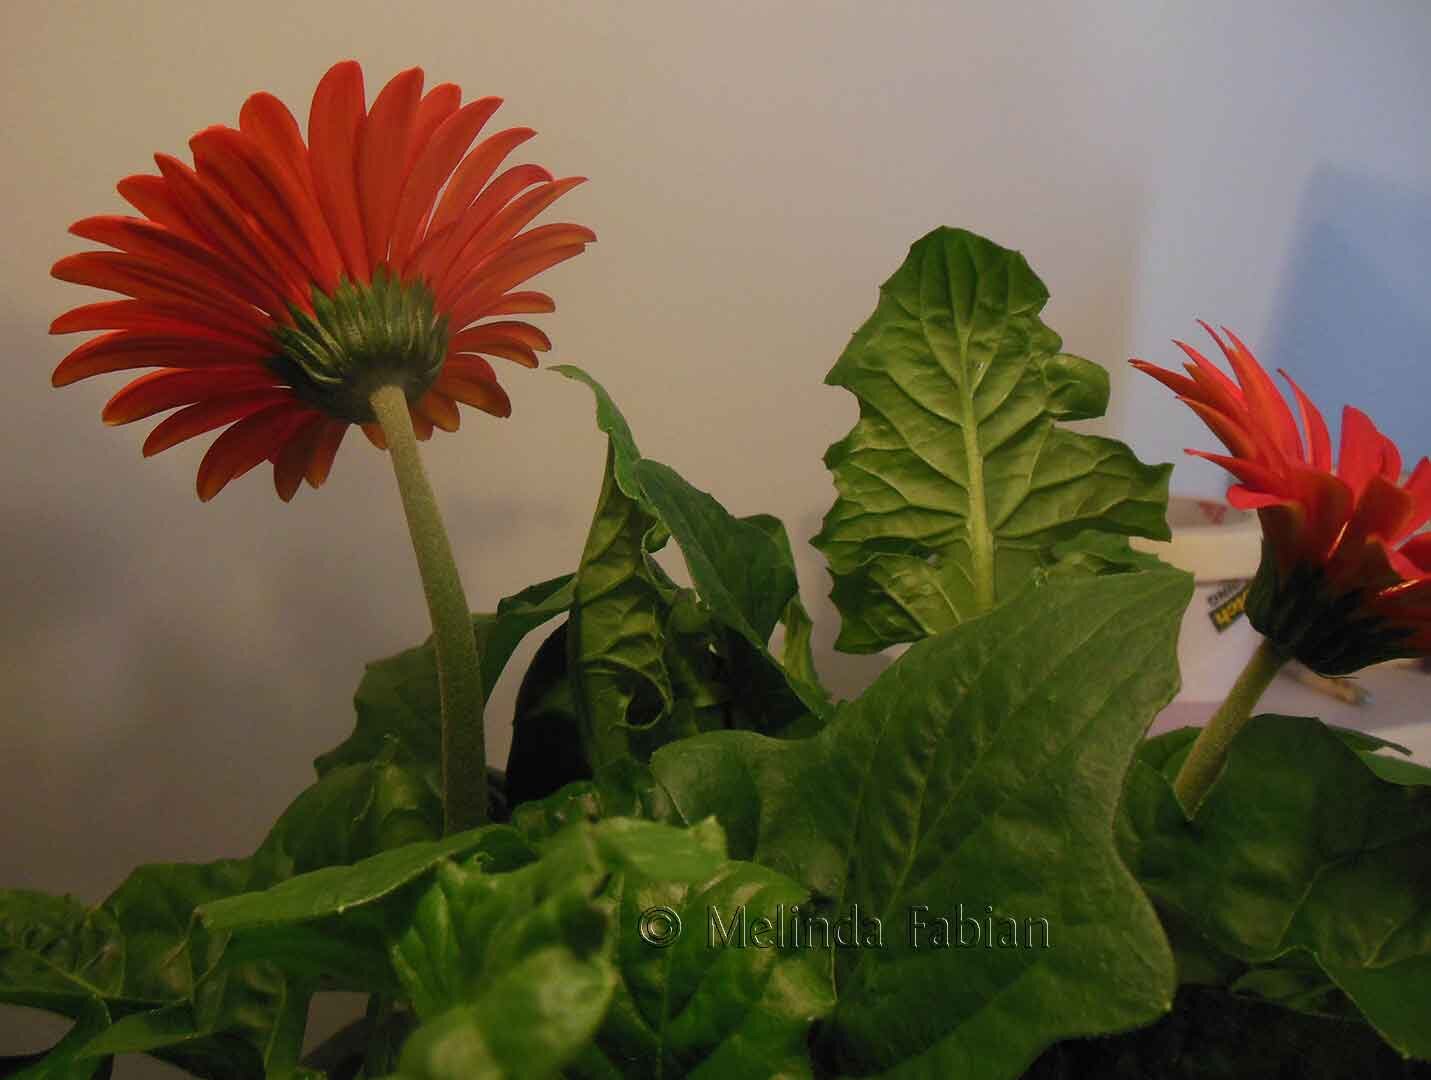
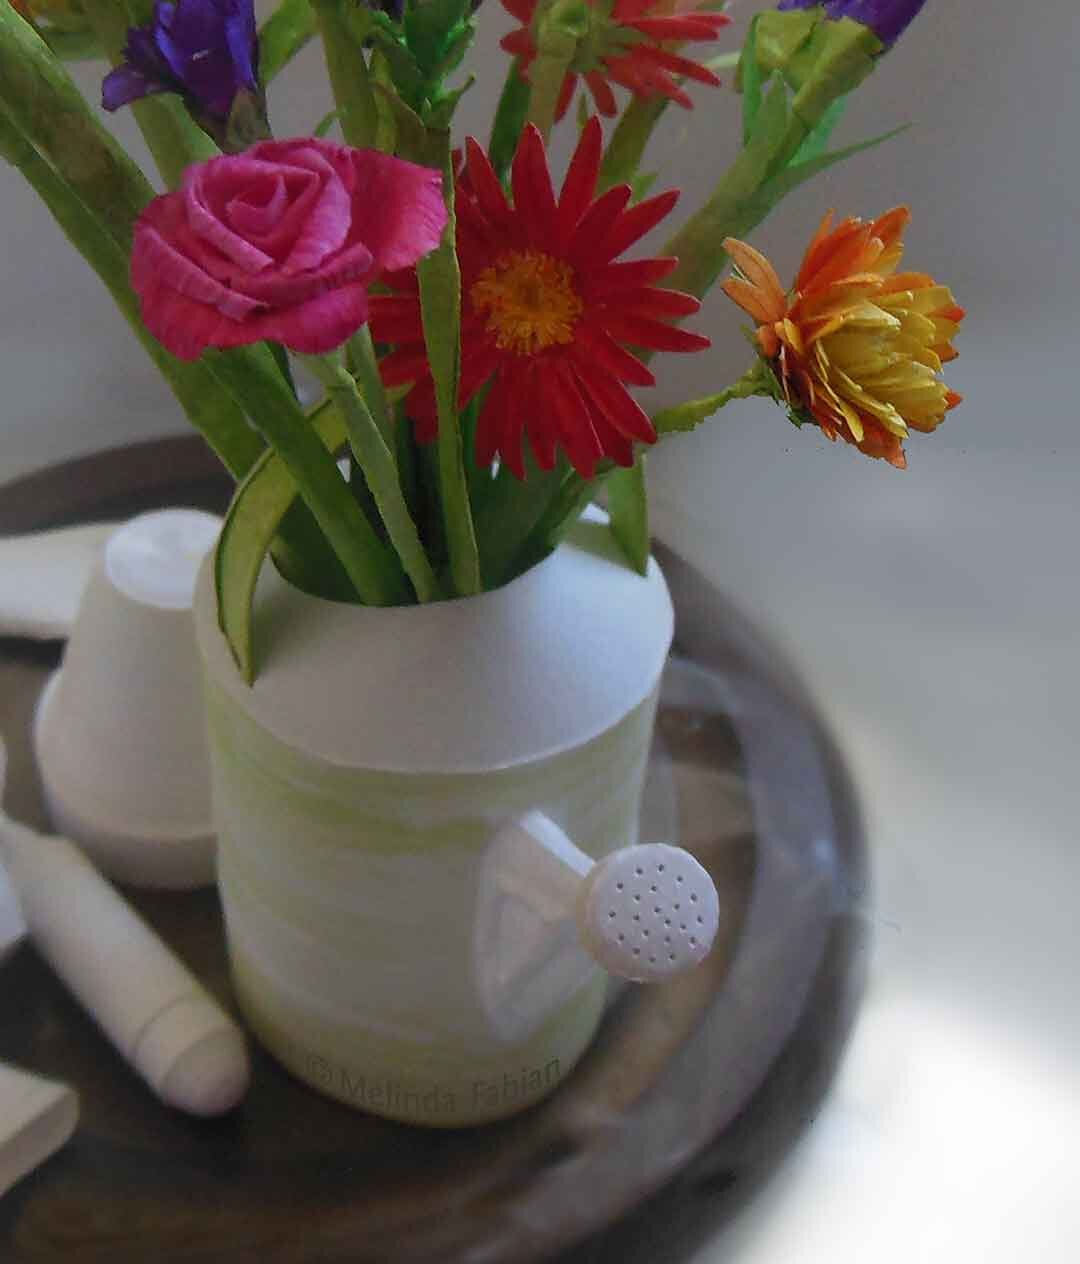
First, I bought a potted red flower that just happened to be planted in a red sprinkling can, which I thought was a funny coincidence. I also picked up some gardening gloves and a couple of gardening tools. I arranged the items in a variety of different set-ups and took lots of reference photos with Pappy’s old green sprinkling can setting behind the other props. I shot the photos from different directions and from different angles.
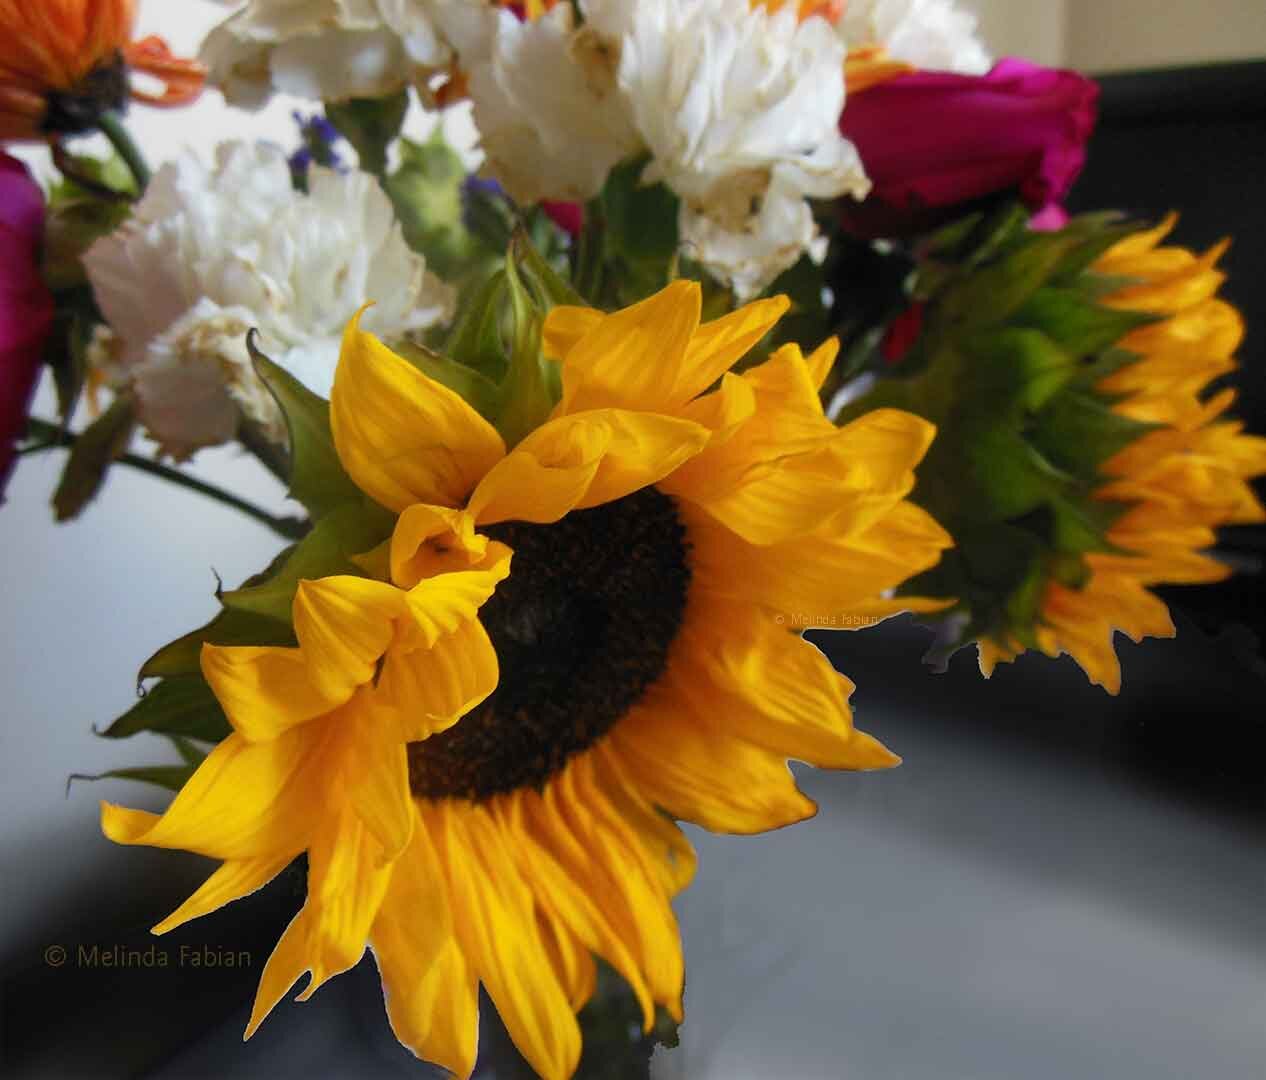
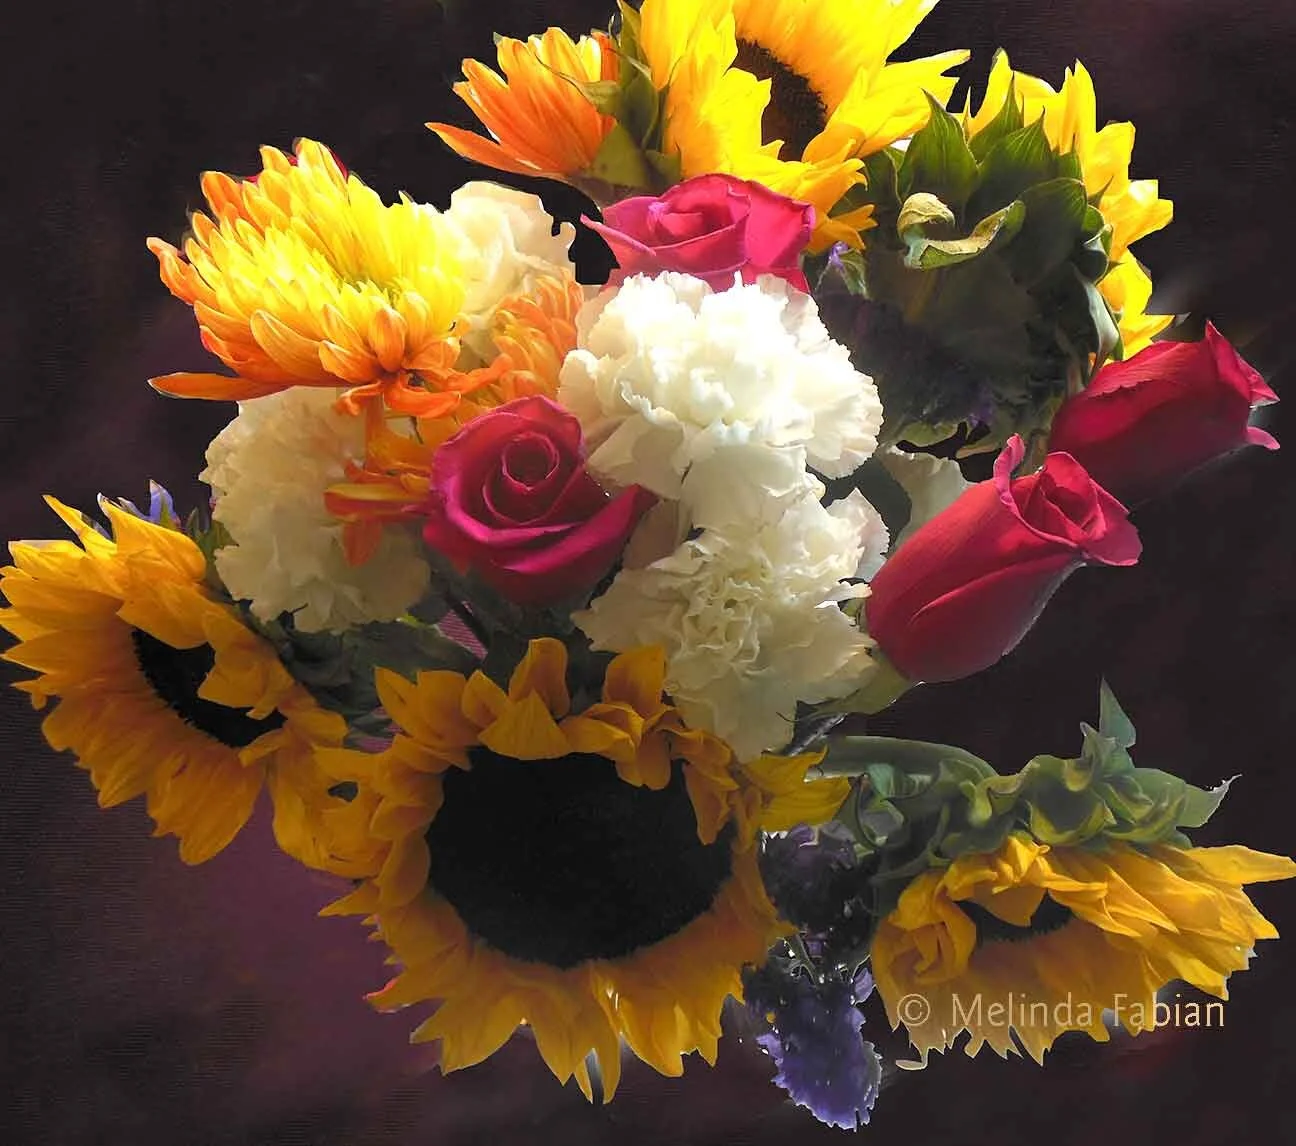
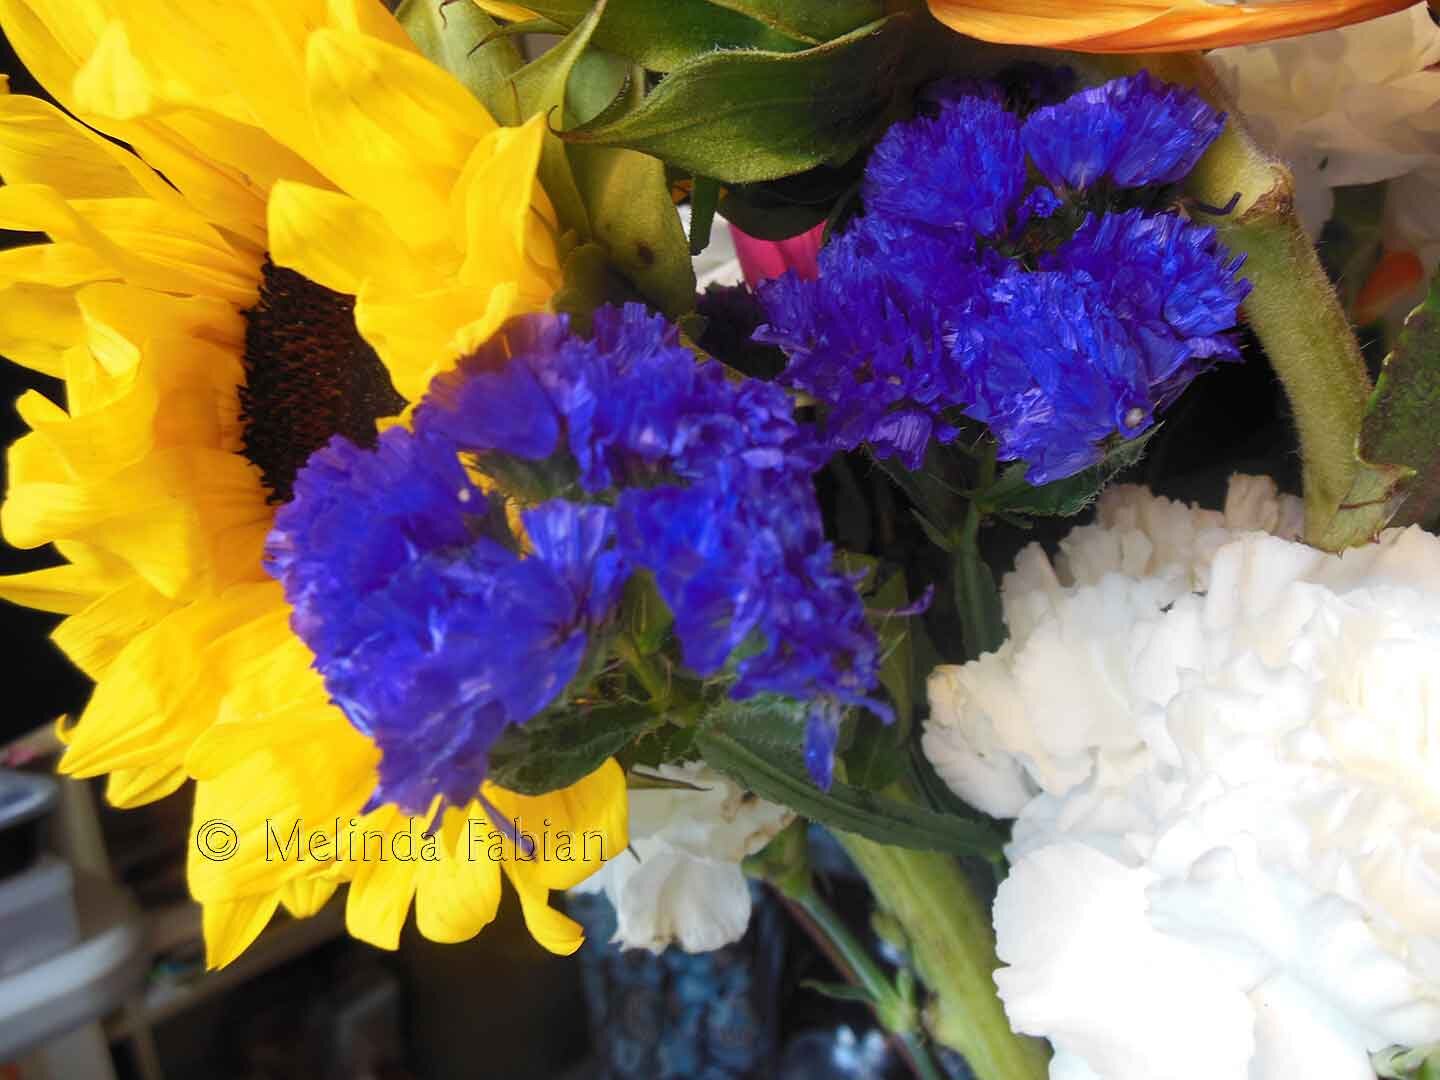
Next, I was ready to get to work on this 3D paper sculpture. OK, not so fast! I needed more flowers! Yes, it is true, I never turn down an excuse to buy more flowers. But really, I needed to add more color to this sprinkling can picture. So, off to the store I went once again, searching for a variety of flowers to fill up my sprinkling can. Once I got them home, I took more reference photos.
As is usually the case with art, as you start working on your design, it evolves during the process, and that was the case here. I originally thought I would show the sprinkling can with one potted plant inside it, but after searching for different types of flowers — they are so beautiful and loved the colors — I decided to change it from a single potted plant to a bouquet of fresh-cut flowers filling up the sprinkling can.
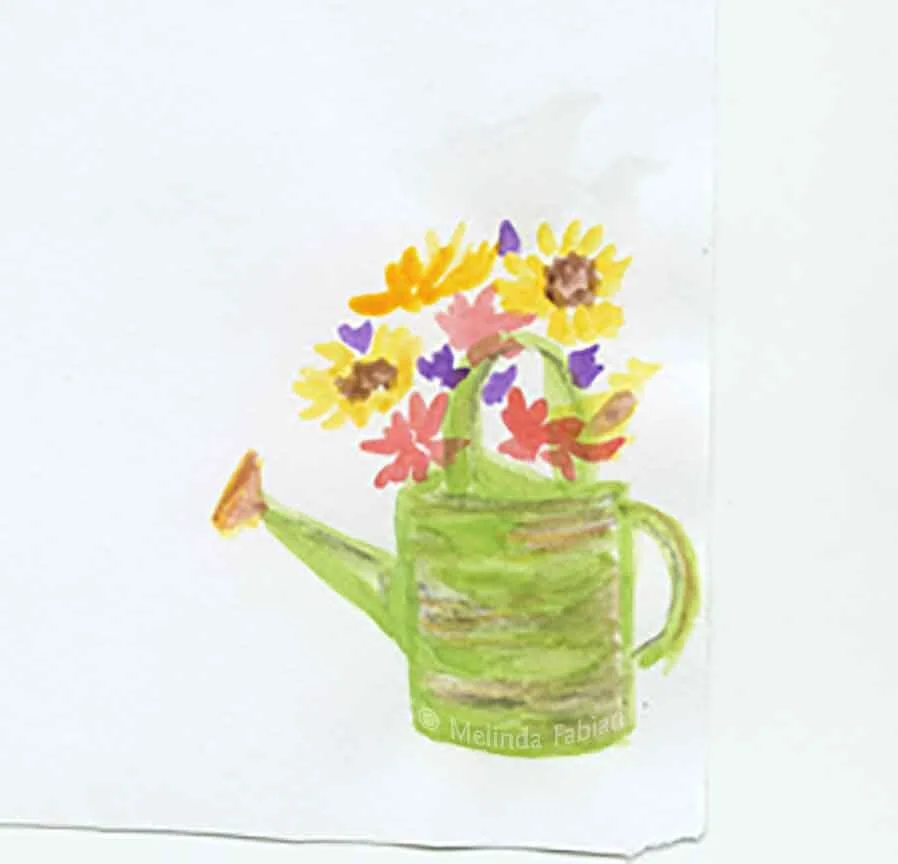
I did a quick little watercolor sketch of the bouquet of flowers inside the sprinkling can and now the real fun begins! I get to start the paper sculpture part.
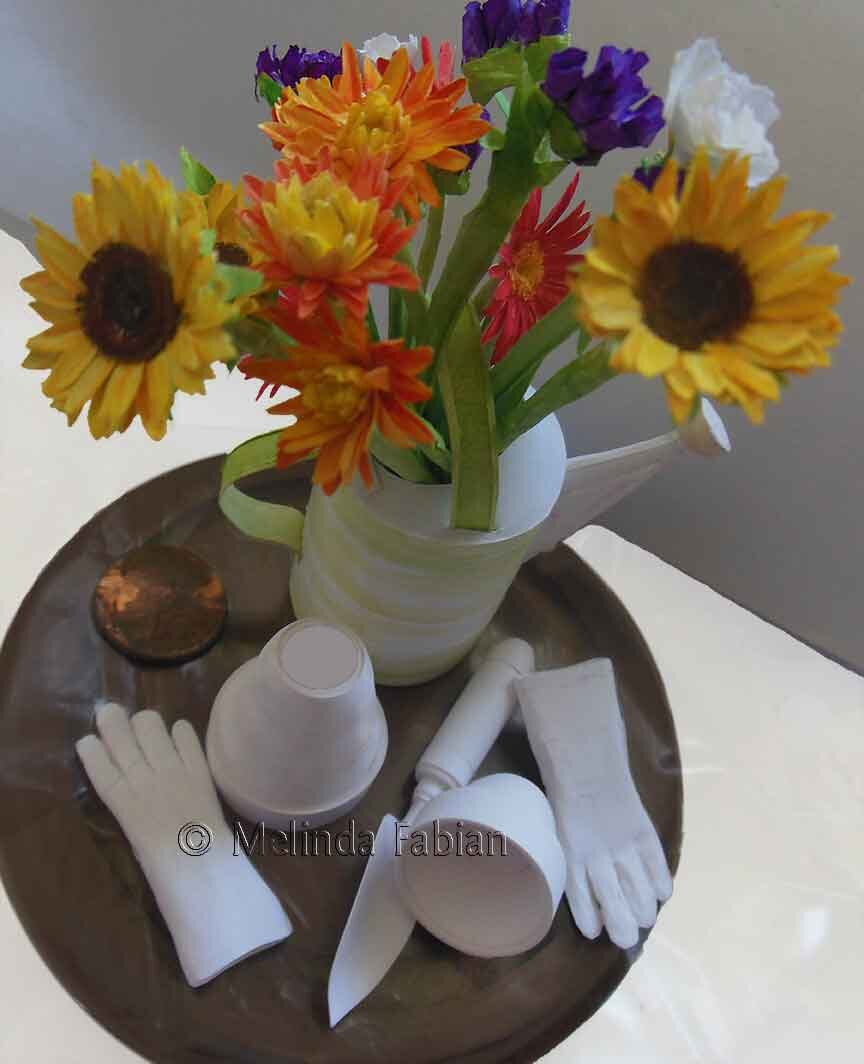
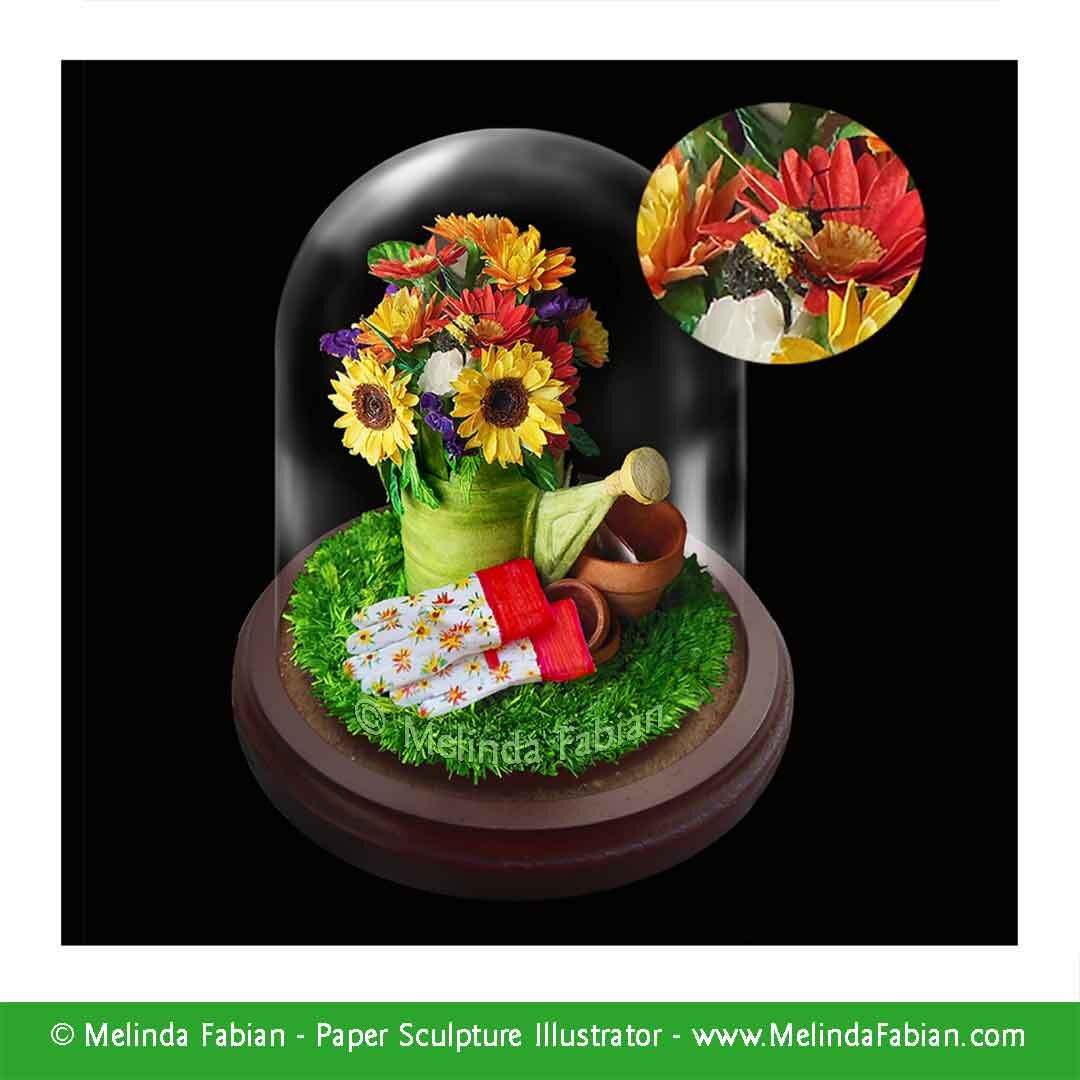
My 3D paper sculptures begin as white paper that is painted in watercolor and gouache. I started working on different elements that would be included in the final design, like the sprinkling can, gloves and spade. In the photos below, the pieces are setting on the wood base that the items will eventually be attached to. There is a glass dome that goes overtop of the sculpture to protect it.
Here are some in progress photos to give you an idea of what the little objects looked like in the beginning before they got painted. As you can see, I already painted a light shade of green onto the sprinkling can. The sprinkling can was difficult to construct out of just paper, especially the spout. On the one photo, I included an old penny sitting on the left side of the wood base to give you an idea of the scale of the piece.
Each little flower petal was cut out and painted. Even the grass was cut by hand. In the final piece, I wasn’t able to fit the little trowel onto the wood base and cover the final design with the glass dome. Instead, I drew up a couple of seed packets and added them into the final sculpture.
I also wanted to add a little buzzing bee to the piece. I like that it is not the first thing you will notice when you look at this piece and you have to find it among the flowers, just like in real life. Because of the bee, I thought it would be appropriate to title this paper sculpture, “Busy As a Bee.” I liked the play on words.
Paper Sculpture: ‘Can You Find My Lucky Four Leaf Clover?’
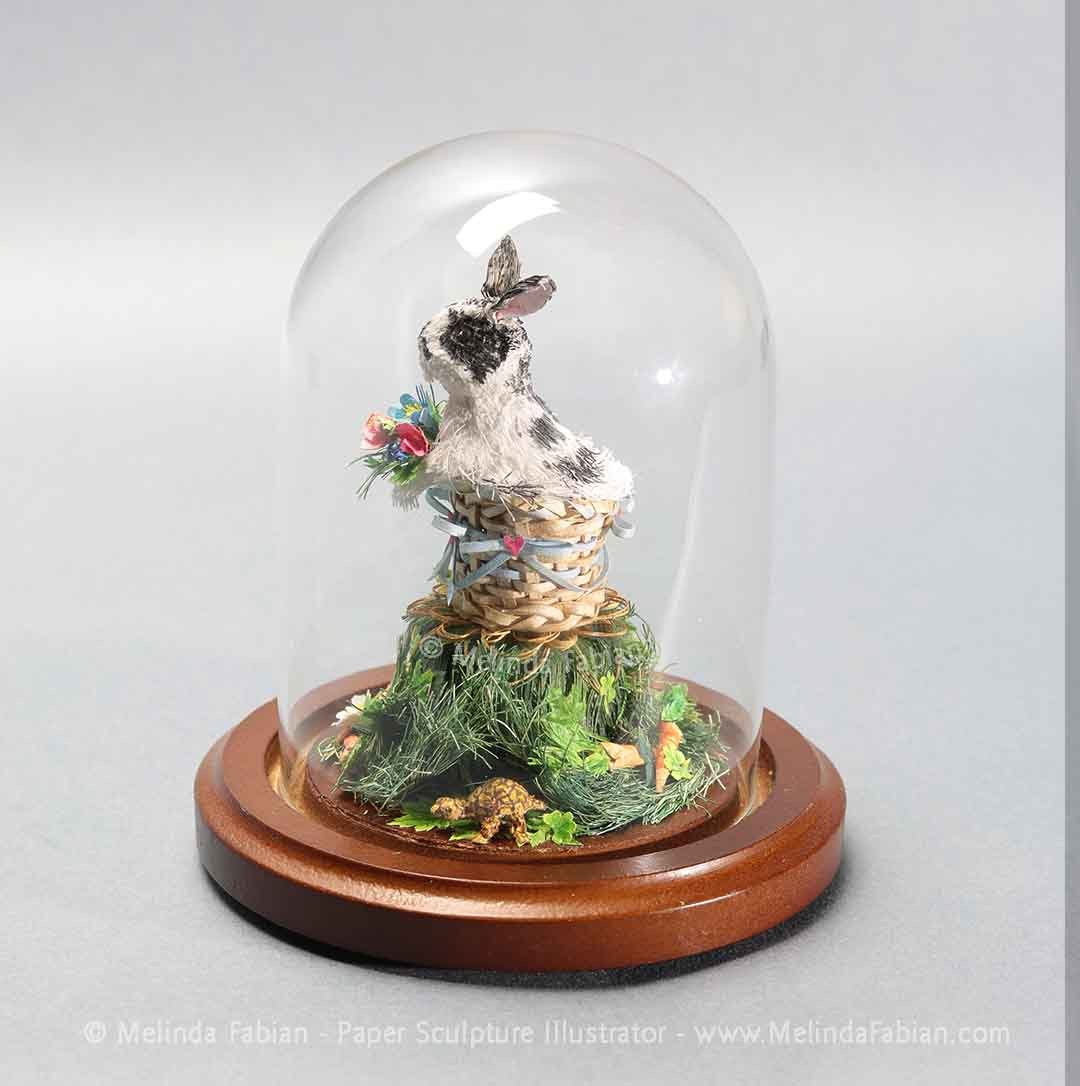
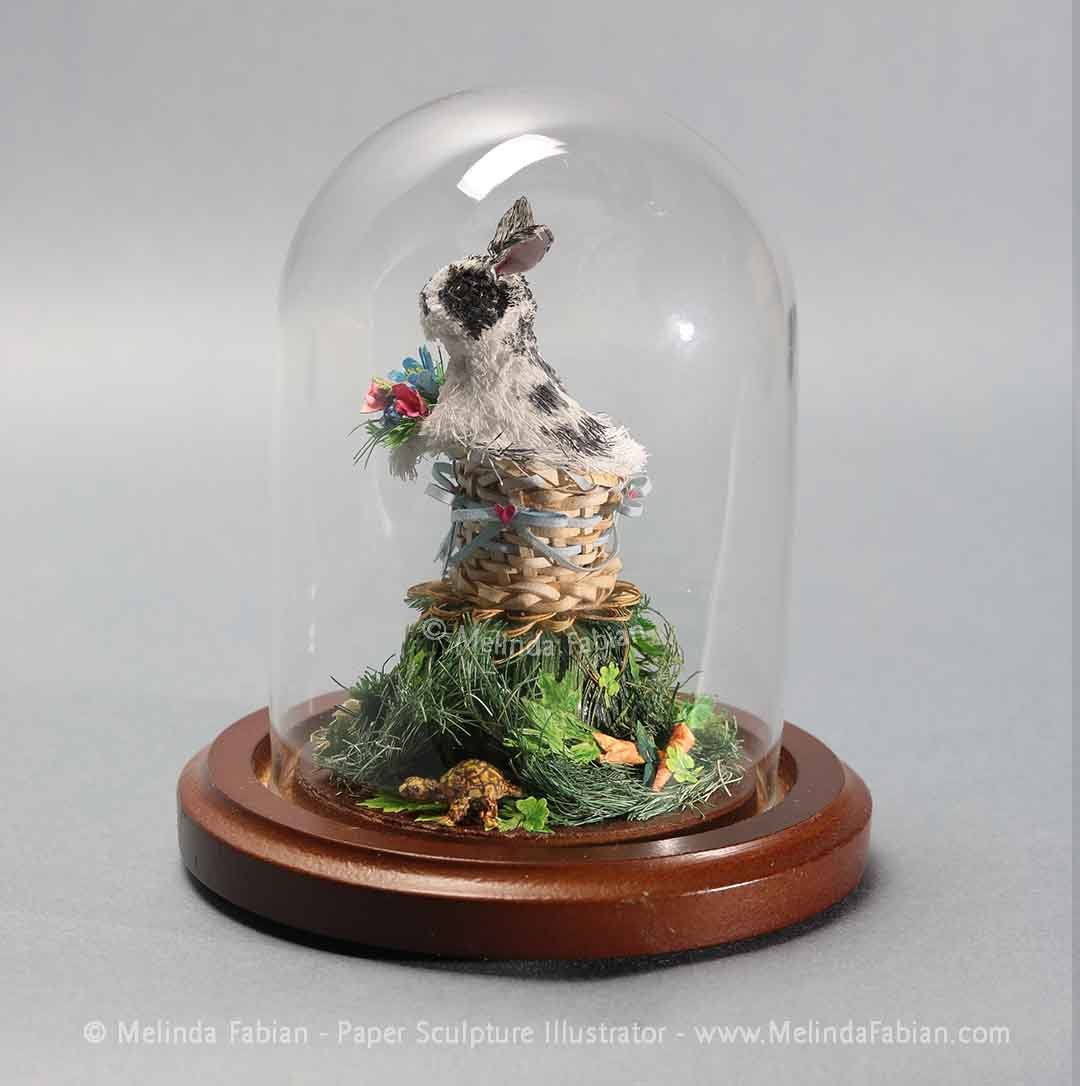
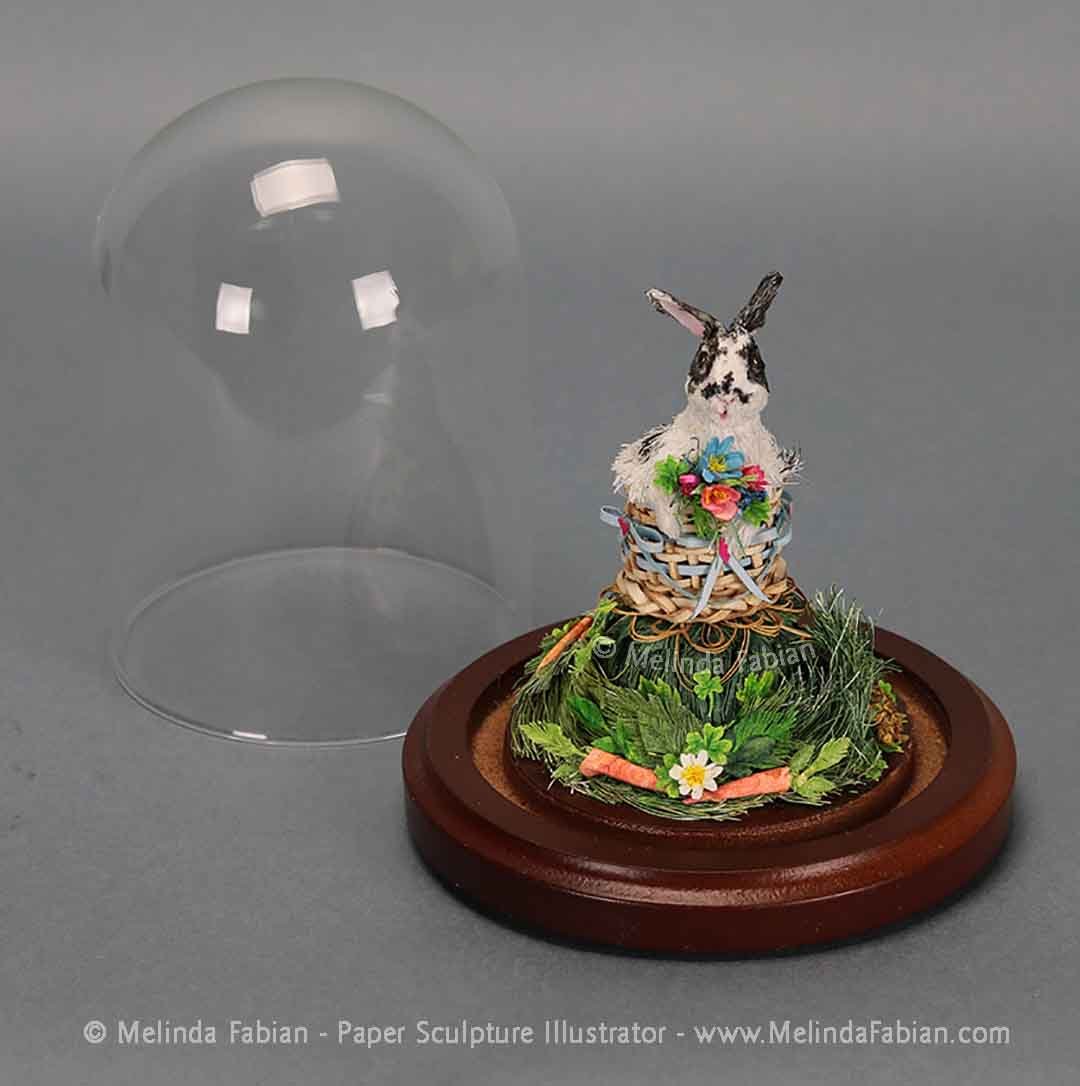
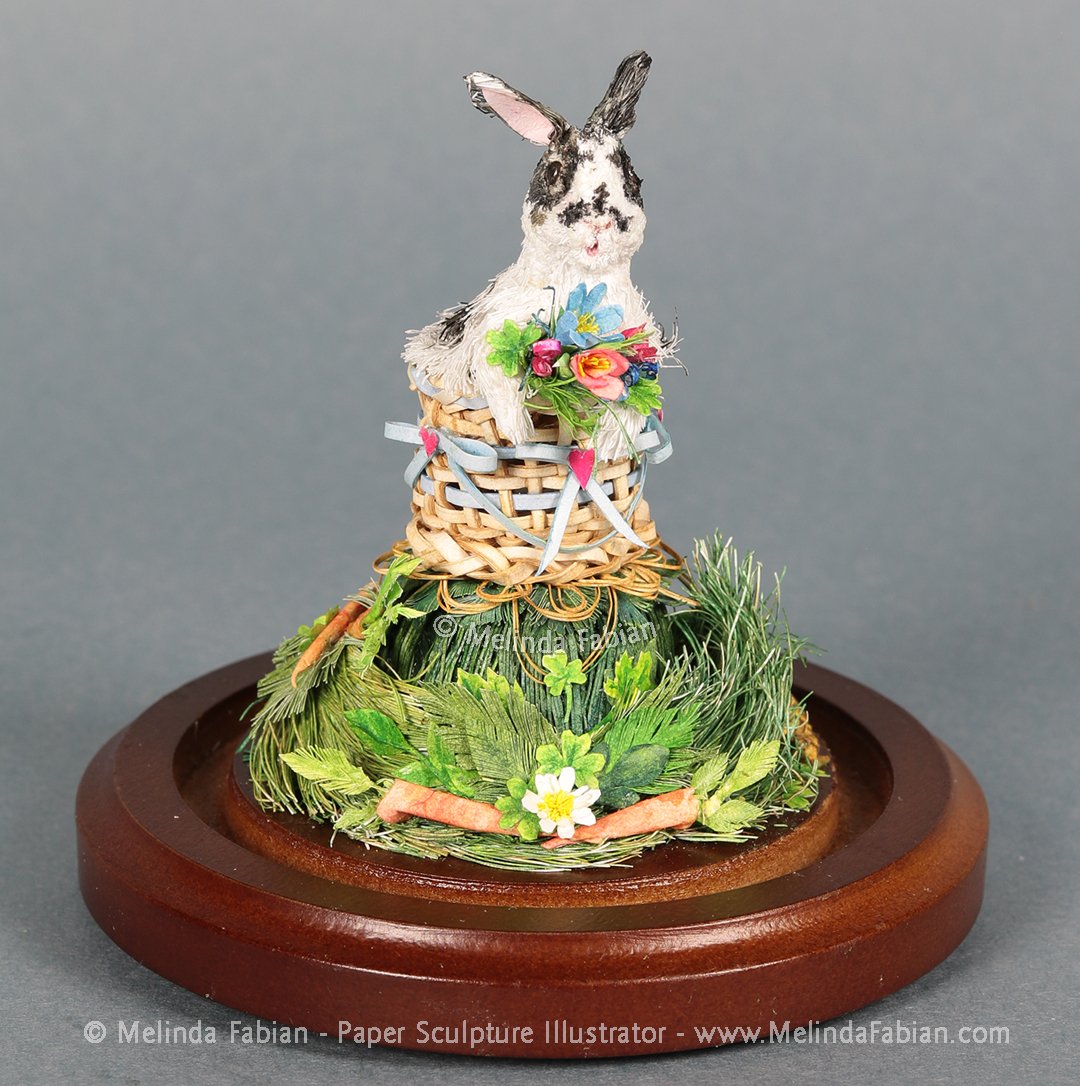
I wanted to make a whimsical, three-dimensional paper sculpture. This sculpture has a lot of details all made out of paper and paint. I will show close up details of the sculpture as I explain the story behind this piece.
I wanted to make a whimsical, three-dimensional paper sculpture for an upcoming miniature show. After doing some sketches, I came up with the idea of creating a little rabbit.
I wanted the bunny — who I call Flower — to be sitting on top of the hill she calls home. I also thought she needed a little basket to sit in so she can be comfy and cozy. I imagined that she is collecting and saving some of her favorite items and foods.
Now that I had my idea thought out and sketched, it was time to start working on all the pieces. Using white paper and a scissors, I cut lots of thin pieces of paper to create thin grass-like shapes. Then I took the grass shapes and formed them into a decorative hill for Flower to sit on. I wanted there to be a couple of holes at the base so she could stow away a special surprise.
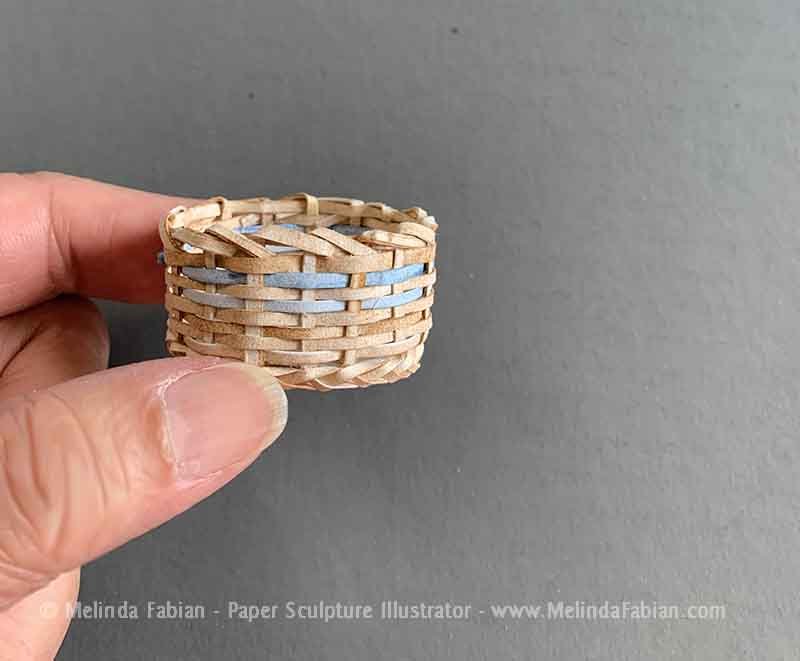
Next I needed to make a tiny little “wicker” basket all out of paper, of course. I’ve always love woven baskets, especially the different styles and shapes. I have collected many different styles and varieties of baskets over the years.
After weaving an actual-size paper “wicker” chair and table for a large-scale exhibition, I wanted to see if I could make a miniature basket using just paper and paint. I started with white paper cut into narrow strips. I was debating what color to make the basket, but then realized I didn’t need to narrow myself down to one color or style.
So, I painted the narrow strips of basket weaving paper into a couple of different colors so I could make a variety of baskets. One basket would be used for this paper sculpture. I also did a few additional weavings to plan for some other ideas I have in mind. After the paper was dry, I started weaving the basket.
After I made the basket, I started cutting the papers to make the rabbit. I wanted Flower to be sitting up in the basket with her arms over the sides. I also wanted her to hold a bunch of flowers that she collected to decorate her little home with.
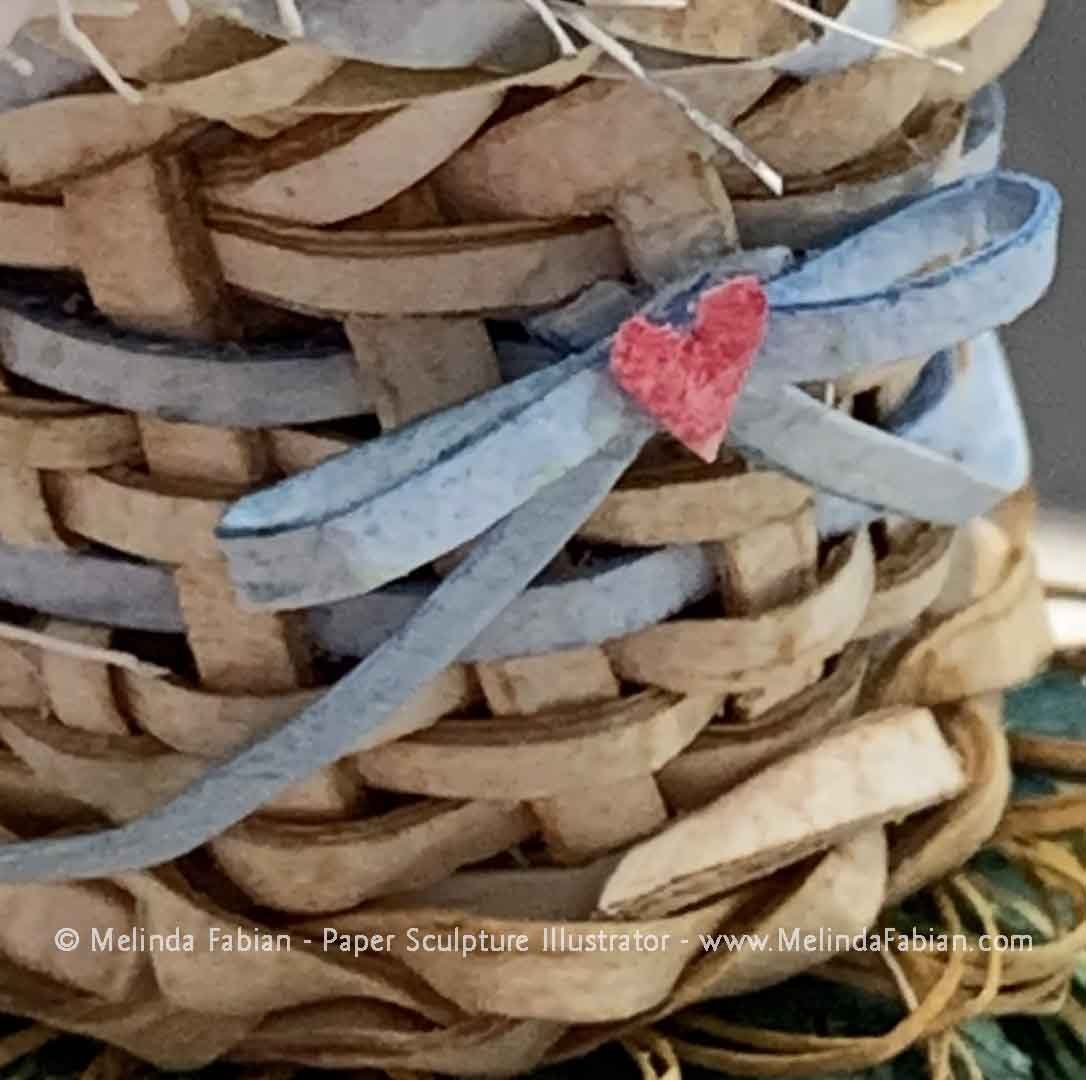
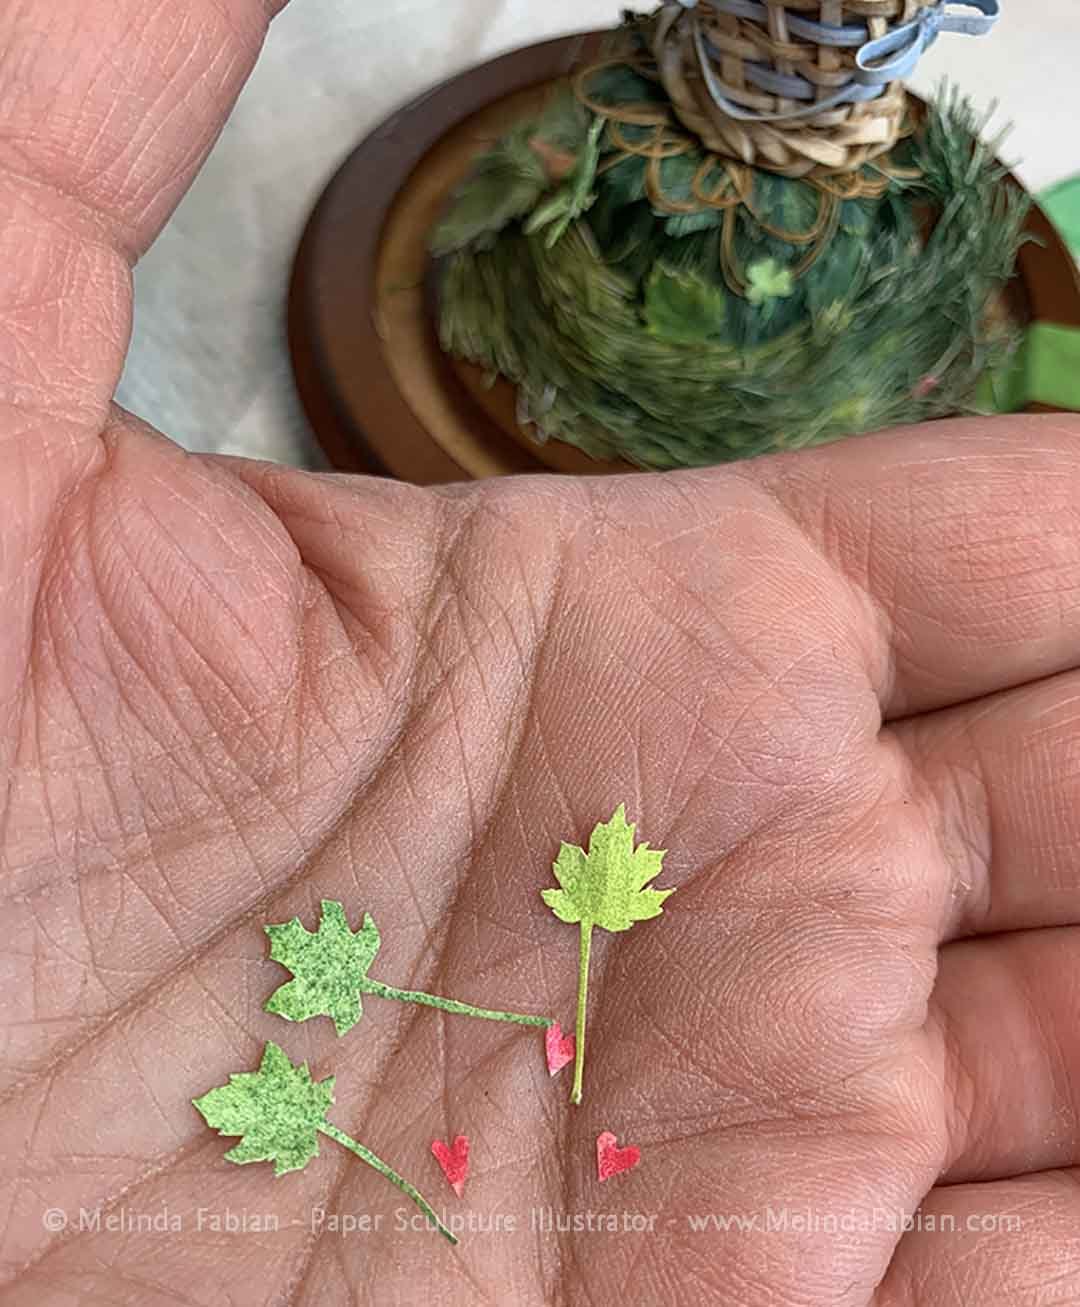
I wanted the basket to sit on top of the hill. Because it is an important feature of her home, I had to make a little decorative ‘doily’ for the basket to rest on. I wanted the basket to look fancy too, so I cut out little hearts and attached those to each of the bows on the basket.
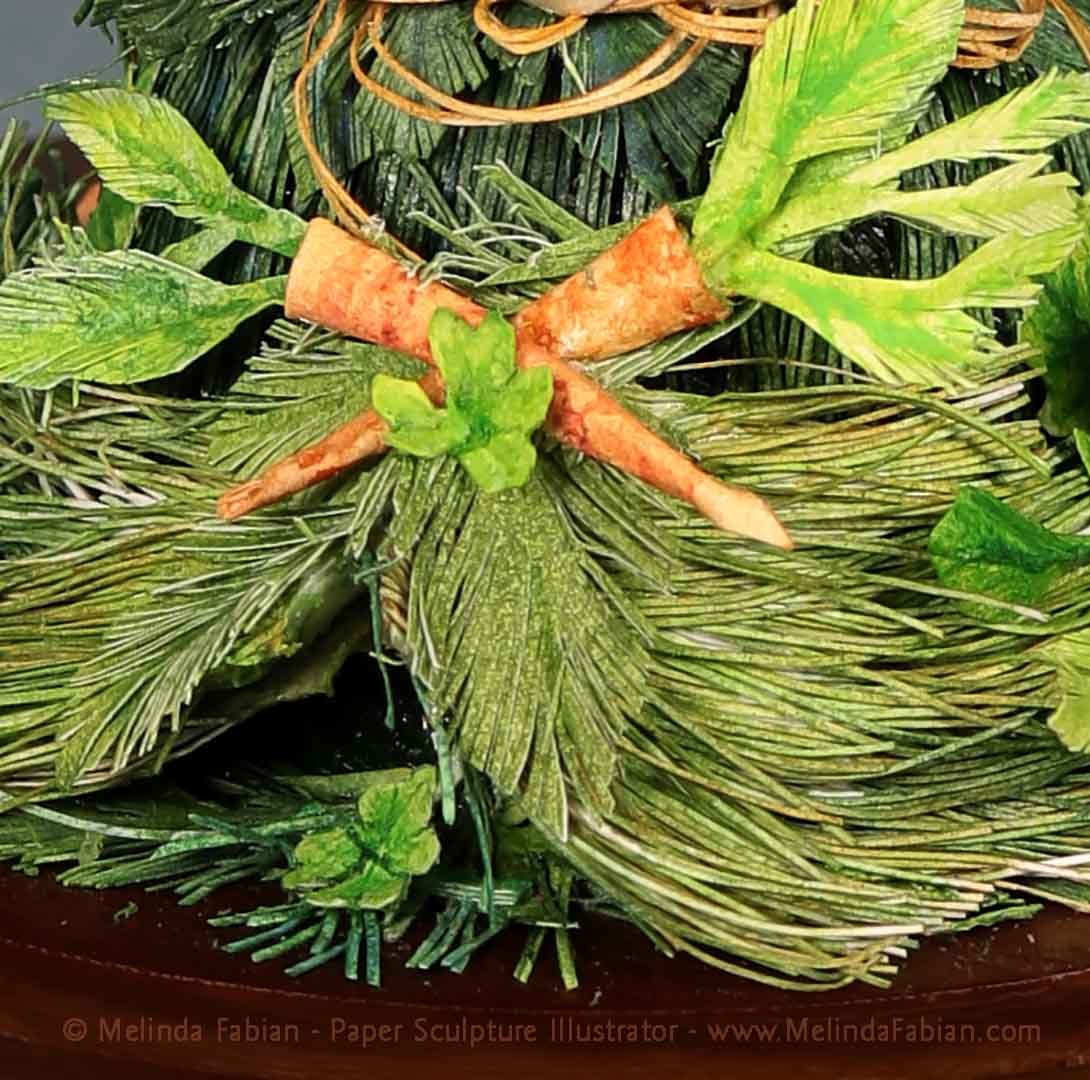
Next, I started cutting out maple leaves and carrots — lots of carrots of course! Then, I designed the outside of the bunny’s home. I also added clover and one little flower as additional decorations.
And of course, I had to include one of Flower’s little friends — a cute, teeny, tiny turtle. After all, everyone needs a friend in their life. Sam the turtle was made from paper that I painted in golds and browns. I was able to fit him inside one of the little openings in the grasses on the side of Flower’s hill.
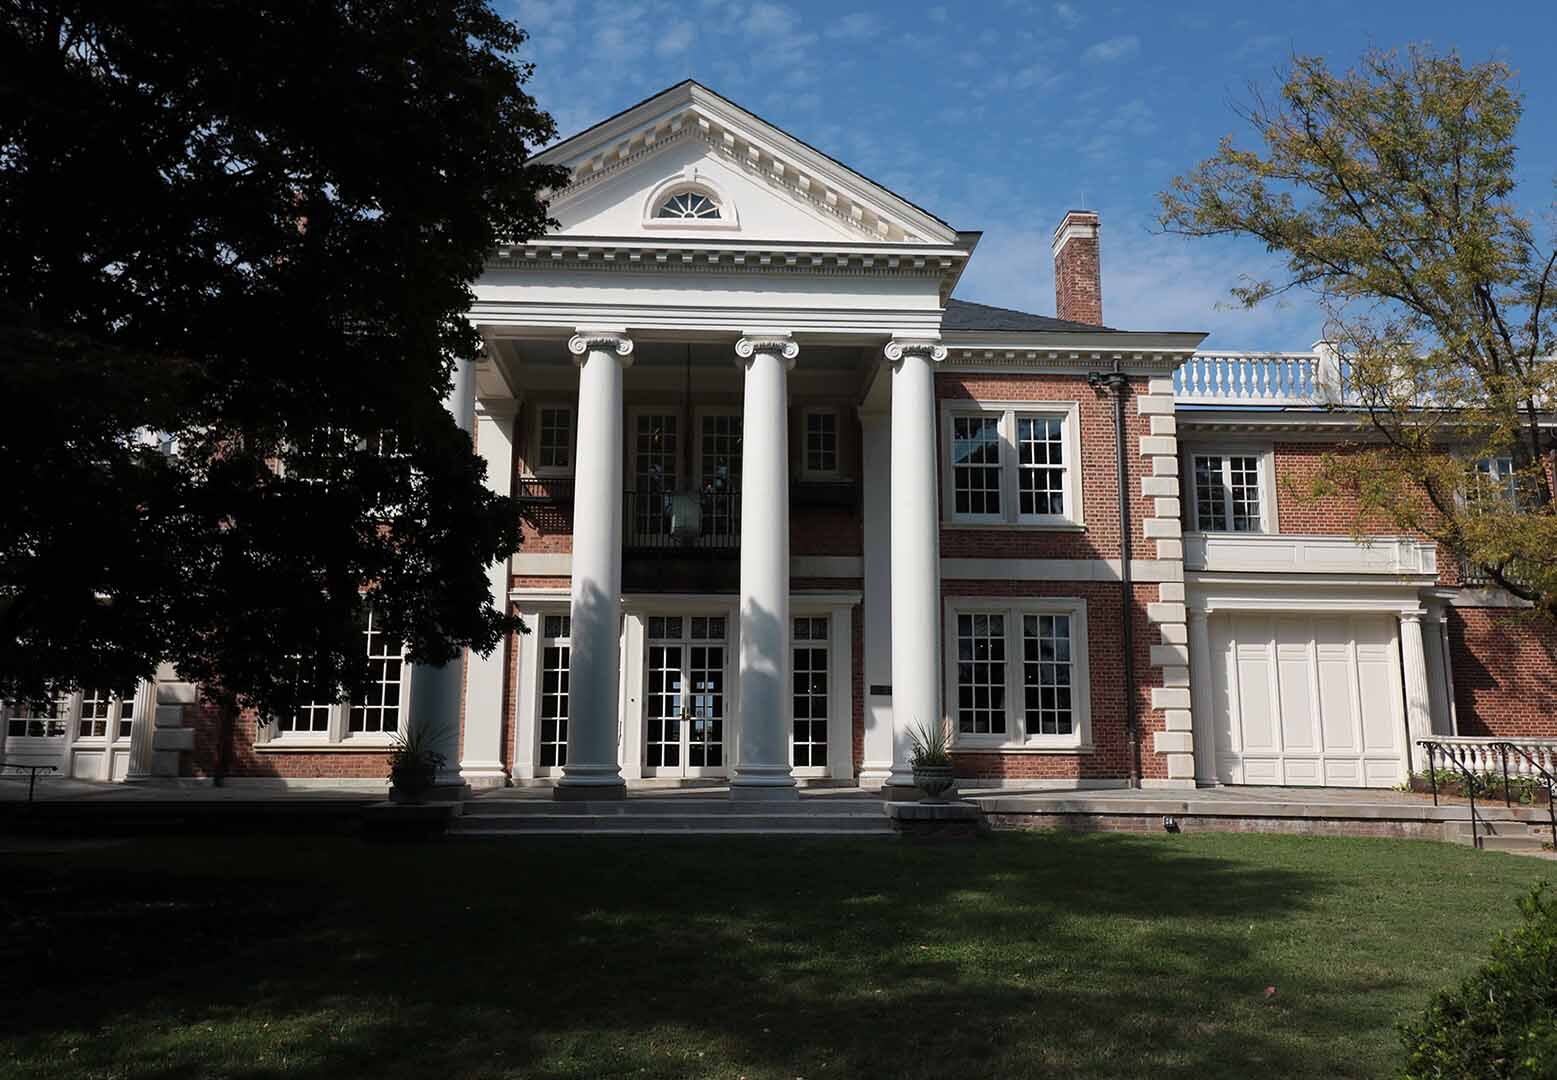
Next, I needed to find a good spot to place Flower’s prized possession — her lucky four-leaf clover! And that finishing touch led me to the title of this artwork, “Can You Find My Lucky Four Leaf Clover?” Most recently, Flower and her home were on display at the annual Miniature Painters, Sculptors & Gravers Society (MPSGS) miniature show at the Mansion at Strathmore near Washington, DC.
Miniature ‘Stars and Costars’ Under the Sea
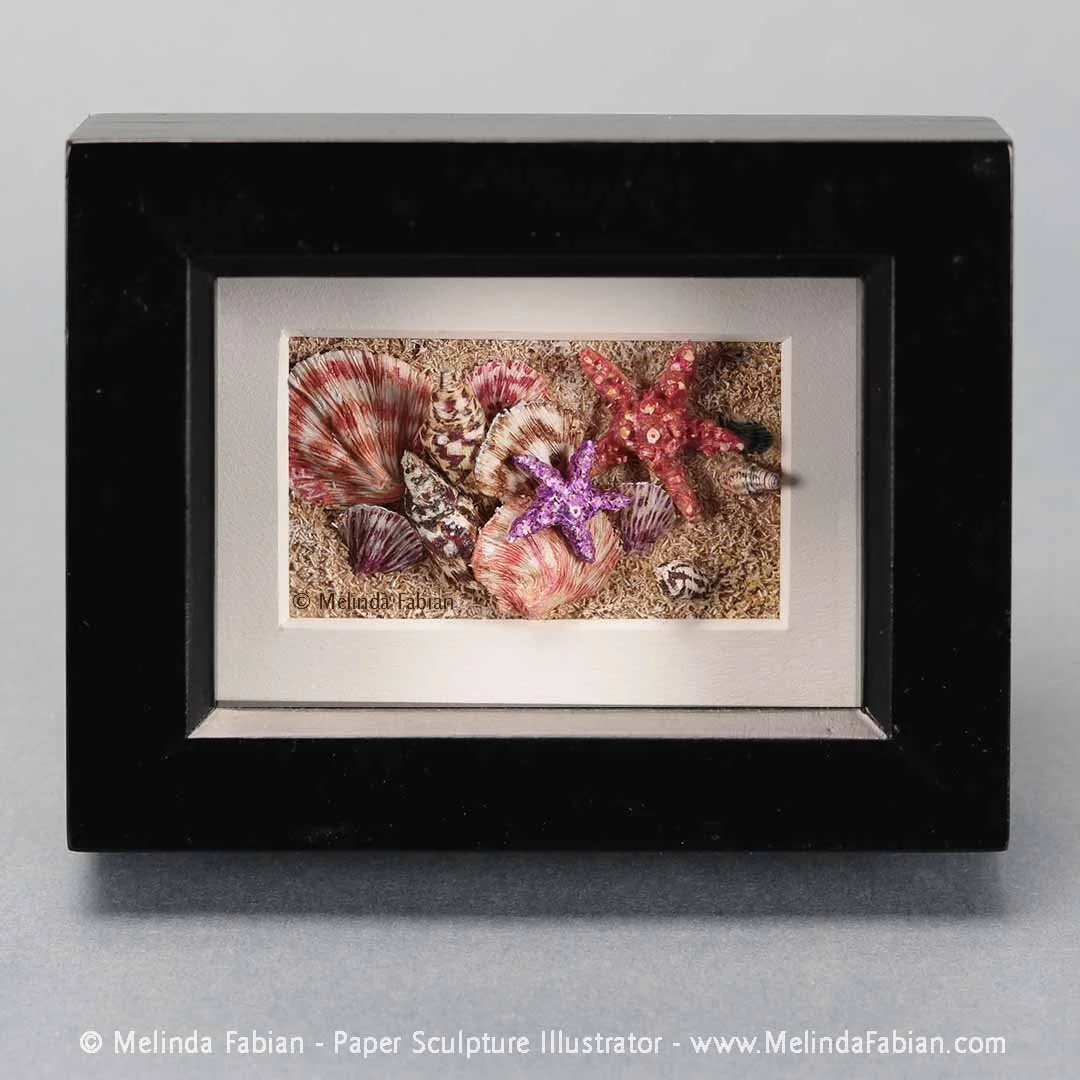
I enjoy collecting seashells and have many different varieties. Some of them are small enough that I can display them in old printer drawers. One of my recent paper sculpture illustrations was inspired by some of the shells I have collected over the years.
I enjoy collecting seashells and have many different varieties. Some of them are small enough that I can display them in old printer drawers. One of my recent paper sculpture illustrations was inspired by some of the shells I have collected over the years.
This miniature paper sculpture illustration is three-dimensional. The shells come up and out of the piece of paper and are quite small. Even the sand on the beach is made of paper that was cut by hand and then painted in watercolor and gouache. The outside frame measures just 3.5 inches by 4.5 inches.
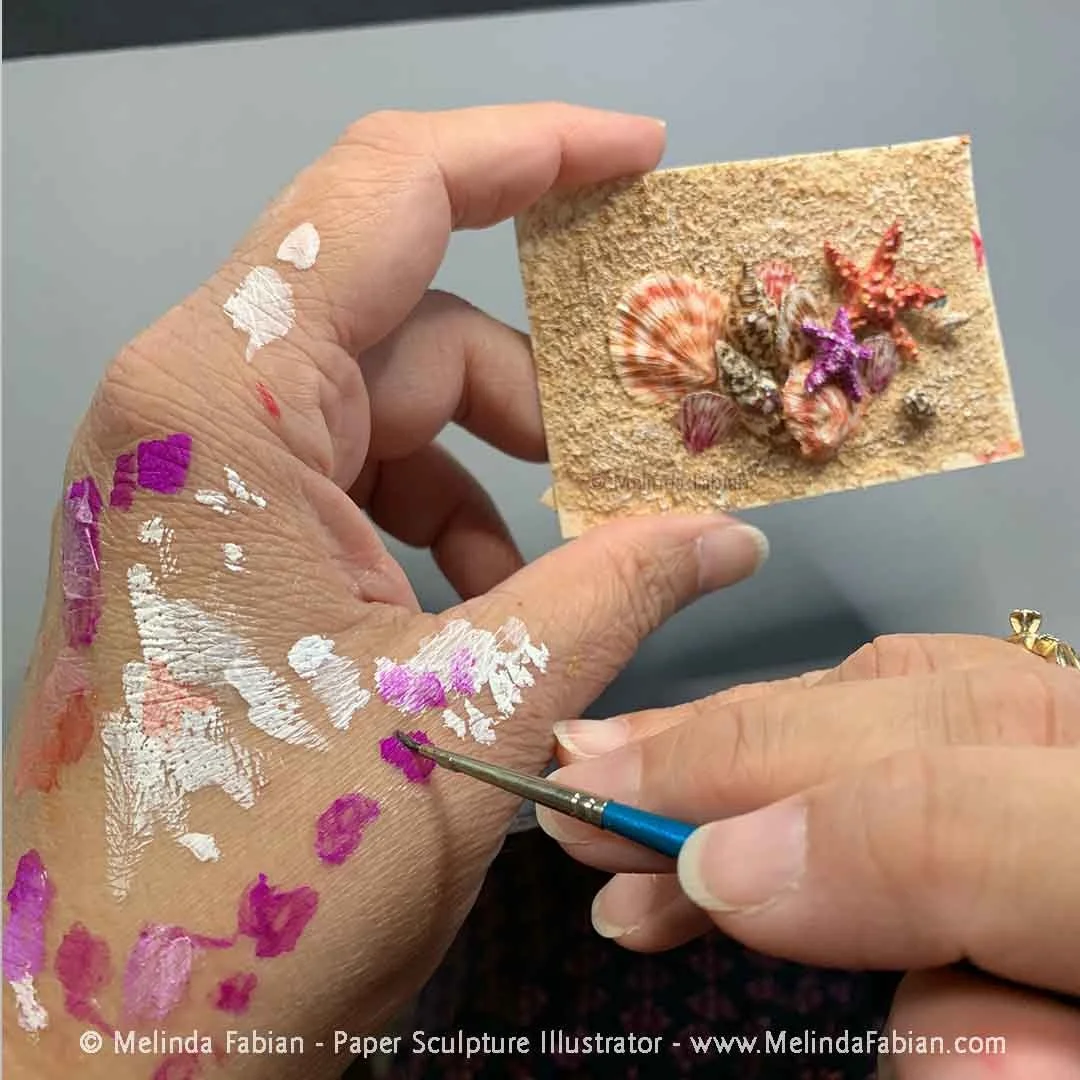
Sometimes when I’m working on a miniature painting such as this one, I use a 000 brush with just has a few short bristles. This allows me to add a lot of detail on such a small scale. The brush marks that I need to make are tiny, so I can only put a small amount of paint on the bristles.
By the time I move the brush from the paint to the painting, the paint is already completely dry. In order to remedy that, I will sometimes mix the paints right on the side of my hand. Then I can quickly move the brush immediately to the painting to add the necessary details. This is one of the adjustments I (and probably many others) make when working in such fine details in miniature art.
Here is a photo of me working on the “Stars and Costars” painting.
I wanted to really emphasize the colors and exaggerate the brightness of the shells, drawing attention to their beauty. I also imagine there are still many more “star and costar” shells under the sea that are yet to be discovered, waiting to show off all their glorious colors under the sea.
Reflecting on My Art Studio, Old and New
Each studio I’ve had over the years has been a very different space. They’ve all had their own unique features and characteristics as well as something I really liked.
Each studio I’ve had over the years has been a very different space. They’ve all had their own unique features and characteristics as well as something I really liked. This is even true about my first studio, which was in an old apartment building. One day, my studio got rained on after the water pipes froze and burst in the unit on the third floor above me.
I am already loving my latest studio because I have a beautiful country view outside my window, which will be bigger and brighter after the new window is installed. Another thing I like is that the building is set back from the road, making it feel private and peaceful.
I also appreciate that my new studio has a door and is a separate room from the rest of the house. I can close the door to signal that my office is now closed. It gives me a sense of separation between work and life. And sometimes, it is just nice to know I can close that door and not have anyone, including me, catch a glimpse at my sometimes-messy desk.
Because I am still in the process of renovating the new studio, I have lots of boxes that are still packed up. This can be a little frustrating, but I know I will be thankful when my dedicated art studio space is ready.
When work really gets started on my window, I will need to move out to the dining room table for a while. I am hoping by then to have my newest miniature art pieces completed, since it will be much more difficult to do miniature art at the table. I need a lot of bright light for those!
A ‘Window’ Into My Studio Renovations
Renovations are still underway, and I wanted to share more about what I have planned as well as some things I learned about creating a workspace that is just right.
I started telling you all about my new studio space after recently moving. Renovations are still underway, and I wanted to share more about what I have planned as well as some things I learned about creating a workspace that is just right.
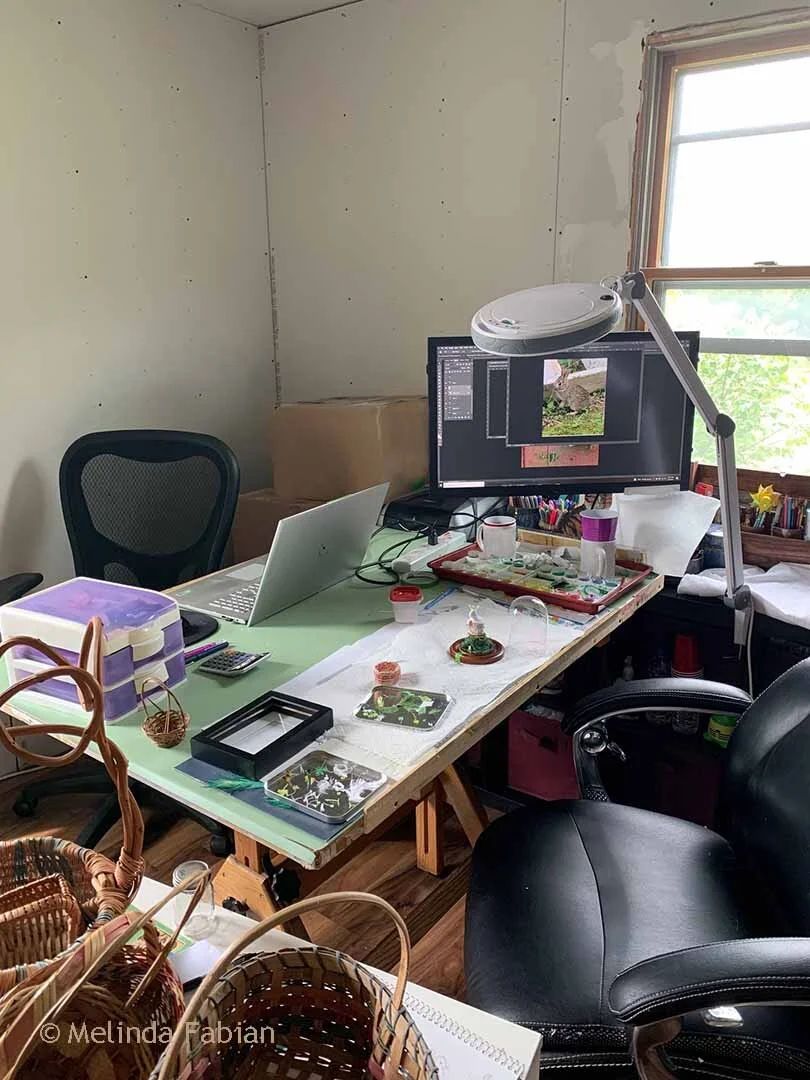
I am waiting to have a large bay window installed in my studio, which will be wonderful light. When I first had my desk set up in the studio, I placed it facing the window that I am opening into the bay window eventually. After a few days, I quickly realized that wasn’t the right spot and shifted everything around. It took me a couple of tries as I kept moving my desk until I decided which location felt most comfortable.
I definitely would recommend setting up your studio and testing a few different configurations to see what really feels best. Live with the desk in its new location for a couple of days to see if that is the correct placement. Is the light coming in the room at a good spot? Or do you prefer your desk in a different part of the room? It is easier to move everything around before everything gets unpacked!
I did figure out one neat way of utilizing my large, 48-inch by 36-inch drafting table. I use the one side of the drafting table to do my paper sculpting and painting. Before, the other half of the desk wasn’t used and quickly become a space where loose, miscellaneous papers piled up into a messy stack.
This time I set the other side of the table up for my computer work. I don’t know why I never thought of this before! It seems like such an obvious solution. I was very close to sawing off the back half of the desk to give me more space in my studio since it is a bit smaller room than my previous one. I am so thankful I didn’t do that!
Now I can keep my computer on the other half of the table, which is so convenient. I don’t have to clear my desktop off just to use my computer — I always have a clean space for it in order to work on the business side of things. Somehow, I even had an extra comfy office chair that I can keep on both sides of the drafting table.
Or should I say… Now my cat Molly and I both have a nice, comfy desk chair available!
Since I finally decided where I want to keep the desk in my studio, I was able to have my monitor installed on the wall. After using my small desktop computer for months, I forgot just how big my monitor screen is and how nice it is to use for reference material.
The spot where I mounted the screen is on the wall but over the middle of my desk. That allows me to turn the monitor to whichever side of the desk that I am working on. When I am working on my computer, I can turn the monitor to face me. I can then have the monitor with my reference photos up on the screen, facing my workspace where I can paint and sculpt.
Settling Into a Brand-New Art Studio
Moving is usually a bit stressful. When you have a home-based business, such as an art studio, it adds additional stressors to the situation.
I recently relocated to Pennsylvania. Moving is usually a bit stressful. When you have a home-based business, such as an art studio, it adds additional stressors to the situation, or at least this has been my experience when moving.
After this move, I had to decide what supplies I would need right away to keep working. I plan on doing renovations in the studio. Many of my art supplies and reference books will need to be stored until after the renovations are complete. Therefore, I had to think through the resources I would want to have close at hand in the meantime. Right away, I knew I at least needed:
Paint brushes
Paints
Scissors
Glue
And of course, paper
Then I had to think ahead about the art shows that I want to participate in. What type of paper sculptures do I hope to complete for upcoming shows? Next I had to think about what reference materials I may need to complete those sculptures. Will I be framing the art, or will it be free-standing and placed under domes? I will need to keep those frames and domes nearby.
I also have finished, framed art that I need to keep track of. In an art business, things are always moving and shifting. Framed pieces need to be shipped to gallery shows or to a customer. If entering juried shows, those deadlines need to be tracked and I need to keep an eye on where my art is being shipped, sold, and sent out to clients.
With all my planning aside, several renovations have already occurred in my studio. First, the old paneling in the room was taken down and replaced with fresh dry wall. The rug was removed, and a new subfloor and wood laminate flooring was installed.
One tall and one short shelving unit was set up along with my large drafting table. Normally I have another shelving unit in my studio loaded with all my reference books. The walls in the room still need to be painted, so I don’t want to unpack all my books because it will be too hard to move the shelves if they are loaded up with books.
So, for now, almost all of my reference books and sketch books are still boxed up. I am discovering this is not all that convenient as I am trying to paper sculpt. I often refer to my sketch books for ideas, so despite all my planning, I still have to dig through various boxes to find what I need. This takes a lot of extra time — but it’s all a work in progress.
Stay tuned for what else I have planned with renovations in my new studio space!
A Squirrel Takes to the 'Soapbox'
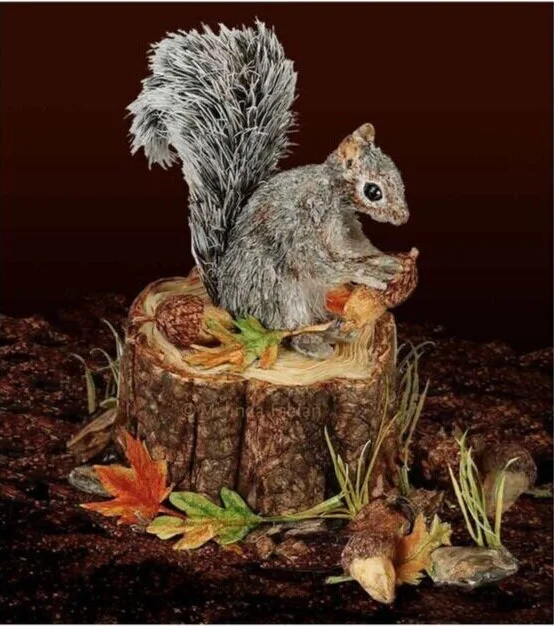
In this paper sculpture titled, “On My Soapbox,” I wanted to see if I could recreate a squirrel’s woodland scene in miniature using only paper and paint.
In this paper sculpture titled, “On My Soapbox,” I wanted to see if I could recreate a squirrel’s woodland scene in miniature using only paper and paint. I love the challenge of creating a miniature piece. This entire piece fits under a glass dome that measures 4” in height by 4.5” in width, which includes the wooden base.
The squirrel in the scene is gathering nuts, getting ready for the winter ahead, while the newly fallen leaves are beginning to change colors during the colorful autumn months. I wanted the scene to look realistic, from the squirrel’s furry coat and fluffy tail to the acorns and leaves around him.
Like my other paper sculptures, I want viewers of this squirrel to find a moment of escape that evokes an emotional response, whether that’s joy, delight, surprise, nostalgia or tranquility. Can you smell the cool autumn air and hear the squirrel chirping to his nearby friends from his tree trunk soapbox? Perhaps he is reminding them to collect all the acorns they can before the cold winter sets in. You might see your own version of the story as you look at the squirrel in his natural habitat.
I want my paper sculpture habitats to serve as a reminder that we can find joy in our everyday intersections with nature. Stopping to appreciate these moments — like a squirrel with his acorn in the fall — can be a reminder of the importance our environment plays in our lives and the animals around us. I want to capture these snapshots that we often overlook in our busy, everyday lives.
It is these little moments in time that can bring us so much joy and help use tune into the important things in life. I also hope to make you smile when you realize what you can do with just paper and paint, a steady hand, and a bit of patience!
Why I Wanted to Be an Artist
I always knew I wanted to be an artist. I can’t imagine doing anything else.
Somehow I feel I have lots and lots of ideas as to what I’d like to make and do with my art. But I struggle when it is time to write a blog. Once in awhile I may feel inspired and can think of what to write about. But more often than not, I end up asking others (my daughter), “What should I blog about?”
One of the topics she suggested was writing about why I wanted to be an artist. That’s a good question.
I always knew I wanted to be an artist. I can’t imagine doing anything else. Being an artist is who I am. It is something that I have to do — it brings me so much joy and peace when I am creating and making something. But it is also something deeper than that. I want to share my love of art with others.
My biggest hope is that through my art, I will give someone else some happiness and joy in their life too. There’s nothing that feels better than when I hear a child exclaim, “Wow, that’s so cool!” Or when someone is so fascinated by a final piece that they want to know how I created it. Or when I can see how much someone loves owning one of my pieces.
I’ve always had that need to create and make something. And I was also brought up in a family that encouraged all of us to be creative. There were a lot of art and craft projects going on as I grew up — every birthday and holiday was an excuse to get out the construction paper, markers and crayons, sequins, and whatever else was in the box of crafts.
My mom never minded the messy little scraps of paper or dried noodles that might have gone flying off the table onto the floor. I approached creative projects the same way my children: create, glue, paste, draw, build, experiment and we will clean it up when we are done. My kids also had the best stories to go along with their pictures.
Even if I wasn’t brought up in a house that was gluing felt and rick rack to my grandmother’s birthday card, I am still positive I would still be an artist. But perhaps those fond memories of crafting at the kitchen table is one reason why I also love to illustrate for children’s publications and add an element of surprise to everything I create.
How Viewers Perceived My Country Garden Retreat Installation
With my “Charming Victorian Country Garden Retreat” exhibition, I hoped people viewing the art would take away feelings of contentment and peace.
As an artist, when I create a new piece, I am not only considering the piece I want to make, but also the feeling, thought or emotion I want the viewer to experience and take away from my art. I like creating fun art that engages viewers with my art, hoping it makes them feel joy.
One of the problematic issues as an artist, like many of us who work alone in a studio, is you can only imagine how your audience will receive your art and hope it is in the way you planned. But, unless you are at a gallery watching or talking with guests, you can never really be certain how the art was perceived.
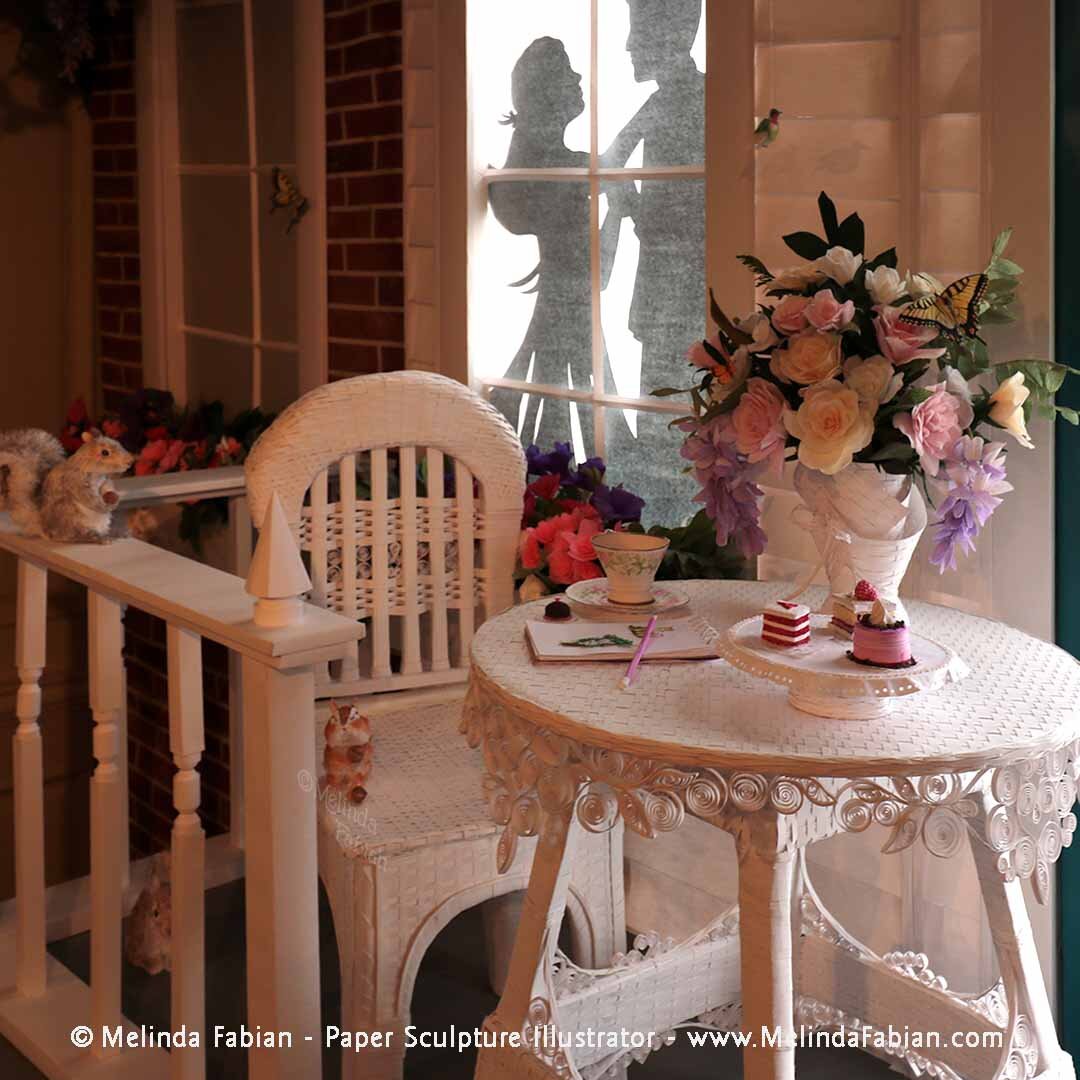
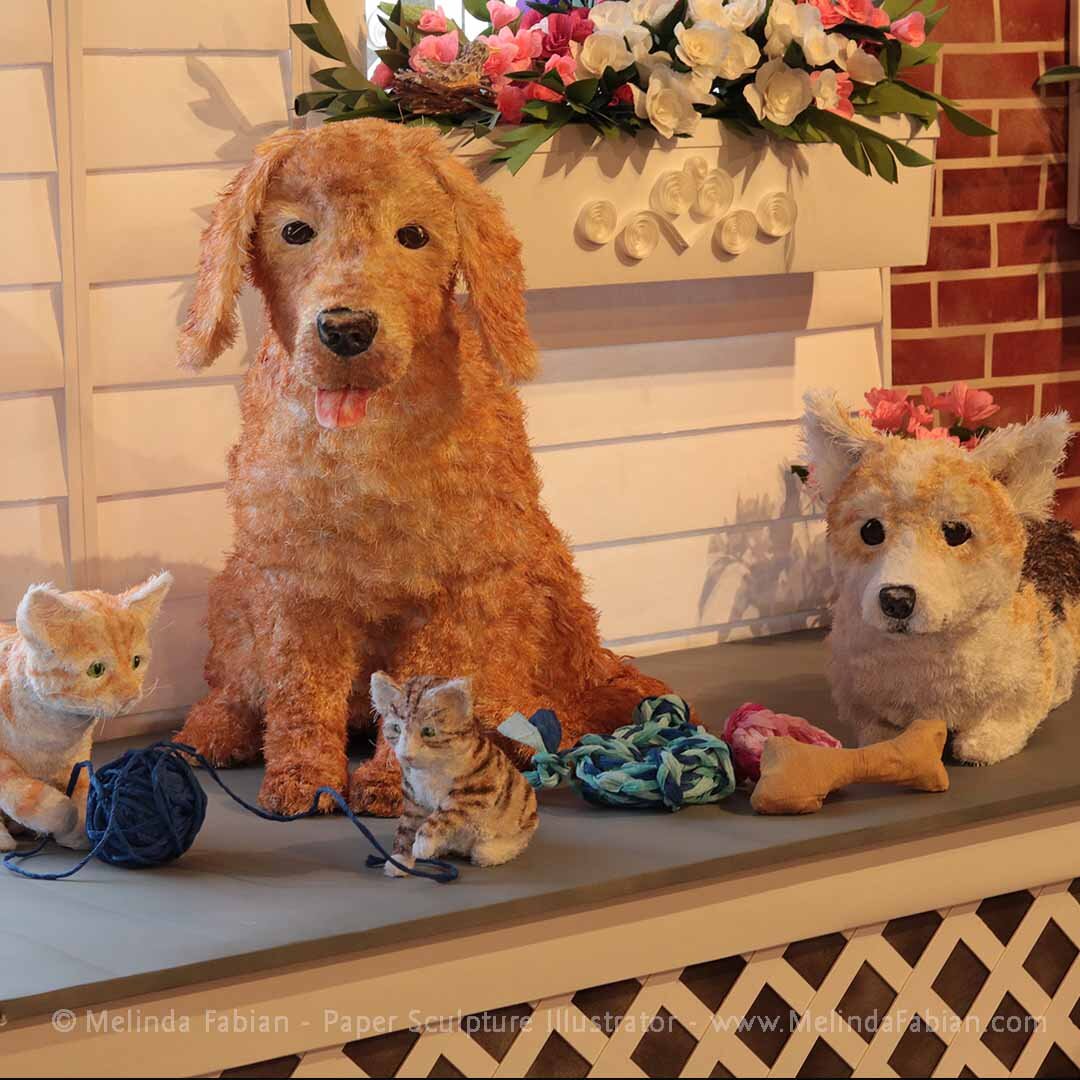
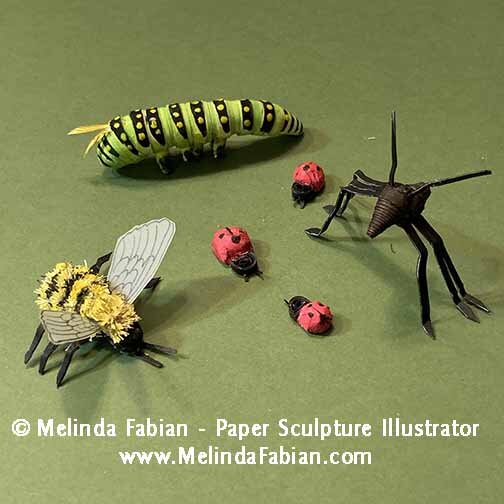
With my “Charming Victorian Country Garden Retreat” exhibition, I hoped people viewing the art would take away feelings of contentment and peace. The porch scene would be a place where they could want to come and have a cup of tea — a place to relax and enjoy themselves. And, of course, as they look at my art, I was really hoping they would begin to notice all the details I added such as the family pets, birds, butterflies, ants, bumble bees, and the not-so-obvious items such as a dragon fly, caterpillars, and pinwheels. I wanted to help capture this moment in time for viewers, long enough to realize the beauty in these everyday experiences we often walk right past.
I also was curious what people’s favorite part was of my country garden paper sculpture installation. I have my favorite things to create, and even one or two things that I would prefer to not make again. But what about those who saw it in person?
This installation was such a large project — about 1.5 years’ worth of work — and I was curious how my plans compared with people’s real experiences of the work. I decided to send out a mini survey to some of the people who viewed my art installation in person. I kept asked two questions:
1. What was your favorite part of my paper sculpture installation?
2. How did it make you feel when you viewed my art?
Here were the results from my very unscientific survey:
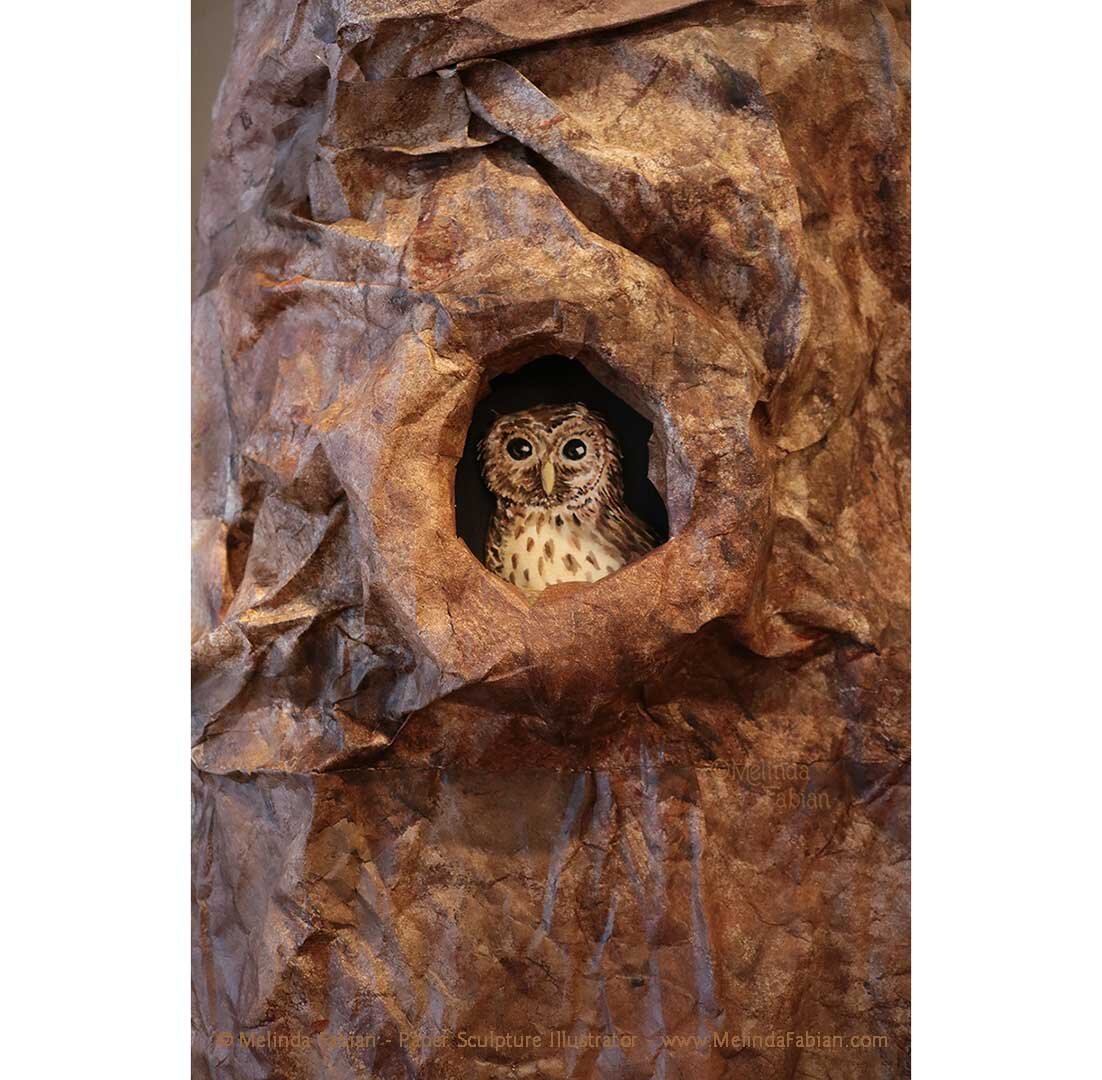
Perhaps unsurprisingly, people had many different answers for their favorite part that spanned the entire installation. The animals, including the turtle, owl, corgi and dogs, cats, all the butterflies and moth, and the character of the ants. One said they liked all the animals, and the “sense of playfulness.”
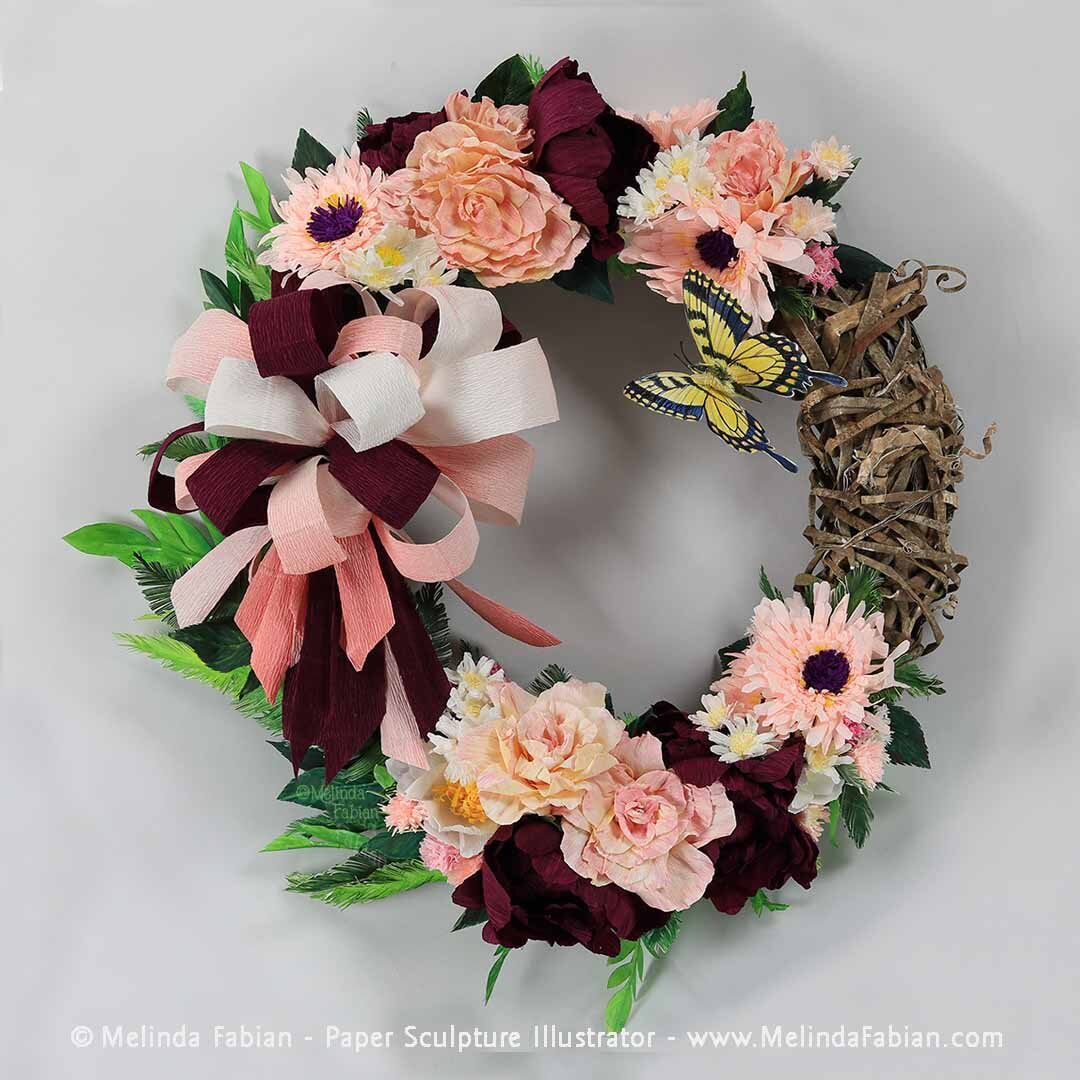
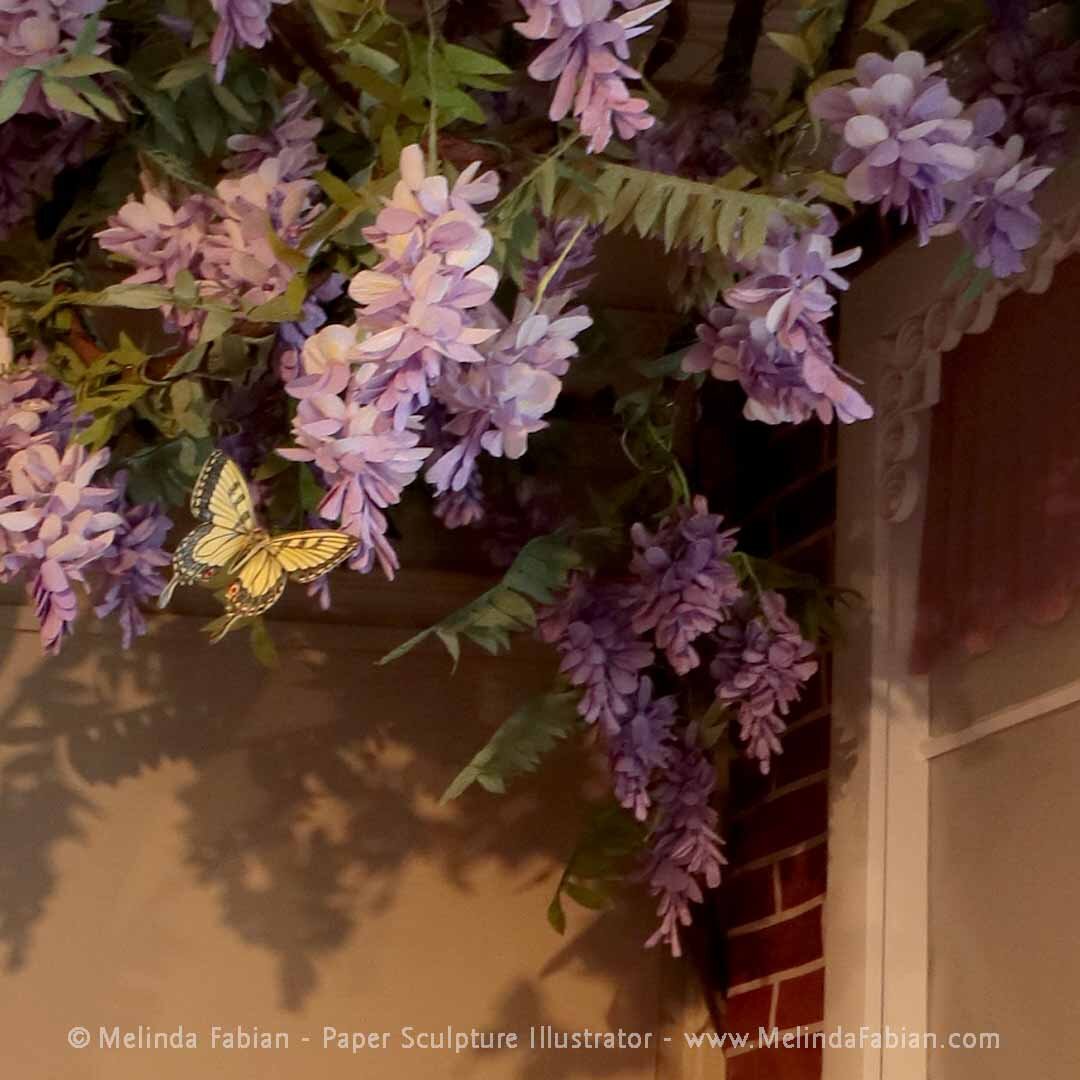
For others, it was the setting that really stood out, including the hand-woven wicker paper sculpture table and chair, grapevine wreath, flowers in the vase, the silhouette of the couple dancing, and the teacup. The wisteria, peonies and all the flowers also got votes, along with the hidden objects throughout the installation.
When I asked how the art made people feel, I also got such a wonderful variety of responses as to what spoke to people. Many expressed the detail and finding hidden treasures among the work made them smile — there was a joy in finding something new every time you look at it. There was also surprise that the entire installation was made out of paper!
Some found a sense of love and romance because of the couple dancing in the window in the background of a nostalgic porch scene. Others felt content and peace, relaxation in a peaceful garden, nostalgia for simpler times and a reminder of being young.
“It's such a creative representation of how beautiful things can be we walk past every day and seeing it in art form where there are new things to discover every time you look is a reminder to do this out in the real world too,” said one visitor.
I am happy to see the fur critters were so popular, since they are something that I really enjoy making. It was a pleasant surprise to see a nice variety of items people liked, especially because I included such a spectrum of smaller pieces for the installation, from the trees to the smallest ant. I was also glad that several people mentioned it reminded them of yesteryear — feeling nostalgic, relaxed on the porch, and of course, the fun of looking for all the objects.
20 Fun Facts About My Country Garden Paper Sculpture Installation
This week, I thought I might share some fun facts about the installation, including how much paper it took, how many roses are in the installation and more.
You may have seen my FAQ post from last week, where I answered some of the most common questions I get about my large-scale paper sculpture installation, “Charming Victorian Country Garden Retreat,” currently at the Paper Works show at the Mansion at Strathmore. This week, I thought I might share some fun facts about the installation, including how much paper it took, how many roses are in the installation and more. Let me know what you think!
1.) It took me 1.5 years of working on the installation full-time to complete “Charming Victorian Country Garden Retreat.” I worked 40–60 hours a week in the first months, but the last six months, I was working on the project 60–80 hours a week, sometimes more.
2.) It took approximately six weeks to sketch, come up with a tentative schedule, develop a plan in detail of the display, and research art papers I was going to use in the installation.
3.) Approximately 29 square feet of paper was used to make this squirrel.
4.) It took five weeks to construct, build, assemble, and weave this table and chair — this does not include the time it took to do the research, sketches, design, and planning out how I was going to make the furniture or the amount of time it took to prepare the paper to begin the weaving process. That took about an additional two weeks.
5.) I made three miniature cardboard models of different chair deigns to help me figure out the construction of the chair and a basic design shape.
6.) Every piece of paper that was used to weave the chair and table had to first be hand-cut to the correct width.
7.) To make the “brick” walls, I spray-painted paper. I added sponge painting overtop to give the bricks added texture.
8.) The first harp silhouette I cut out tore when I was hanging it in the window. I had to remove it and cut a new harp silhouette. The second harp turned out even better than the first one, so it was a happy accident!
9.) Did you see the soccer ball in the flower garden? The soccer ball is also three-dimensional and comes out of the flat paper background. I added it to the flower garden because I wanted to add some hints that children “live” here too, not just grown-ups.
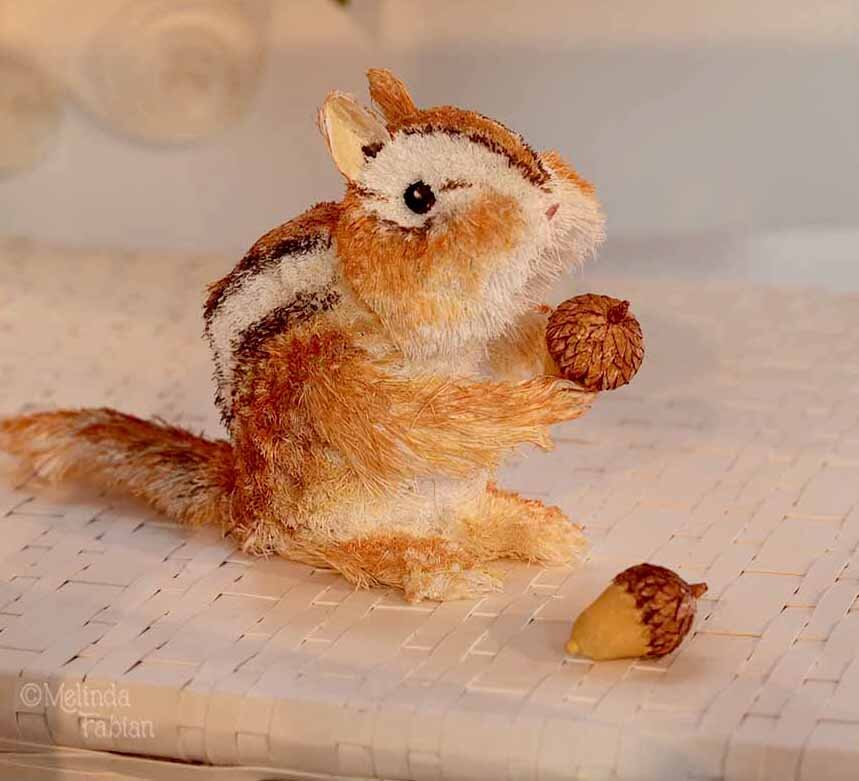
10.) In many of my illustrations and art projects, when possible, I will include things that relate to members of my family. One of several in this installation is Cricket the cat, which is named after my daughter’s cat. He was also used as a reference point for this furry critter.
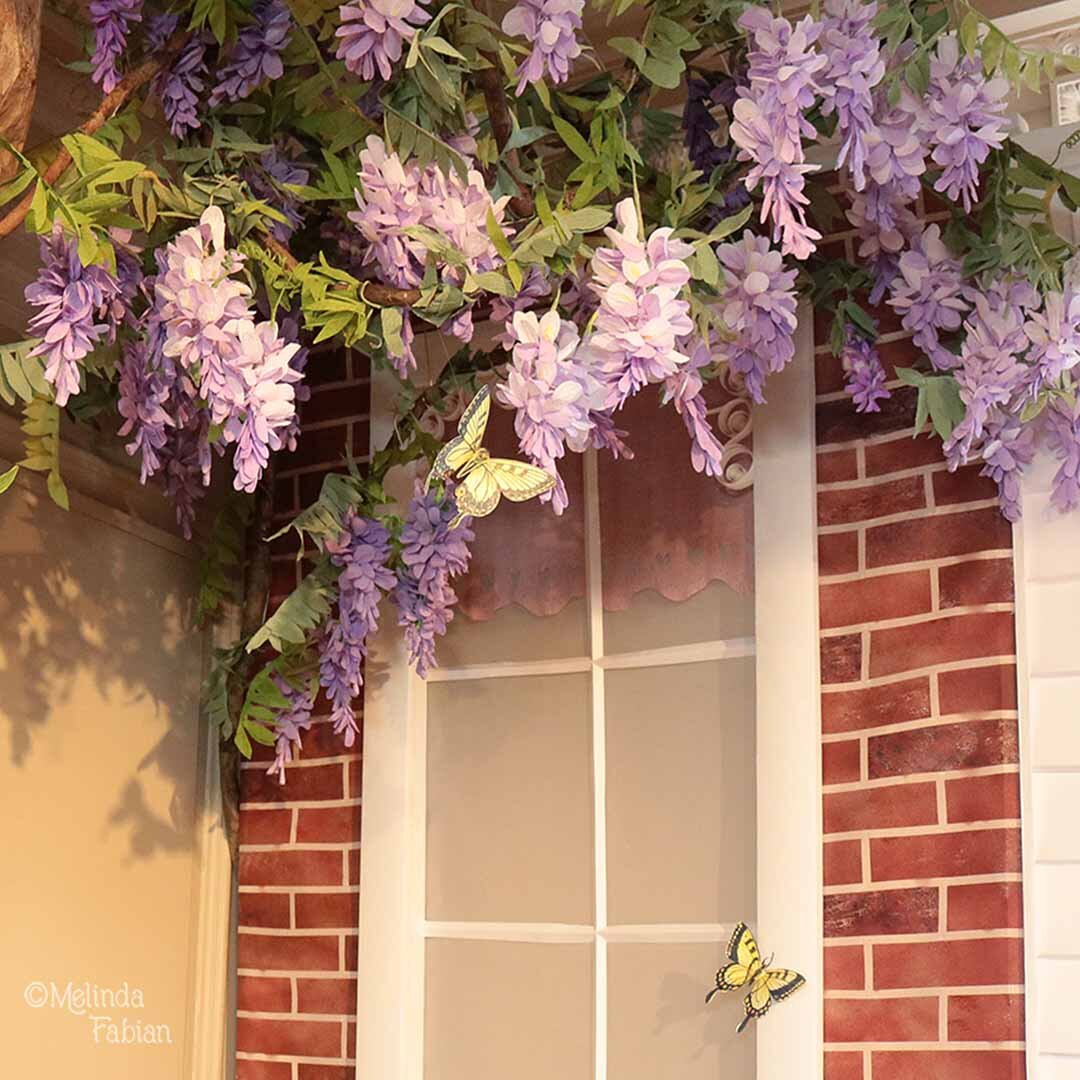
11.) It takes 2.5 hours to create one wisteria flower because each petal is individually attached to the stem.
12.) Over 80 wisteria flowers were paper sculpted for this installation.
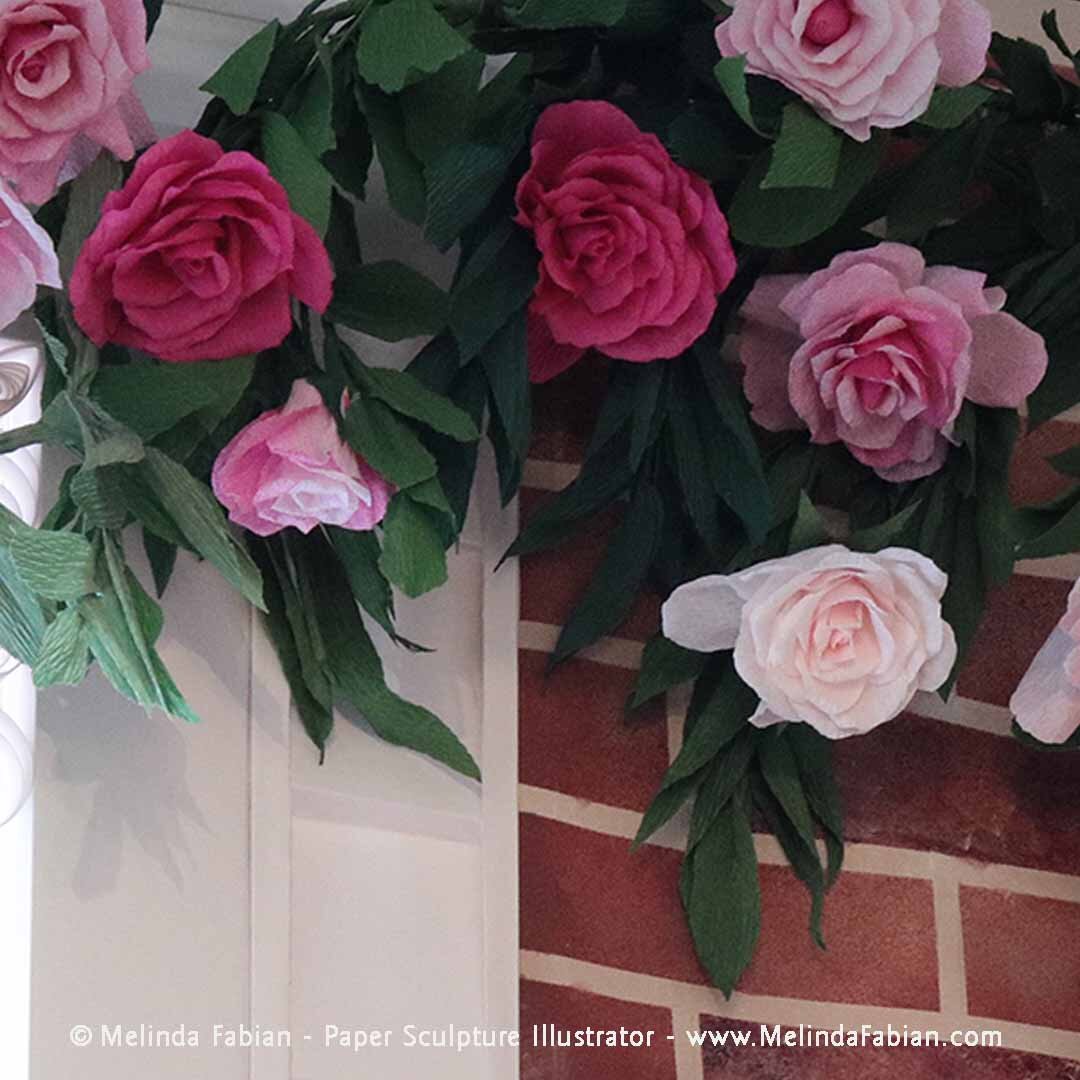
13.) Over 75 roses were used in the climbing roses.
14.) Over 80 white and ivory roses make up the trellis.
15.) It took four days to install the full paper sculpture piece at the Mansion at Strathmore.
16.) Over 15 ladybugs inhabit the scene. (Can you find all of them?)
17.) There are also four bumble bees in this garden retreat.
18.) At least 17 butterflies can be seen at the exhibit.
19.) Four cats, two dogs, two squirrels, one chipmunk and two adorable bunny rabbits live at the “Charming Victorian Country Garden Retreat.”
20.) My favorite thing to make for the “Charming Victorian Country Garden Retreat”? Honestly, I loved making all of it. Yes, there were some aspects of the final paper sculpture piece that were more challenging than others, but truly, I loved every minute of this project. I am so thrilled to be a part of Paper Works: The Art of Paper. Thank you Strathmore!


